

A plain white ceiling does the job, but let’s be honest — it doesn’t do much else. Real wood ceilings look stunning, but most budgets tap out before the wood does. That’s where plywood comes in: cheap enough to actually afford, warm enough to actually love. This guide covers both halves of the job — how to install a plywood ceiling yourself, step by step, and 10+ design ideas that will make the room look twice as expensive as it is.
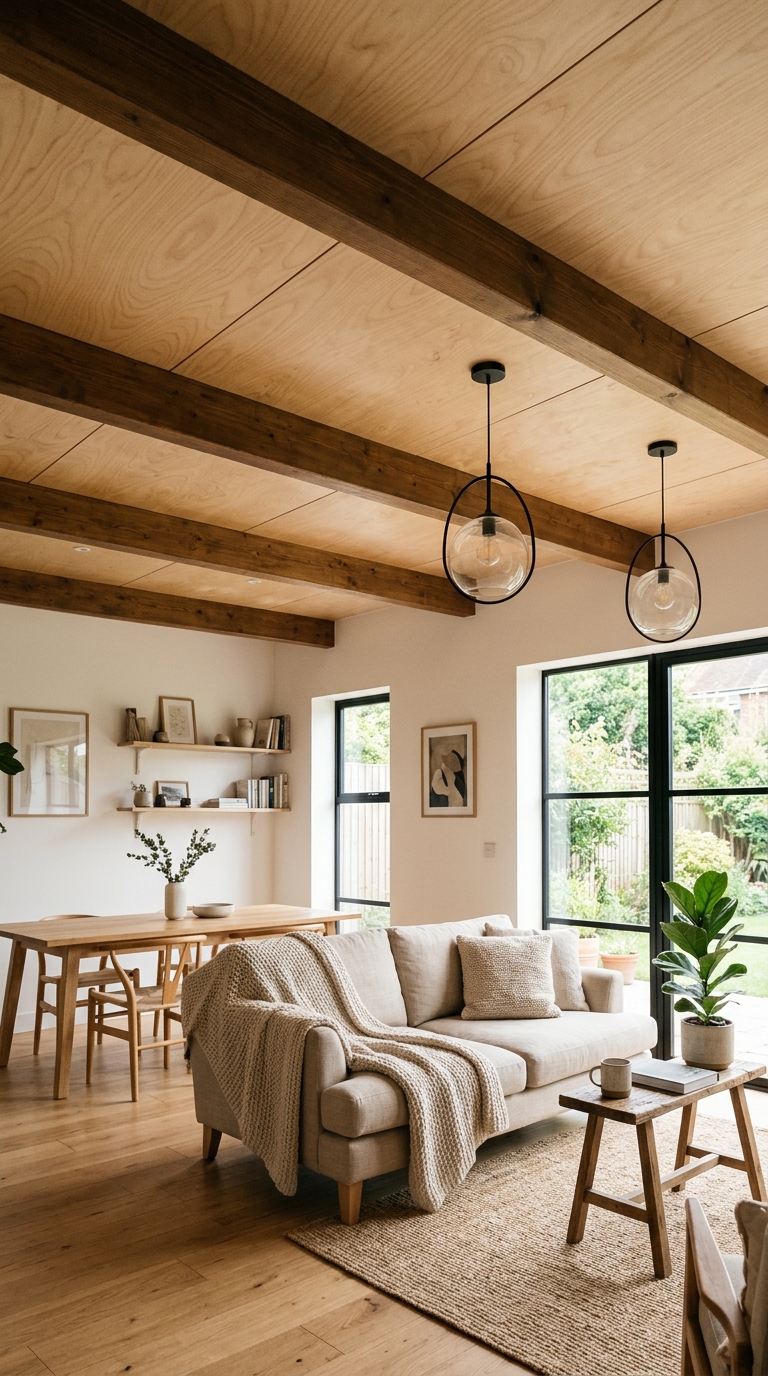
Part 1: The Basics
What Is a Plywood Ceiling, and Why Are People Choosing It?
A plywood ceiling is exactly what it sounds like — sheets of plywood installed across the ceiling instead of standard drywall or solid wood planks. It’s become a favorite for cabins, basements, home offices, and even living rooms because it adds instant texture and warmth without the cost or weight of real timber. It’s also forgiving for DIYers, since plywood is easier to cut and handle than solid wood boards.
Plywood vs. Drywall vs. Hardwood: What’s the Real Difference?
Drywall is the cheapest and most common option, but it’s flat, plain, and offers zero visual texture on its own. Hardwood ceilings look incredible but come with a heavy price tag and heavier installation demands. Plywood sits right in the middle — it costs a fraction of solid wood, installs faster than most people expect, and still gives that natural, layered look drywall simply can’t fake.
What’s the Best Plywood for a Ceiling?
Skip the rough construction-grade sheets — for a ceiling you’ll actually see, go with a sanded, cabinet-grade plywood like birch or oak veneer. These have a smoother face, stain or paint evenly, and show fewer visible knots or gaps. If the budget is tight, a mid-grade plywood with a light sanding before finishing still works fine.
Part 2: How to Install a Plywood Ceiling (Step by Step)
Step 1: Gather Your Materials and Tools.
You’ll need plywood sheets (¼” to ½” thick work well for ceilings), a measuring tape, a stud finder, wood furring strips, construction adhesive, a nail gun or screws, a circular saw, and a level. A helper makes this job significantly easier, especially when holding sheets overhead.
Step 2: Measure the Ceiling and Plan the Layout.
Measure the full ceiling and sketch out how the plywood sheets will be arranged before cutting anything. Planning the layout first avoids awkward tiny end-pieces and keeps seams looking intentional rather than accidental.
Step 3: Prep the Base with Furring Strips.
Attach wooden furring strips across the ceiling joists, evenly spaced, to create a flat, level surface for the plywood to be attached to. This step also makes it easier to run wiring for lighting before the plywood goes up.
Step 4: Cut and Attach the Plywood Sheets.
Cut sheets to size based on your layout, then lift and secure them to the furring strips using construction adhesive plus nails or screws for extra hold. Work in sections and check each sheet with a level before fastening it permanently.
Step 5: Finish the Joints and Edges.
Fill any visible gaps between sheets with wood filler, then sand the seams smooth once dry. Trim molding along the edges where the ceiling meets the walls gives the whole installation a clean, finished border.
Step 6: Paint, Stain, or Seal for the Final Look.
Apply a wood stain for a natural finish, or paint it for a bold, uniform look. Whichever route you take, a clear sealant on top protects the wood from moisture and yellowing over time.
Quick Tip: Always let the plywood acclimate in the room for 48 hours before installing it. Wood expands and contracts with humidity, and skipping this step is one of the most common reasons ceiling seams crack later.
Part 3: 10+ Plywood Ceiling Design Ideas That Actually Work
1. Simple Natural Wood Look
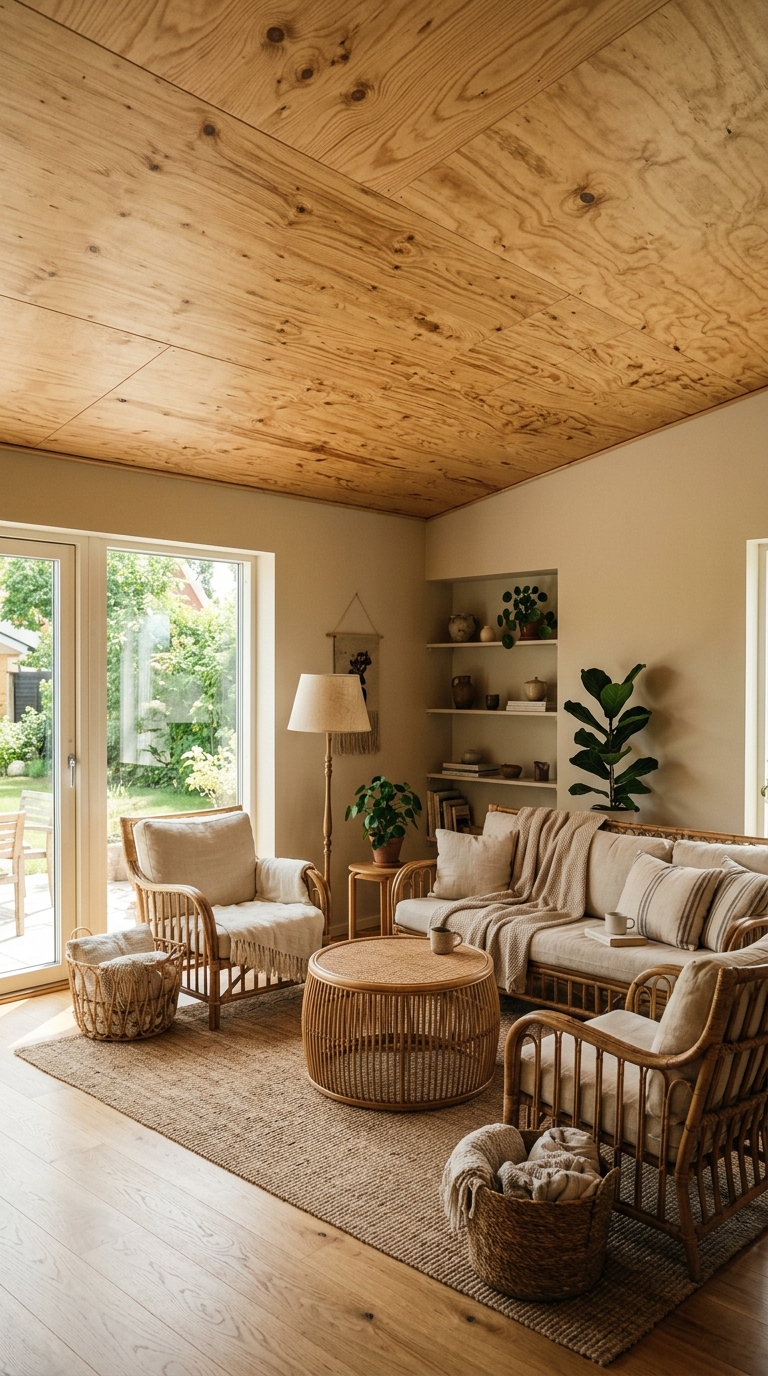
Sometimes the plywood itself is the design. A clear matte sealant over the raw wood grain keeps things simple, warm, and completely low-maintenance. It works beautifully in living rooms, reading nooks, and cabins alike.
Before diving into installation, it helps to see how plywood stacks up against other options — check out this complete plywood ceiling guide for a full cost and style comparison.
This look pairs well with neutral walls and wood or rattan furniture, letting the ceiling be the quiet star of the room without competing with anything else going on below it.
Design Highlights:
- Clear matte or satin sealant, no stain needed
- Best with birch or light oak veneer plywood
- Pairs with neutral, earthy color palettes
- Low-maintenance and budget-friendly
- Works in almost any room style
2. Light White-Wash Finish for Bright Rooms
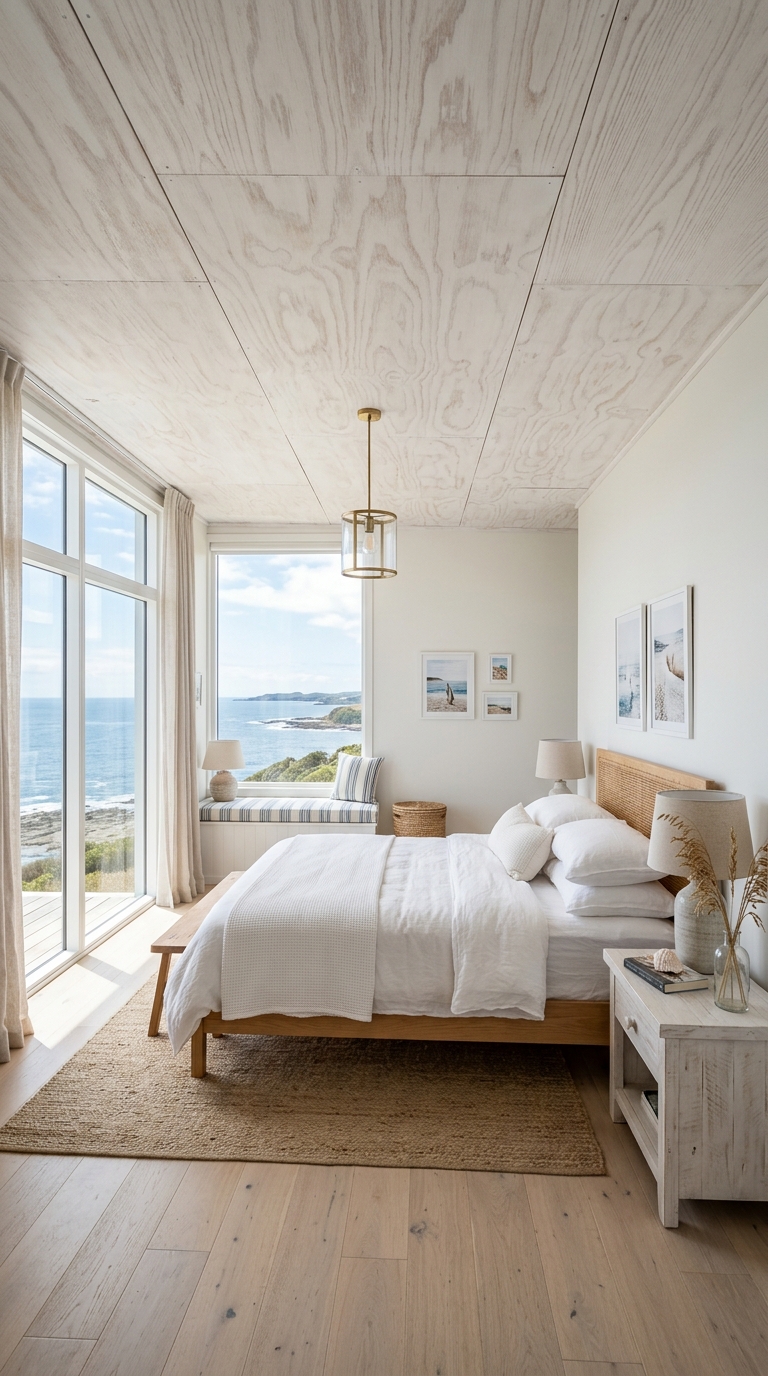
A white-washed plywood ceiling keeps the wood grain visible while brightening the whole space. It’s a favorite for small rooms or spaces with limited natural light, since it reflects light instead of absorbing it.
If you’re working with a tight budget, pair your plywood install with these budget-friendly wood ceiling ideas to save even more without sacrificing style.
The soft, weathered look adds texture without darkening the room, making it a great pick for coastal, farmhouse, or Scandinavian-style interiors that lean light and airy.
Design Highlights:
- White-wash stain over sanded plywood
- Brightens small or low-light rooms
- Complements coastal and farmhouse styles
- Keeps wood grain texture visible
- Pairs well with white or pastel walls
3. Dark Stain for a Cozy, Moody Feel
A deep walnut or espresso stain turns a plywood ceiling into a dramatic focal point. It’s ideal for dens, home theaters, or bedrooms where you want a warm, enclosed, cocoon-like feeling.
Looking for more inspiration beyond plywood? These cheap wood ceiling ideas show 21 different ways to get a designer look on a small budget.
Dark ceilings visually lower the room slightly, which sounds like a downside but actually makes tall or open rooms feel more intimate and grounded.
Design Highlights:
- Deep walnut, espresso, or ebony stain
- Best for dens, theaters, and bedrooms
- Creates a cozy, intimate atmosphere
- Pairs with brass or warm gold lighting
- Balances out tall, open ceilings

4. Geometric Pattern Design
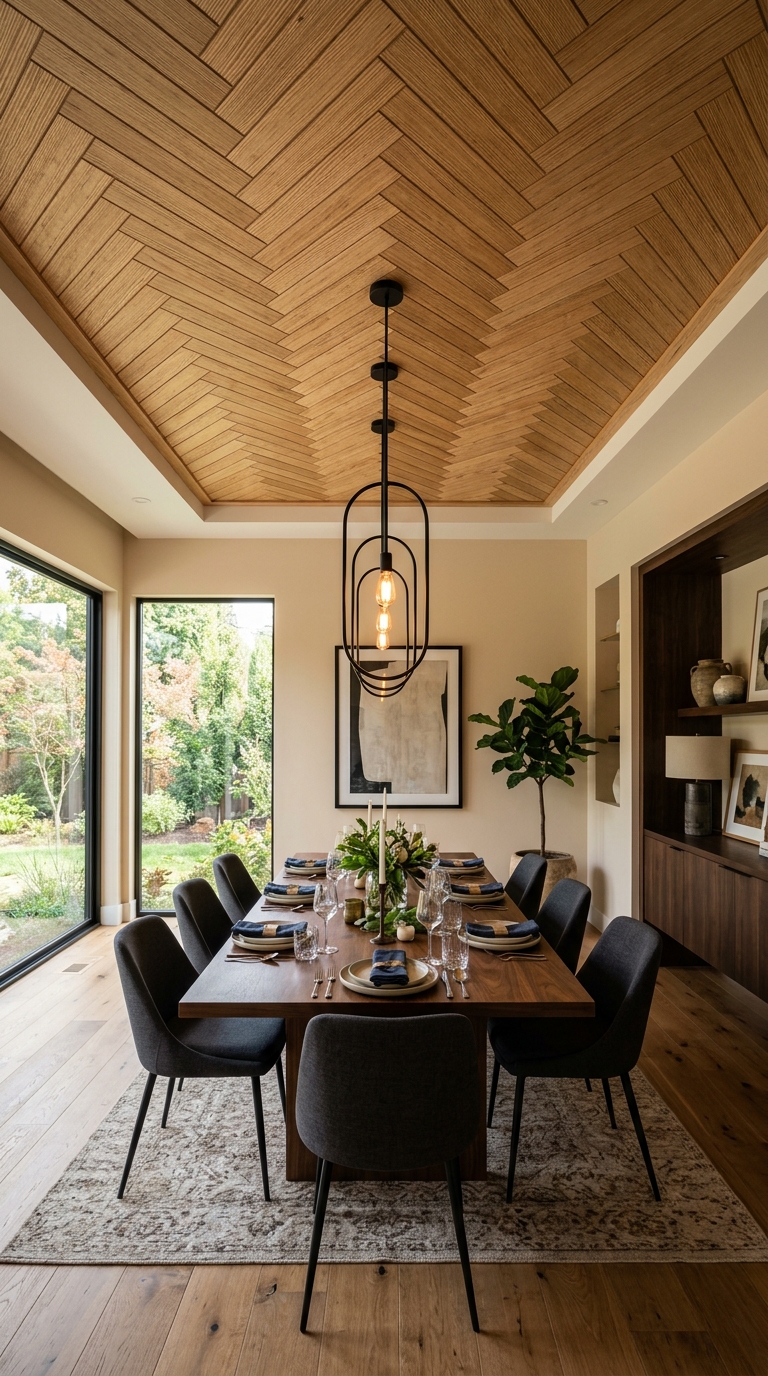
Cutting plywood into strips or panels and arranging them in a herringbone, chevron, or diamond pattern turns a flat ceiling into a design statement. It takes more planning but delivers a custom, high-end look.
If your space has extra height to work with, a plywood treatment looks stunning on vaulted ceilings that add drama and dimension.
This style works especially well in entryways, dining rooms, or accent ceilings where you want one standout feature rather than covering the entire home in the pattern.
Design Highlights:
- Herringbone, chevron, or diamond layouts
- Best as an accent ceiling, not whole-home
- Requires more precise cutting and planning
- Adds a custom, designer-level look
- Great for entryways and dining rooms
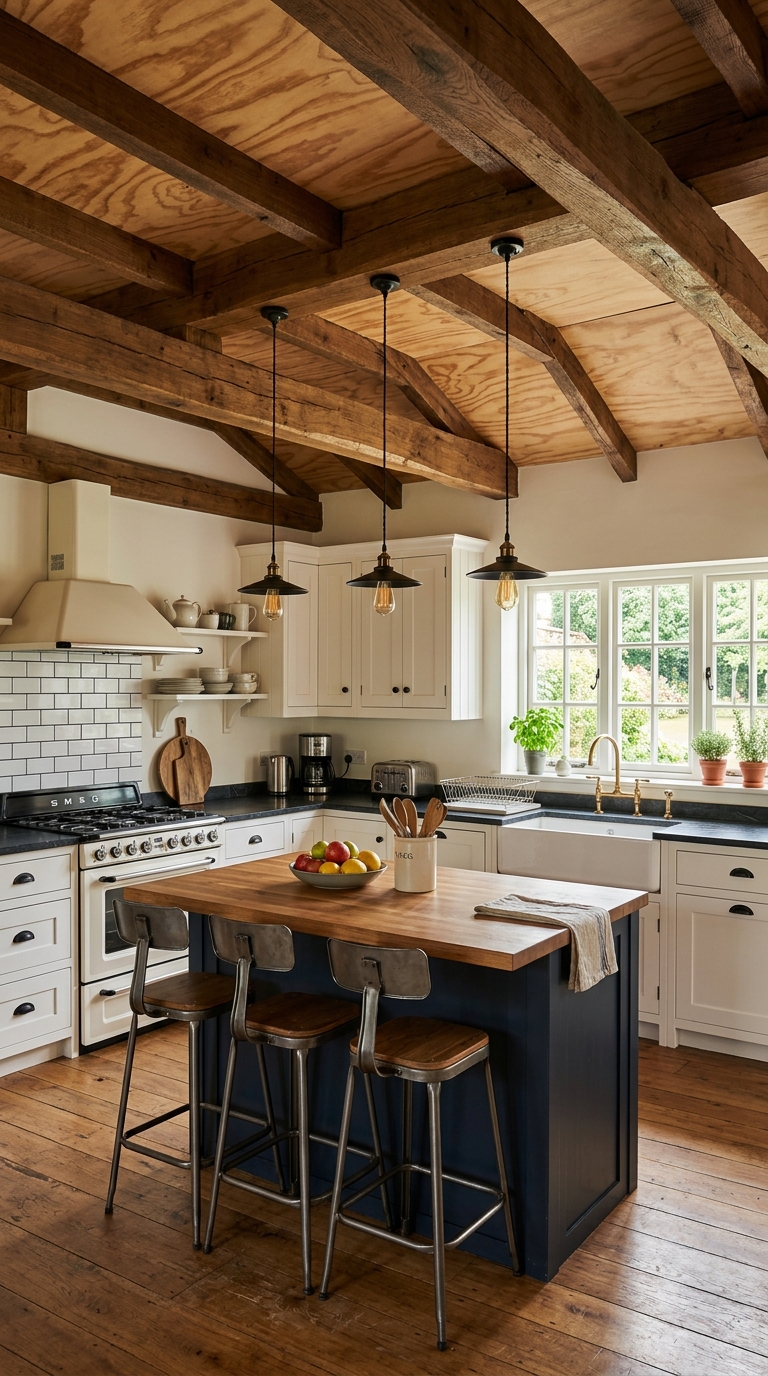
5. Exposed Beams Combo
Pairing plywood panels with exposed wooden beams adds structure and dimension. The beams create natural break points between plywood sections, so the ceiling reads as intentional rather than as one flat surface.
This combo is especially popular in farmhouse and rustic-style homes, where the beams do the heavy lifting visually, and the plywood fills in the texture around them.
In kitchens with sloped rooflines, plywood panels work beautifully — see these vaulted ceiling kitchen ideas for layout and lighting inspiration.
Design Highlights:
- Combine real or faux beams with plywood panels
- Beams create natural visual break points
- Popular in farmhouse and rustic interiors
- Adds architectural depth to flat ceilings
- Works well in living rooms and kitchens
6. Plywood That Looks Like Hardwood (Budget Hack)
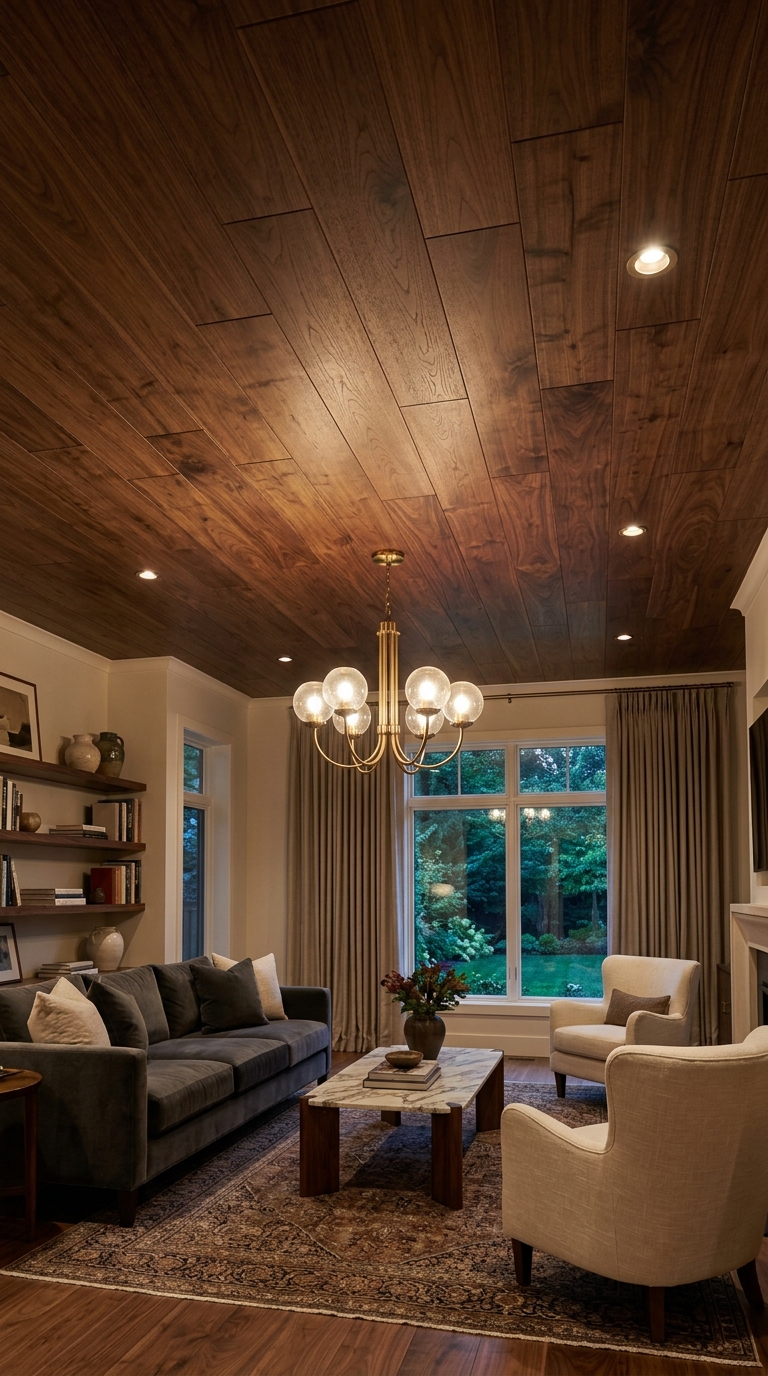
High-quality plywood with a rich veneer, stained and finished properly, can pass for solid hardwood at a fraction of the price. The trick is choosing a plywood with a fine, tight grain pattern and finishing it the same way you would real wood.
For bedrooms with angled ceilings, a stained plywood finish adds warmth — take a look at these vaulted ceiling bedroom ideas for a cozy, restful feel.
Nobody looking up at the ceiling is going to know the difference, and your wallet definitely will.
Design Highlights:
- Choose fine-grain veneer plywood (oak, walnut)
- Stain and finish exactly like solid hardwood
- Costs a fraction of real hardwood
- Nearly impossible to tell apart visually
- Great for full-room ceiling coverage
7. Two-Tone Color Combo Ceiling
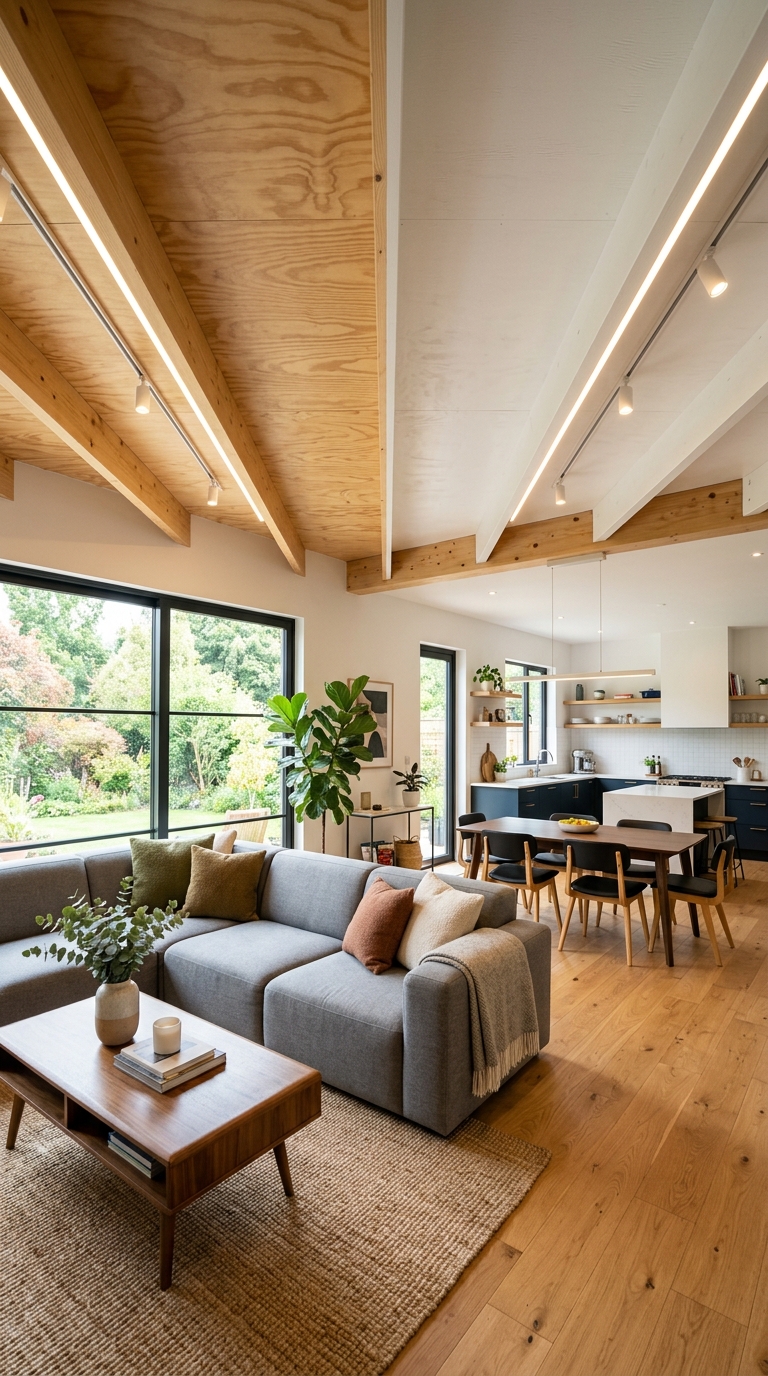
Splitting the ceiling into two stained or painted tones — light and dark, or wood and white — adds visual interest without a busy pattern. It’s a subtle way to define zones in an open-concept space.
This works especially well over kitchen islands, bedroom headboards, or sitting areas where you want a soft boundary without adding a wall.
Plywood is also a great low-cost solution for basements — explore these basement ceiling ideas for finishes that handle moisture and low ceiling height well.
Design Highlights:
- Split the ceiling into two contrasting tones
- Defines zones in open-concept spaces
- Works over islands, headboards, or seating areas
- Pairs well with matching two-tone walls
- Adds interest without a busy pattern
8. LED Lights Integrated Design
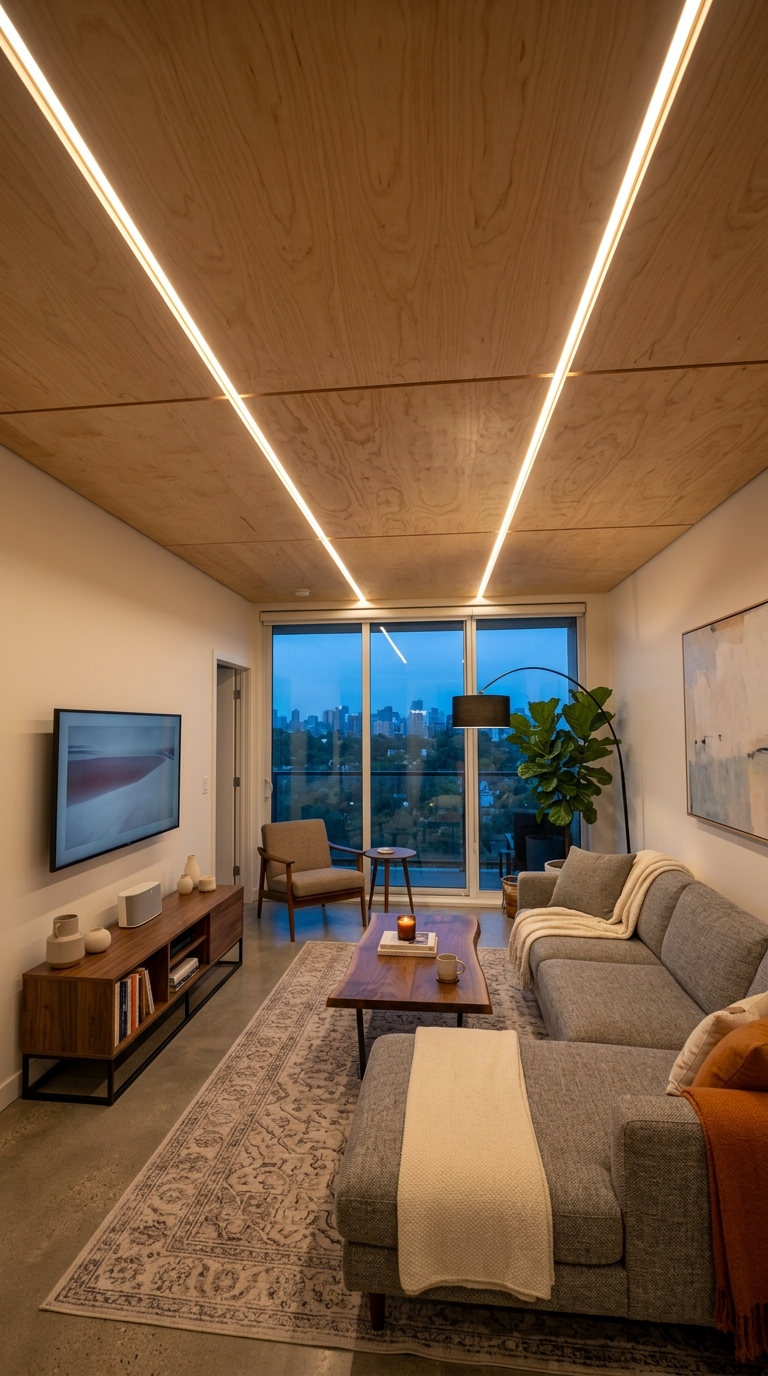
Recessed or strip LED lighting built directly into the plywood ceiling adds a modern, layered glow. Running the wiring during the furring strip stage makes this one of the easier upgrades to plan for in advance.
Warm white LEDs along the panel edges highlight the wood grain at night, giving the room a completely different mood after dark.
Design Highlights:
- Plan LED wiring during the furring strip stage
- Warm white light highlights wood grain
- Strip lighting along panel edges or seams
- Creates a modern, layered glow at night
- Works with both natural and stained finishes
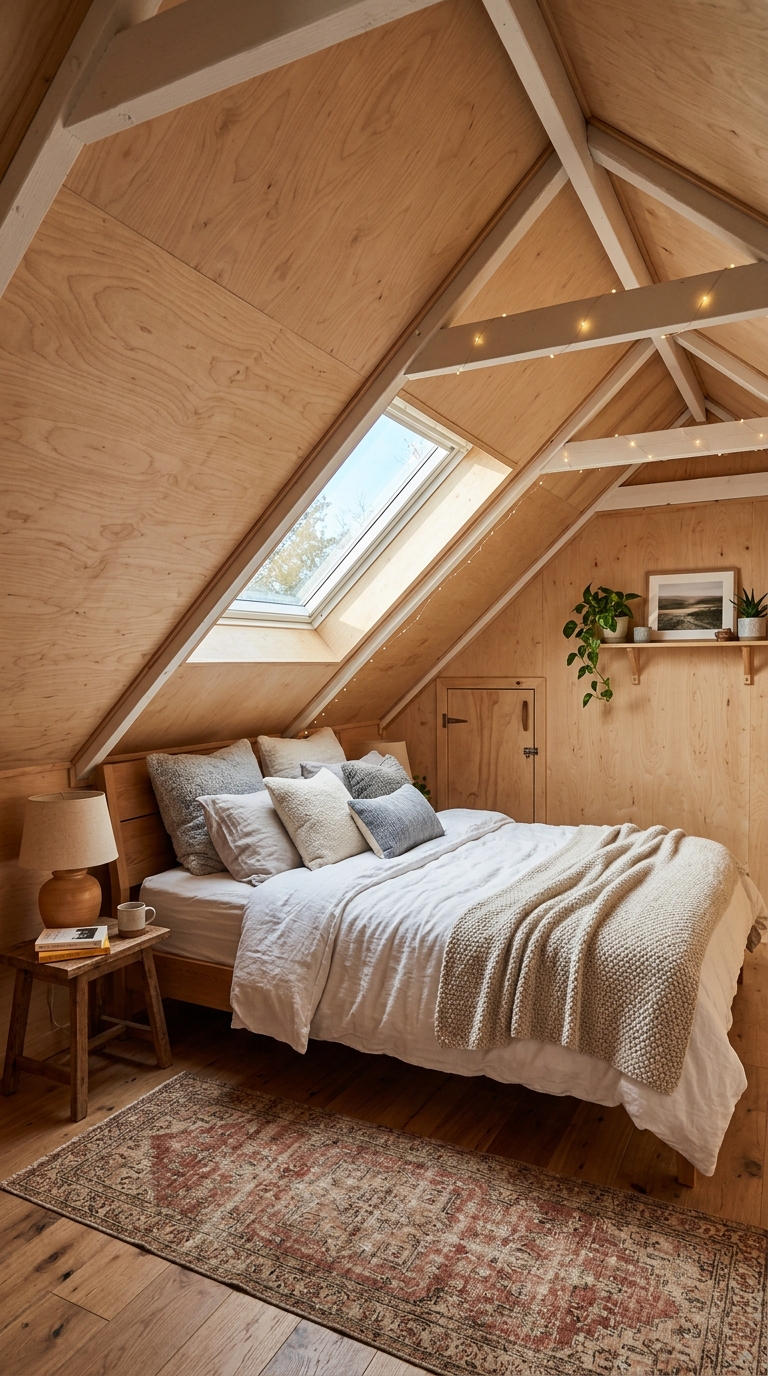
9. Sloped and Vaulted Ceiling Idea
Plywood works especially well on sloped or vaulted ceilings, where solid wood installation gets expensive and complicated fast. The lighter weight and easier cutting make angled sections far more manageable for a DIY install.
Running the plywood along the slope, rather than horizontally, emphasizes the height and draws the eye upward.
Design Highlights:
- Lighter weight than solid wood, easier on angles
- Run panels along the slope, not horizontally
- Draws the eye upward, emphasizes height
- Ideal for attic bedrooms and A-frame homes
- Pairs well with a single skylight or window
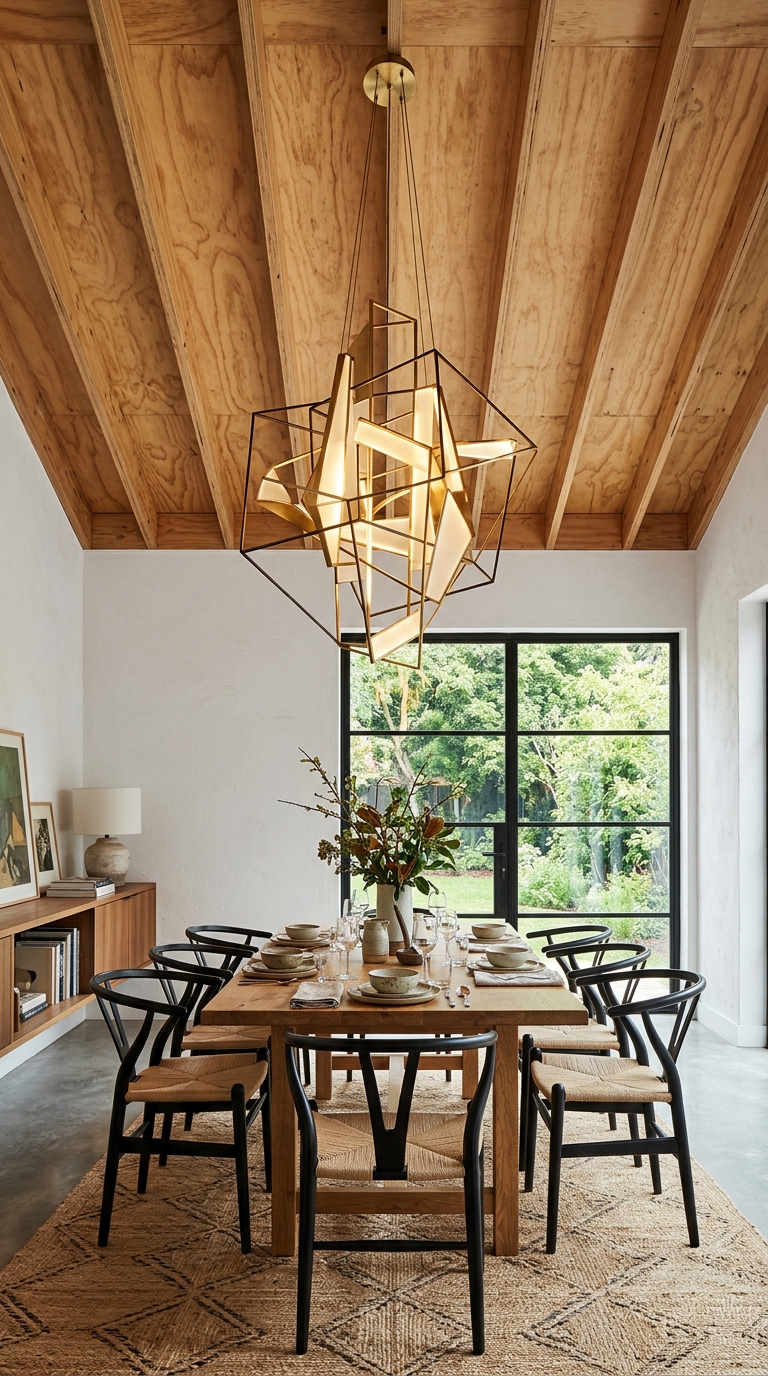
10. Statement Light Fixture Styling
A plain plywood ceiling becomes a backdrop for a bold light fixture — think an oversized pendant, a sculptural chandelier, or a cluster of hanging bulbs. The warm wood tone makes metal and glass fixtures pop even more than they would against plain drywall.
This is an easy way to add drama to the room without touching the ceiling material itself again.
Design Highlights:
- Oversized pendant or sculptural chandelier
- Wood tone makes metal and glass fixtures stand out
- Works over dining tables and entryways
- Adds drama without extra ceiling work
- Best on natural or light-stained plywood
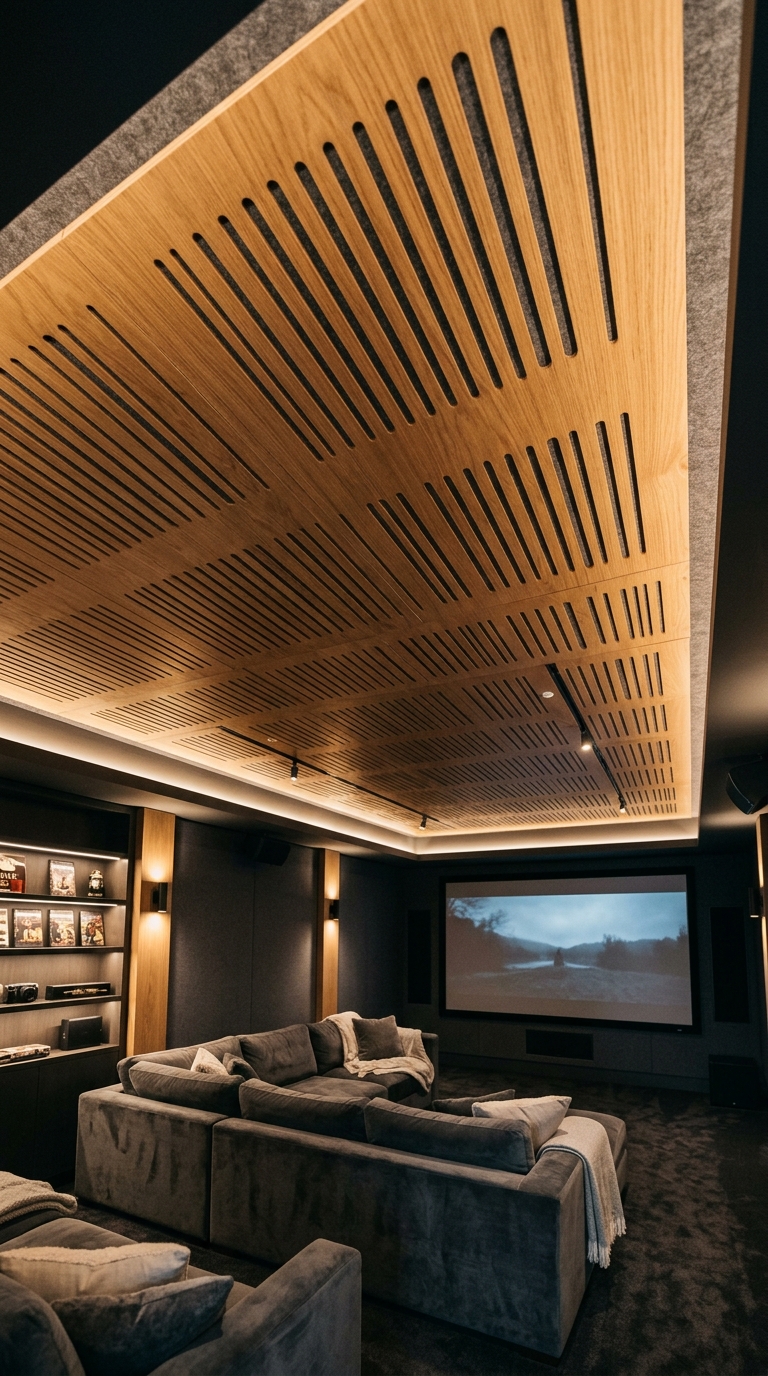
11. Sound-Absorbing Plywood for Busy Homes
Acoustic plywood panels, often slotted or perforated with felt backing, help absorb sound in busy households or home theaters. They install just like regular plywood but come pre-finished for acoustic performance.
This is a smart pick for homes with kids, open floor plans, or media rooms where echo and noise tend to build up fast.
Design Highlights:
- Slotted or perforated acoustic plywood panels
- Felt backing absorbs sound and reduces echo
- Ideal for home theaters and busy households
- Installs the same way as standard plywood
- Available pre-finished in various wood tones
Quick Tip: Mixing two design ideas — like a natural wood look with integrated LED lighting, or a two-tone ceiling with a statement fixture — almost always looks more custom than sticking to just one.
Part 4: Common Questions About Plywood Ceilings
Is plywood a good material for a ceiling?
Yes. It’s lightweight, affordable, and holds paint or stain well, making it a solid choice for most rooms as long as it’s properly sealed.
How much does a plywood ceiling cost?
Costs vary by plywood grade and room size, but it’s typically far cheaper than solid hardwood, especially for a DIY installation.
Is sealing the plywood necessary?
Yes, especially in kitchens, bathrooms, or humid climates. A sealant protects against moisture, warping, and yellowing over time.
Can plywood be installed directly over drywall?
In many cases, yes — as long as the drywall is in good condition and you have a secure way to anchor the plywood, either directly into joists or using furring strips.
Conclusion
A plywood ceiling is one of the easiest ways to add warmth and character to a room without paying hardwood prices. Whether you install it yourself or hire a pro, and whether you go with a natural wood ceiling, a dark stain, or a design with integrated LED lighting, the result is a space that instantly feels more finished and inviting.