
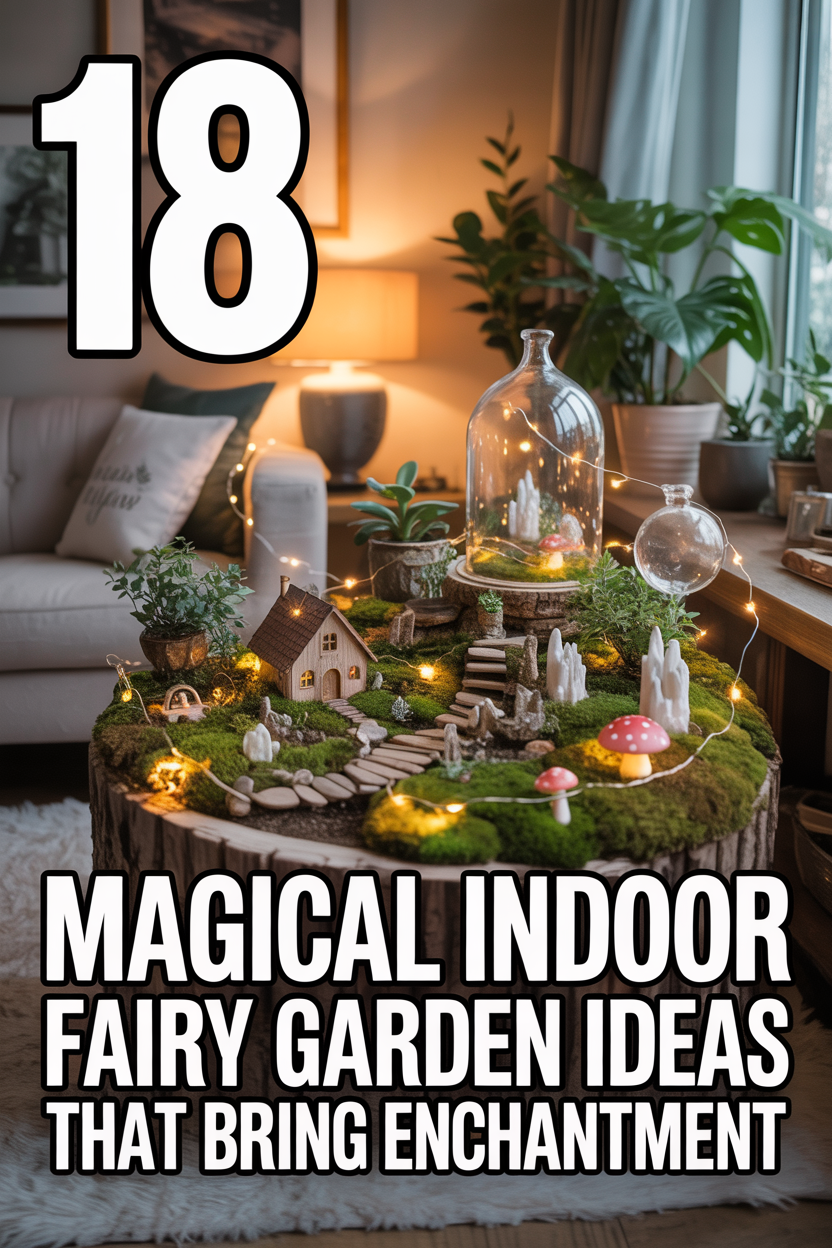
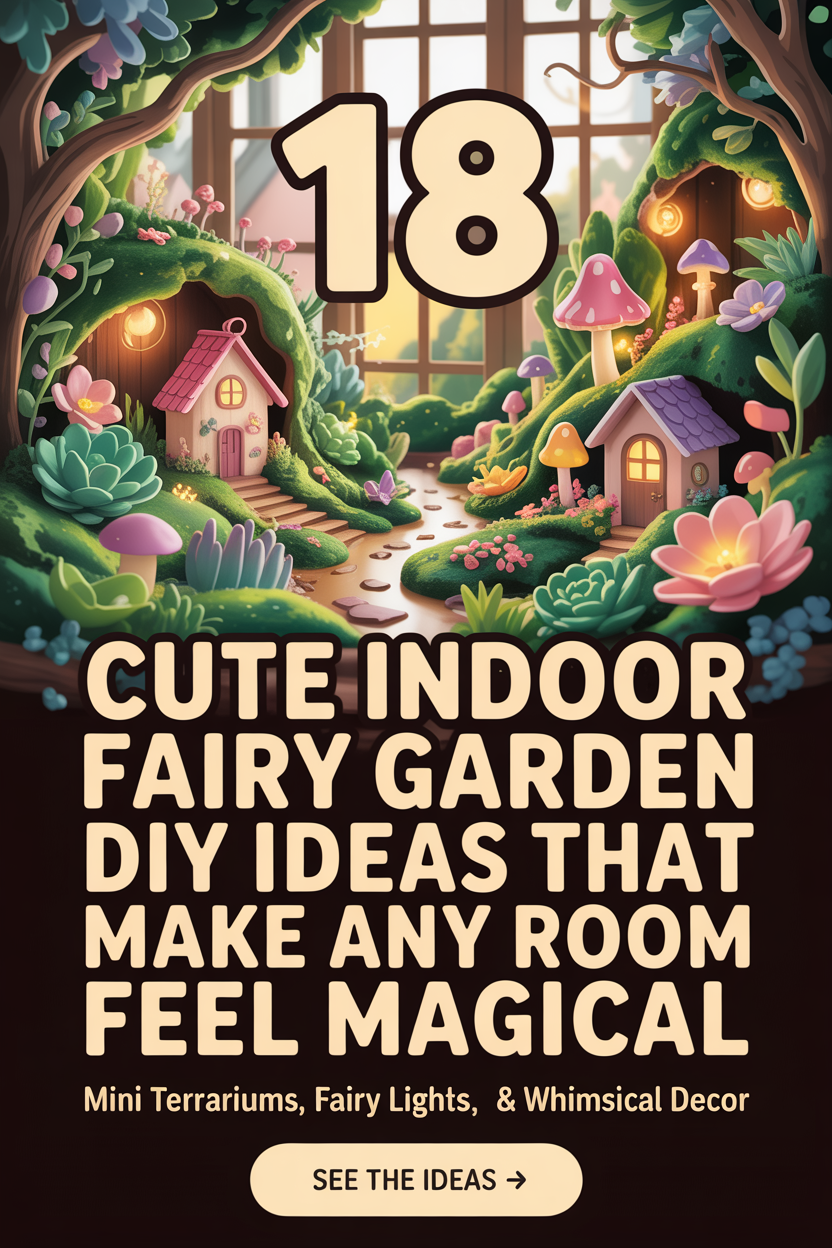
There is something magical about creating a tiny world filled with miniature houses, lush greenery, and charming little pathways. Indoor fairy gardens are a simple yet creative way to bring nature indoors while adding personality and warmth to your home décor. Whether placed on a windowsill, bookshelf, coffee table, or desk, these miniature gardens instantly make a space feel cozier and more inviting.
The best part is that you do not need a large budget or expert gardening skills to make one. With just a few plants, a container, and a handful of miniature accessories, you can design a beautiful indoor fairy garden that looks straight out of a storybook. From rustic woodland themes to modern minimalist styles, there are endless ways to customize your tiny indoor paradise.
In this guide, you will discover 18 beautiful indoor fairy garden ideas, along with practical styling tips, beginner-friendly plant suggestions, and simple maintenance advice to help your miniature garden thrive indoors.
1. Glass Terrarium Fairy Garden with Succulents
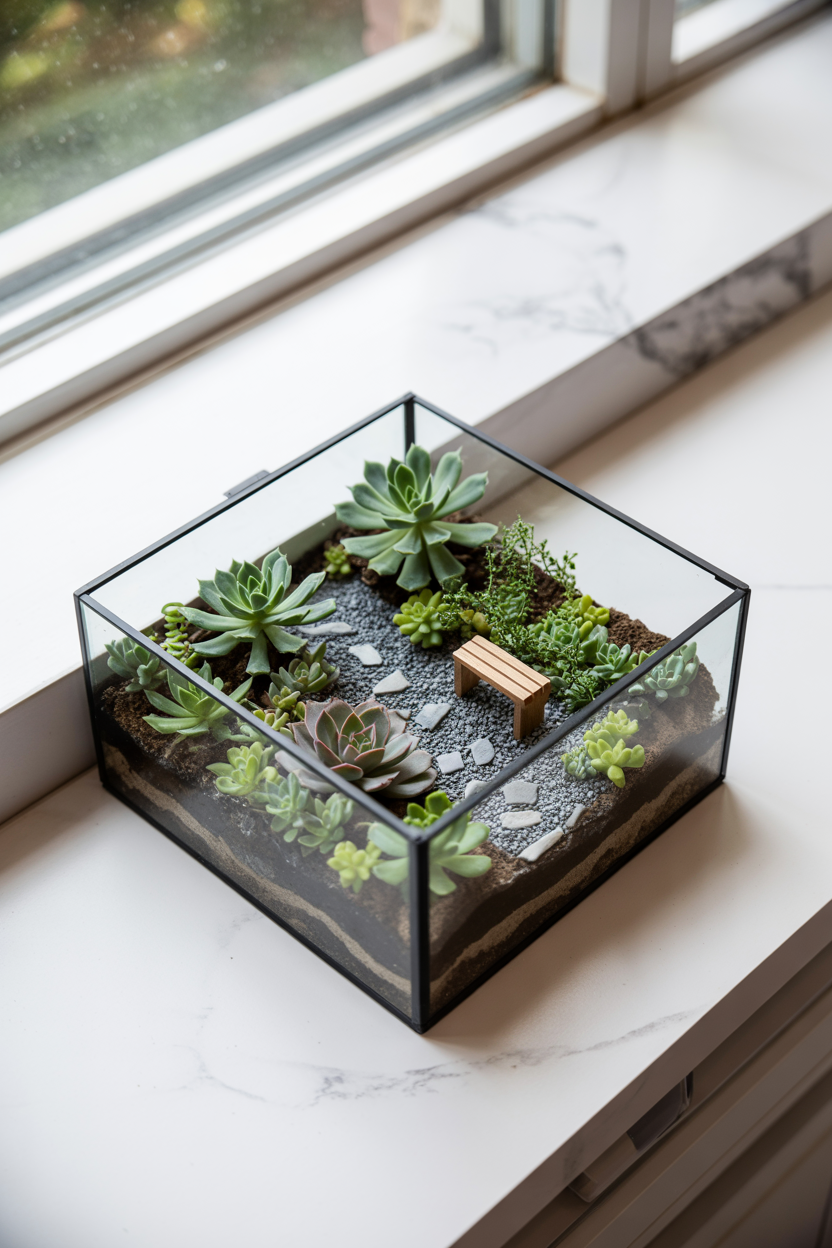
A glass terrarium is the smartest starting point for beginners. Layer the bottom with pebbles, activated charcoal, and cactus soil, then plant small succulents like echeveria, jade, or haworthia. Add a miniature gravel path and a tiny wooden bench, and you already have a scene that looks like it belongs in a magazine.
The open-top design makes it easy to reach in and rearrange things. Use tweezers to place small decorations — it gives you far more control than fingers. Keep the scale consistent so every element feels like it belongs in the same world.
Styling Tip: Mix succulents of different heights and textures. Pair a trailing string of pearls with an upright aloe pup to create natural depth and movement.
2. Desktop Zen Fairy Garden with Baby Tears Plant
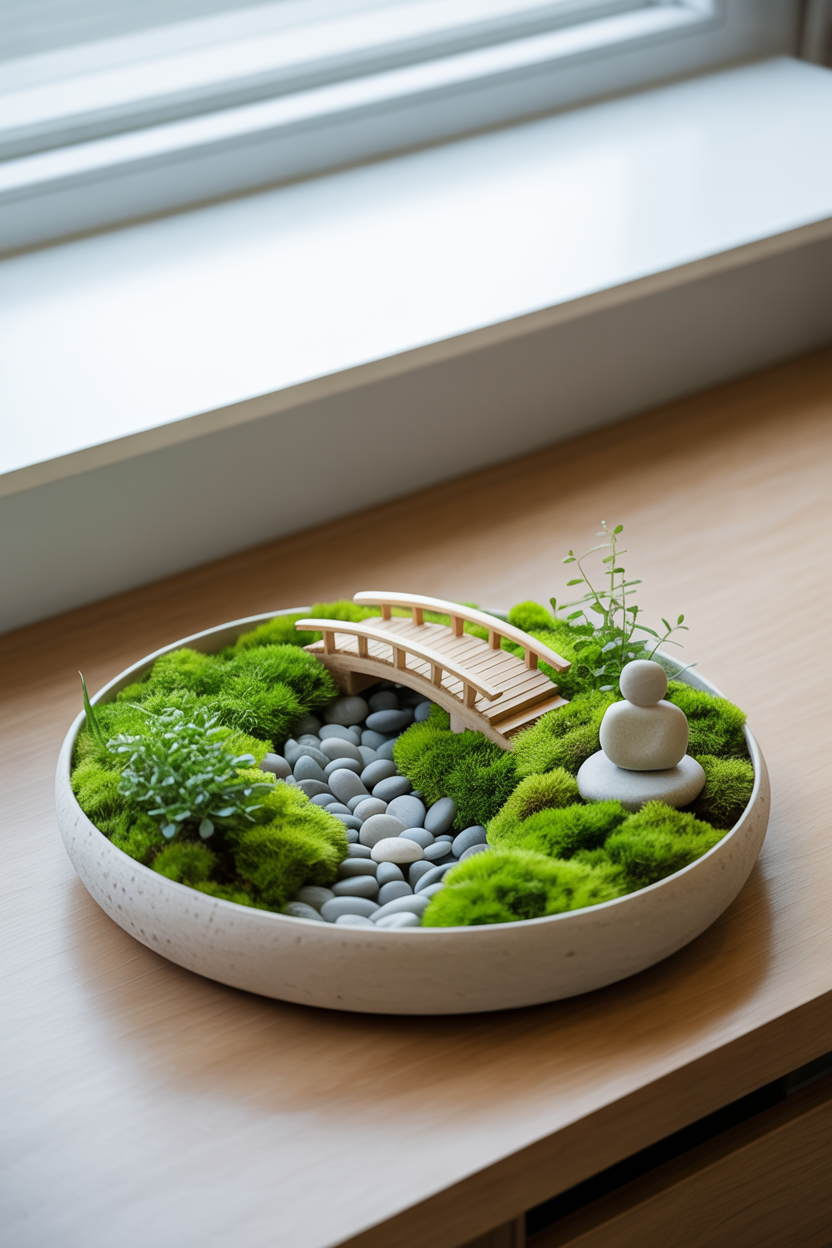
Baby tears plant (Soleirolia soleirolii) grows in a lush carpet-like way that looks like miniature grass — perfect for a calming workspace garden. Plant it in a shallow ceramic bowl, let it establish for a week, then add smooth river stones, a tiny wooden bridge, and a small meditation figurine.
The simplicity is what makes this one work. Mist it every other day with a small spray bottle, and it stays green and full. Keep the design minimal — that restraint is the whole point.
Styling Tip: Stick to a neutral palette of whites, grays, and natural wood. This keeps the zen vibe intact and makes the garden feel like a quiet retreat, not a cluttered display.
3. Vintage Teacup Fairy Garden Collection
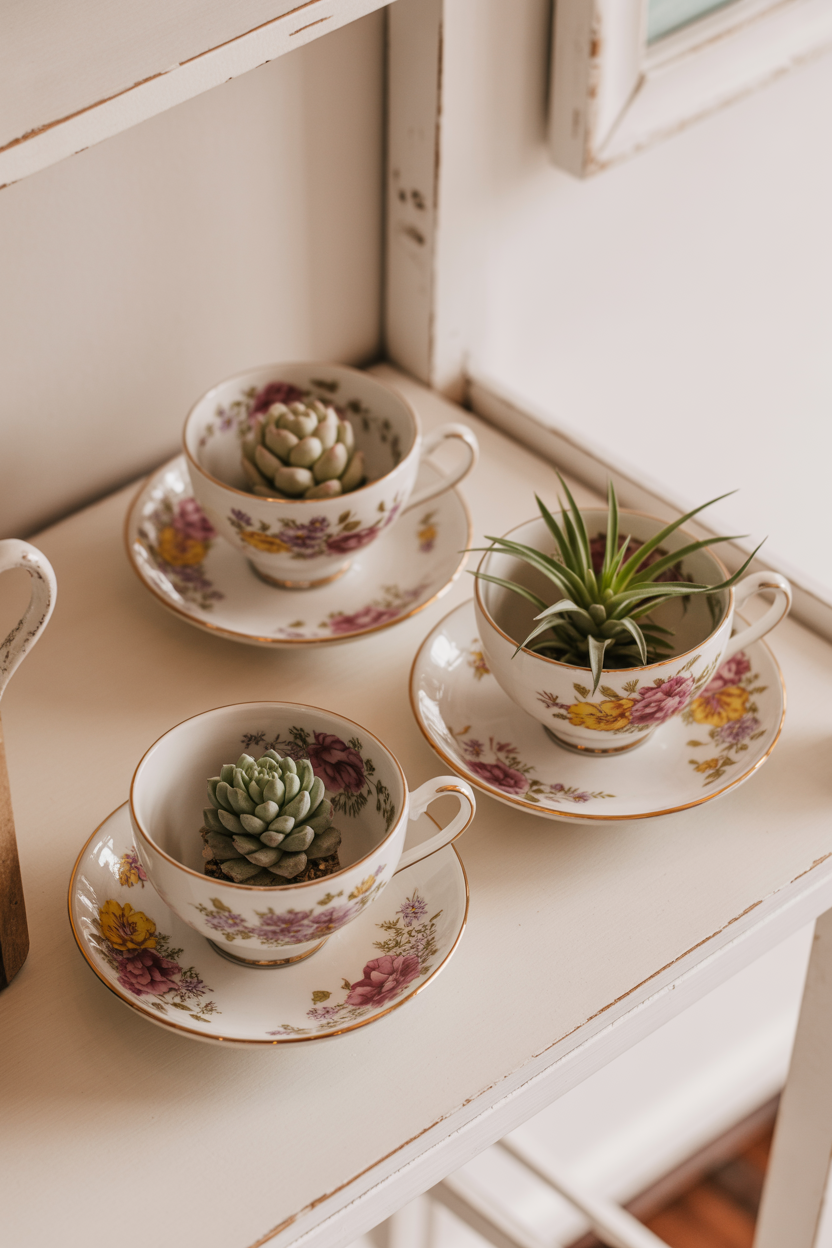
Thrift store teacups make the most charming little fairy gardens. Because teacups are small, air plants or tiny succulents work best. Add a thin layer of pebbles at the bottom (no drainage holes, so go easy on water), nestle in your plant, and add one small accent — a tiny mushroom, a miniature bird, or a small crystal.
The beauty here is that each cup becomes its own world. One can be woodland-themed with moss and a toadstool, and another can be cottage-style with a small fence piece. Display them together on a shelf, or scatter them around different rooms.
Styling Tip: Don’t overcrowd each cup. One plant and one or two small accents is enough. Less is more — that one tiny detail will catch the eye every time.
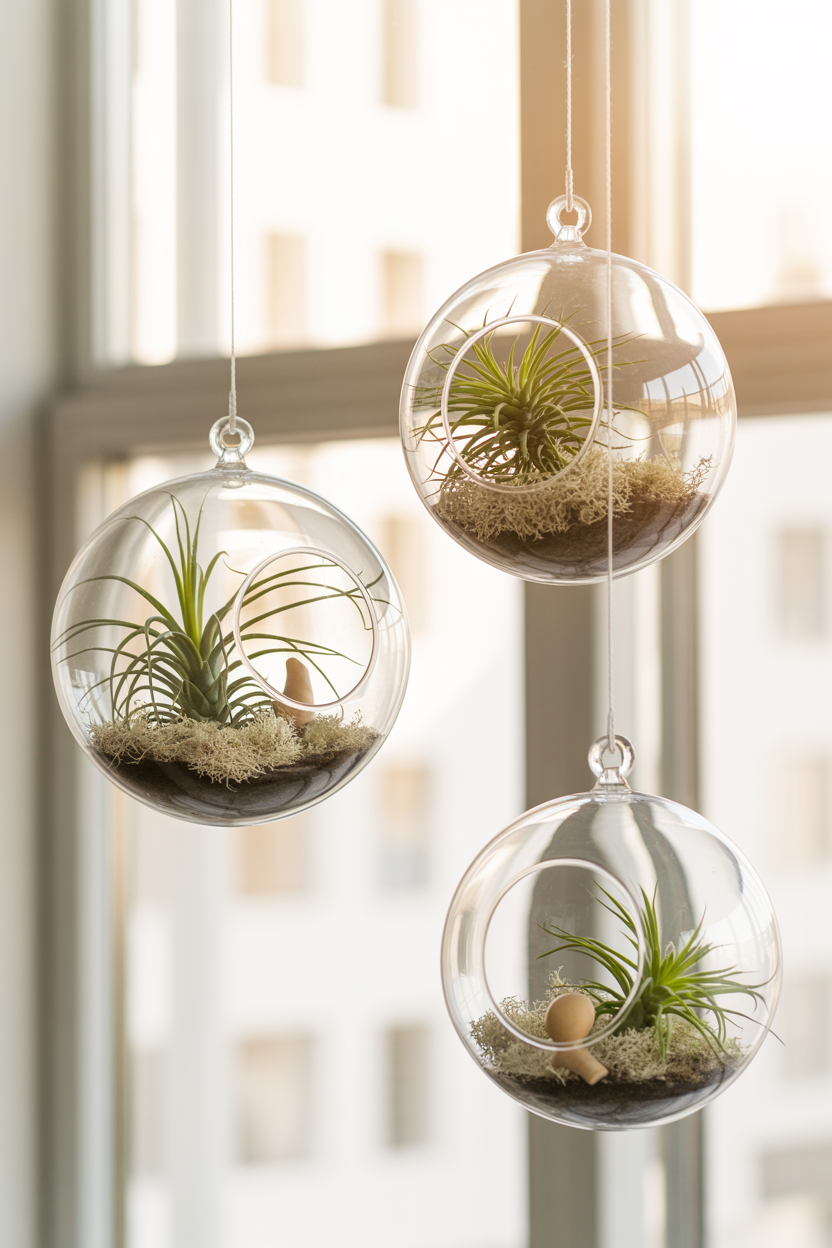
4. Hanging Glass Globe Fairy Garden
Clear glass globe terrariums look like floating bubbles of magic when hung near a window. Fill the bottom with a thin layer of sand or moss, place a small Tillandsia air plant inside, and drape Spanish moss around it for that ethereal forest feel. Add a tiny crystal or small pinecone to complete the scene.
For nighttime magic, thread copper-wire battery fairy lights inside the globe so the battery pack stays hidden behind. Hung in groups of three at different heights, these catch the light beautifully throughout the day.
Styling Tip: Always hang in odd numbers — three or five looks far more natural than pairs. Use a thin jute rope or clear fishing line for an almost invisible hang.
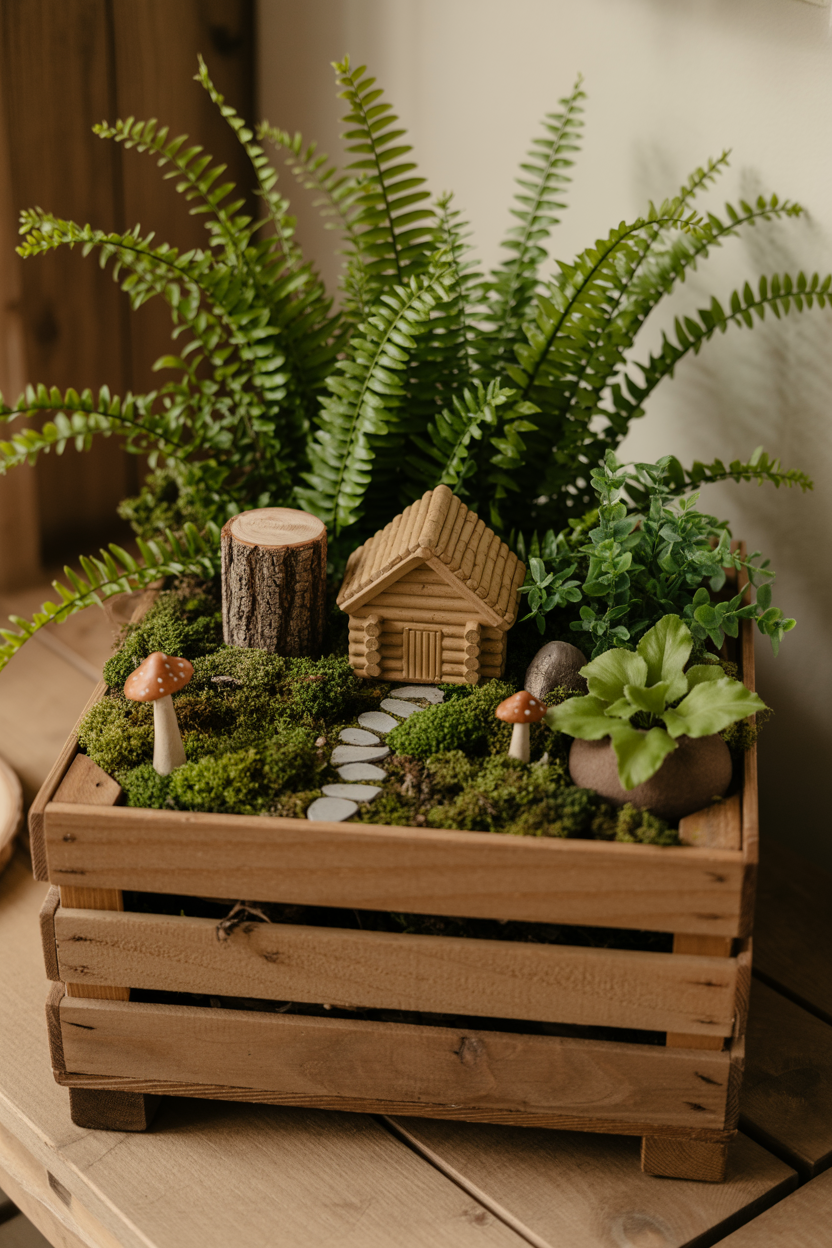
5. Woodland Cottage Fairy Garden in Wooden Crate
A small wooden crate lined with plastic makes a stunning rustic forest scene. Plant button ferns or maidenhair ferns, add preserved moss around the base, and tuck in pieces of bark or driftwood. Position a miniature cottage slightly off-center, then build a pebble path leading to its door.
The secret to making this feel alive is small, layered details — a tiny lantern by the door, miniature mushrooms peeking through moss, a small wooden fence. Even a tiny clothesline with fabric scraps adds real charm.
Styling Tip: Layer plants by height — taller ferns in the back, shorter moss in front. This creates depth and makes the scene feel like an actual forest clearing, not a flat display.
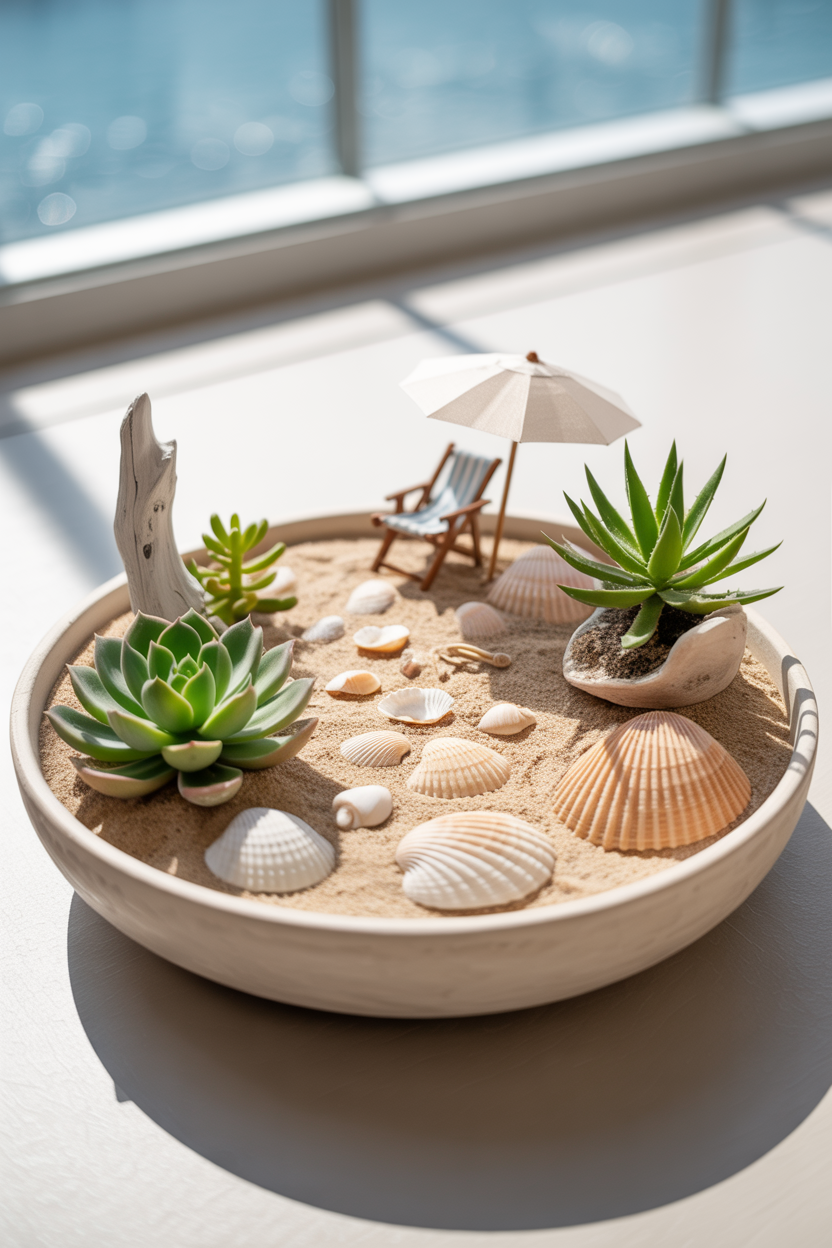
6. Beach-Themed Fairy Garden with Shell Path
A wide, shallow ceramic bowl filled with sand and small succulents can bring serious coastal energy to any room. Use craft store sand in sandy beige or soft turquoise, plant succulents that resemble little tropical plants, and build a shell path leading to a miniature beach house. Add driftwood and beach glass for a natural, collected feel.
Keep decorations light and breezy — a tiny beach chair, a small umbrella, a miniature lighthouse. The key is leaving open “beach” space rather than filling every inch.
Styling Tip: Choose shells in similar color families rather than mixing every type you have. This keeps the palette cohesive and stops it from looking like a cluttered souvenir shelf.
7. Multi-Level Fairy Garden Using Tiered Plant Stand
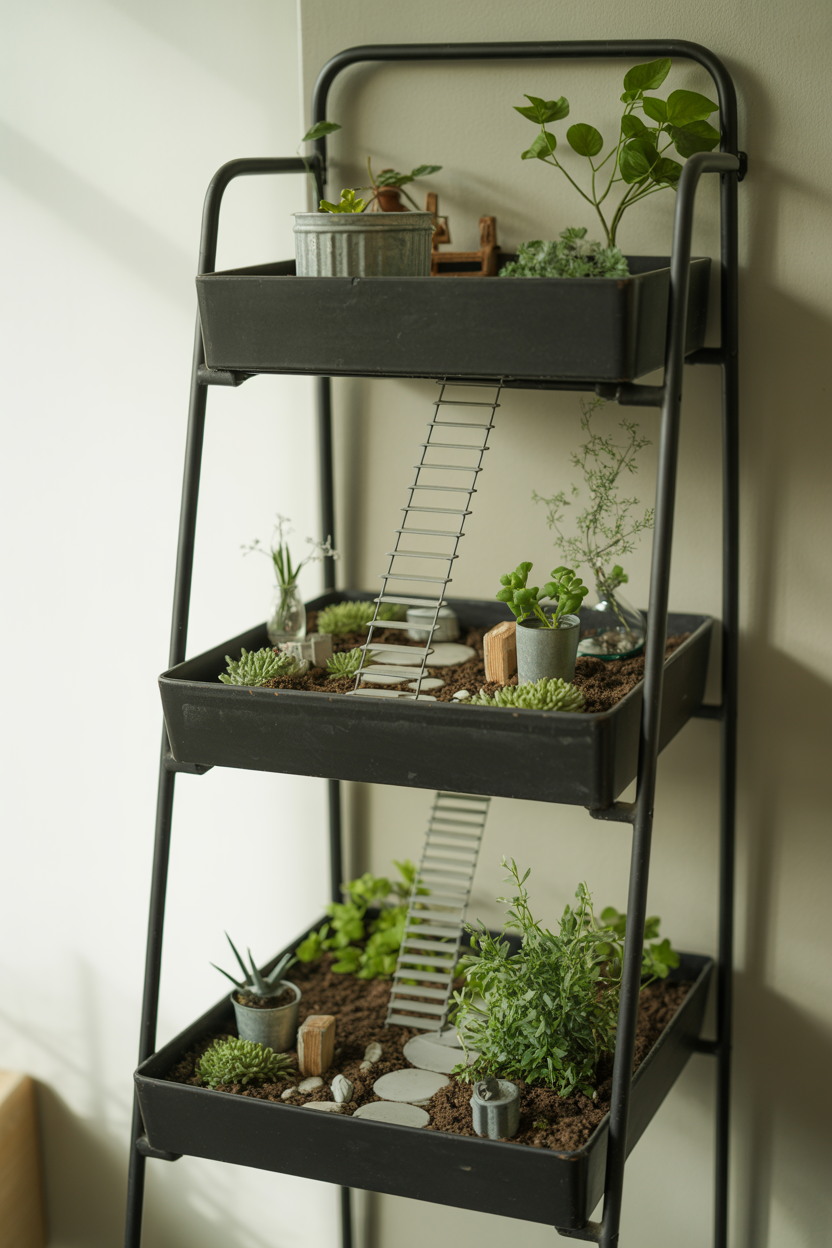
A three-tier metal plant stand lets you create multiple fairy garden scenes that connect as one story. Use the bottom tier for taller ferns as the “forest base,” the middle tier for a cottage garden with medium-sized succulents, and the top tier for your most detailed scene since it is at eye level.
The magic happens with connecting details — a tiny staircase from one tier to the next, or a vine trailing down between levels. Use different container shapes on each tier to keep things interesting, but stick to one color scheme across all three so it feels like a single world.
Styling Tip: Build a journey — darker, denser forest at the bottom, lighter and more open as you go up. This gives the whole display a natural sense of movement and narrative.
8. Mason Jar Fairy Garden Trio
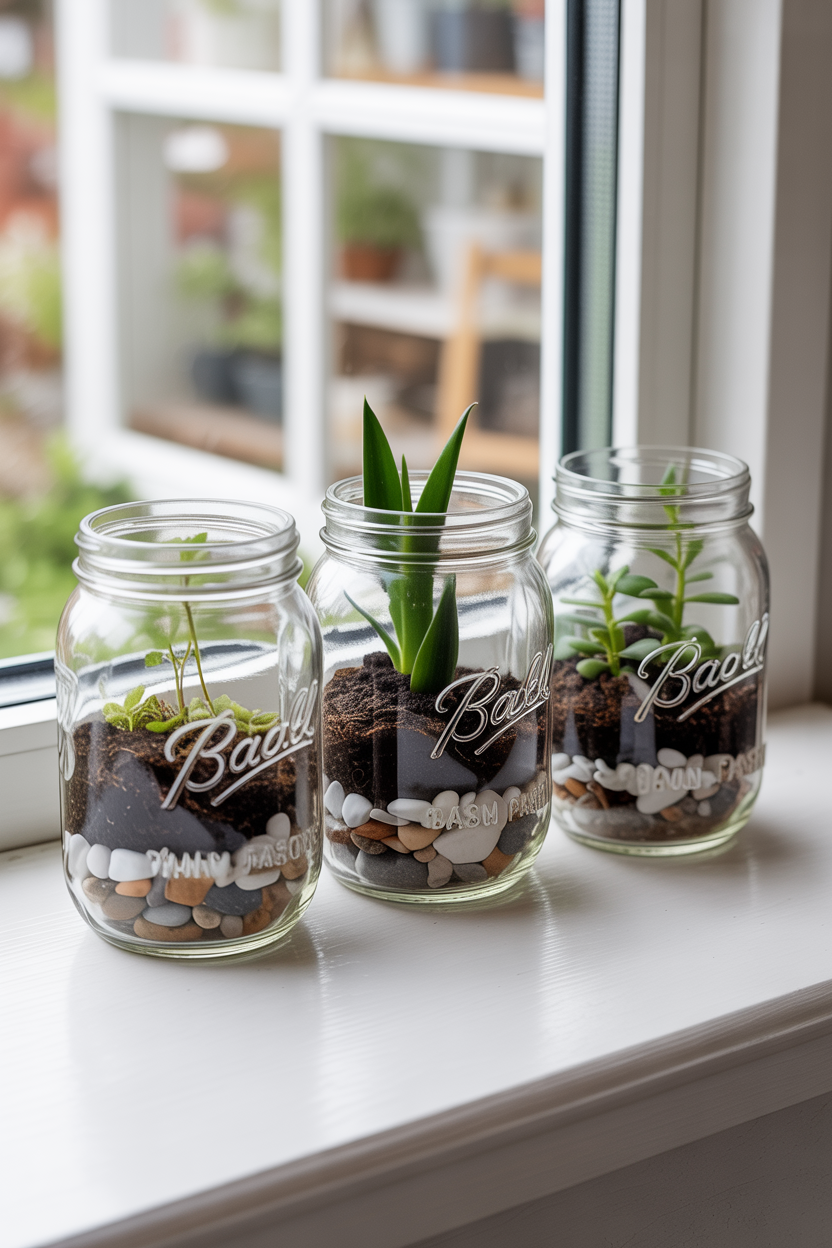
Three wide-mouth mason jars on a windowsill make a surprisingly beautiful display. Give each jar its own theme — a forest scene with ferns and moss, a cottage garden with colorful succulents, and a zen garden with sand and smooth stones. Layer pebbles, charcoal, and soil in each, then plant just one or two small plants per jar.
Because the glass is clear, the soil layers become part of the aesthetic. Use colored sand or decorative stones at the bottom to add visual interest from every angle.
Styling Tip: Remove labels completely for a cleaner look, or add small handwritten chalkboard tags instead. Keep the design in each jar tight — one plant, one focal decoration, nothing more.
I
9. Enchanted Aquarium Fairy Garden
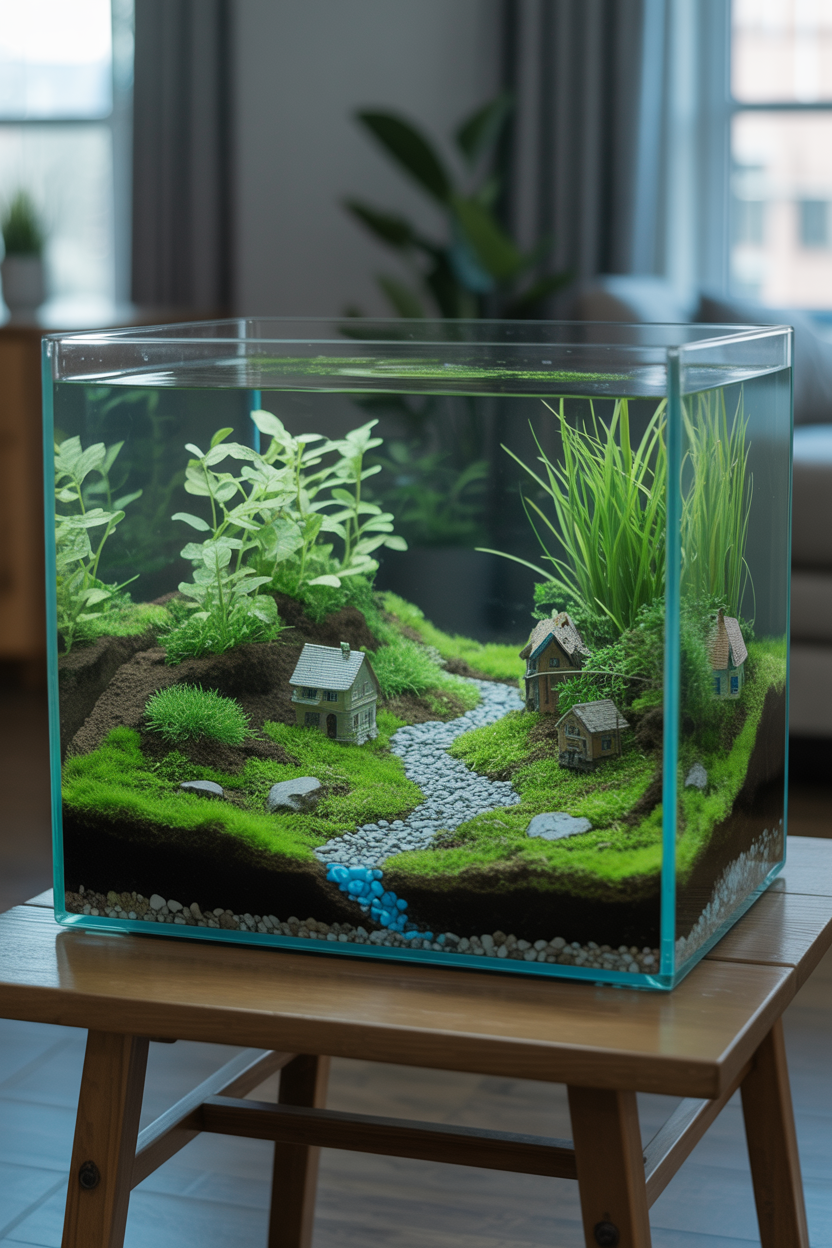
An old 10-gallon fish tank is basically a dream fairy garden container — you can create a full miniature village inside. Add proper drainage, plan your layout before planting, and create distinct zones: a fern forest on one side, a cottage section in the middle, and a garden area on the other. Mound the soil in some areas to create gentle hills.
Use aquarium gravel for pathways, blue glass pebbles as a “stream,” and multiple fairy houses to suggest a real little community. Because glass is visible on all sides, make sure every angle looks interesting.
Styling Tip: Place taller plants toward the back and center, shorter ones near the edges. This keeps the front view clear and clean while the back still looks full and lush.
10. Minimalist Modern Fairy Garden in Concrete Planter
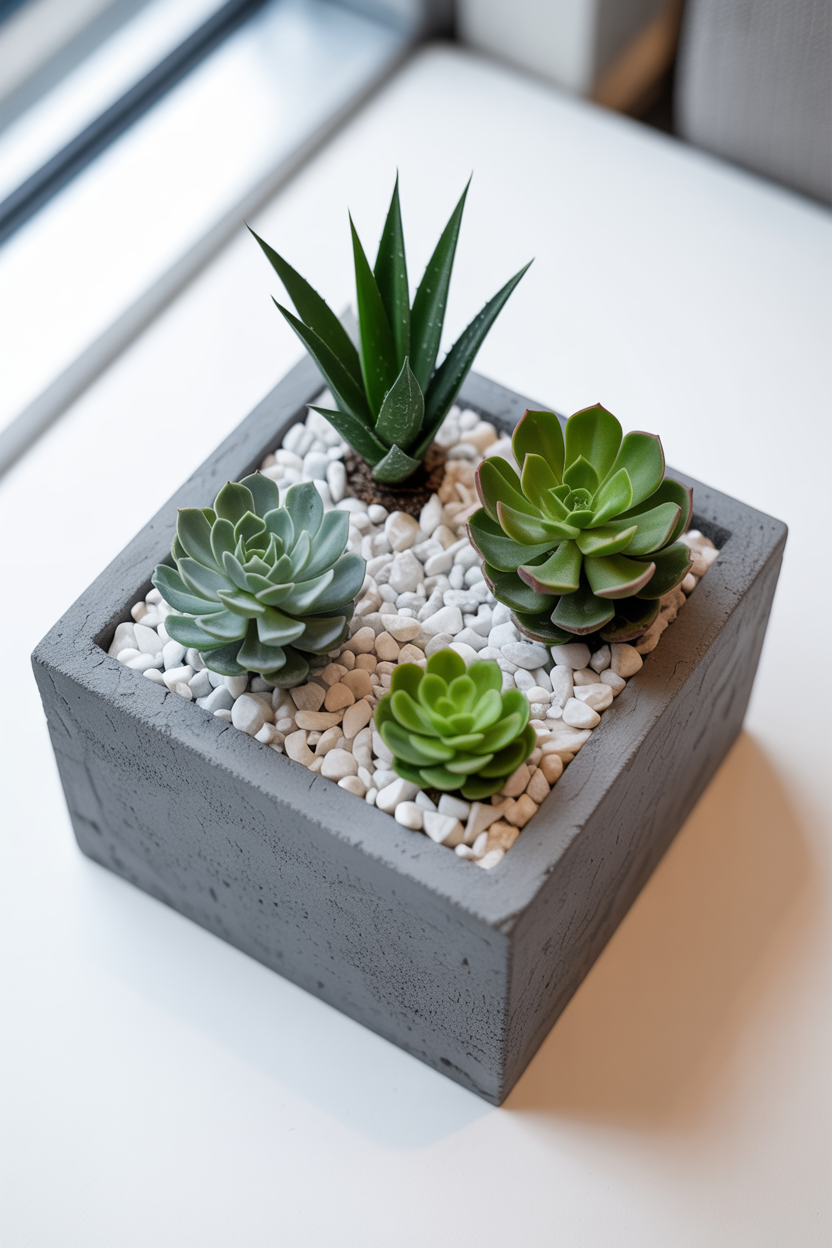
Not every fairy garden needs to be cottage-style. A square concrete planter with three to five architectural succulents — think echeveria, small agave, or geometric varieties — creates something sleek and contemporary. Use crushed white marble or black lava rock as ground cover and choose modern wire furniture or simple abstract miniatures as accents.
Keep the plant selection minimal with real breathing room between each one. The space is not wasted — it is part of the design.
Styling Tip: Resist the urge to fill every corner. In modern design, what you leave out is just as important as what you put in. Negative space makes each plant and decoration stand out more.
11. Fairy Garden Night Light with LED String Lights
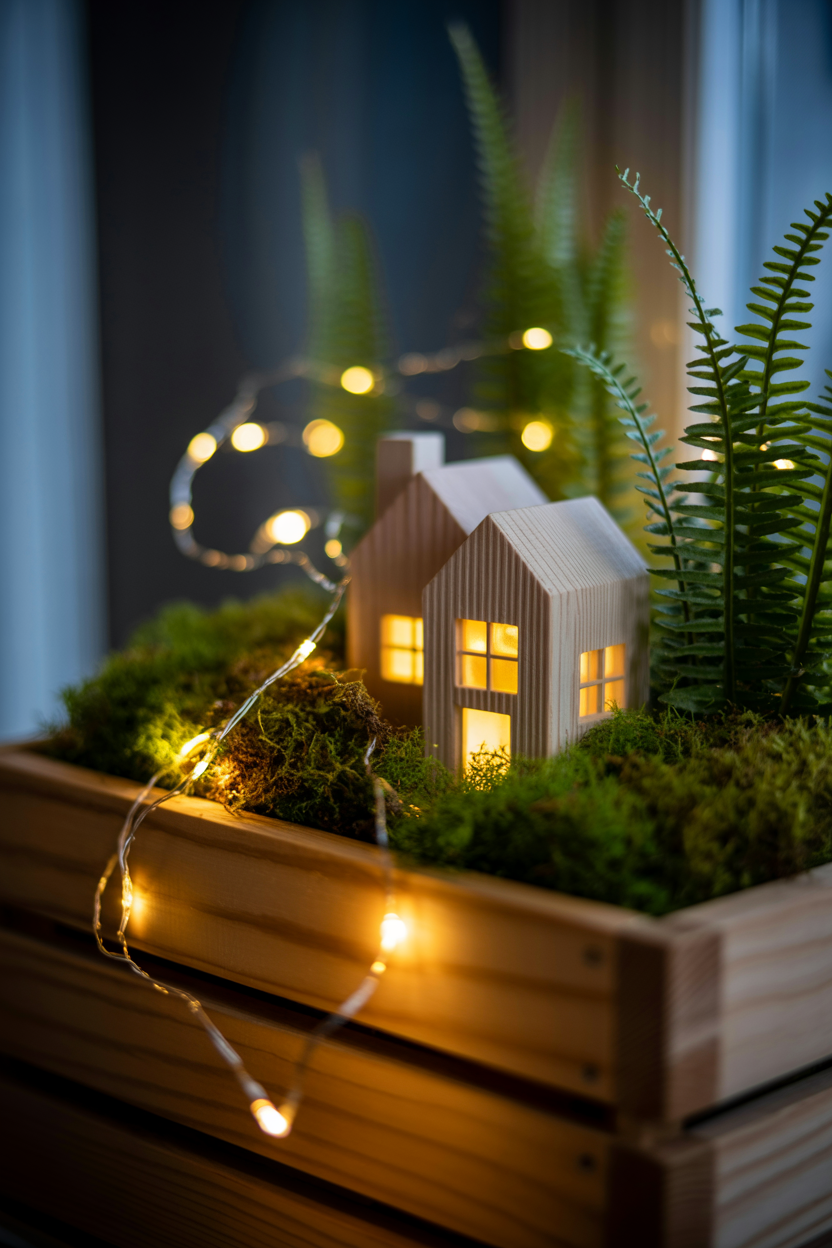
Adding copper-wire battery fairy lights to any garden transforms it completely after dark. Plant small houseplants in a wooden or ceramic container, then weave the lights naturally throughout — through moss, behind tiny houses so windows glow, and along pathways to look like fireflies. Hide the battery pack behind or under the container.
Test the positioning in a dark room before you finalize anything. The placement makes all the difference between “nice” and genuinely magical.
Styling Tip: Always choose warm white or soft yellow lights over bright white. They feel more natural, warmer, and far more enchanting in a small garden setting.
12. Apothecary Jar Fairy Garden with Moss Layers
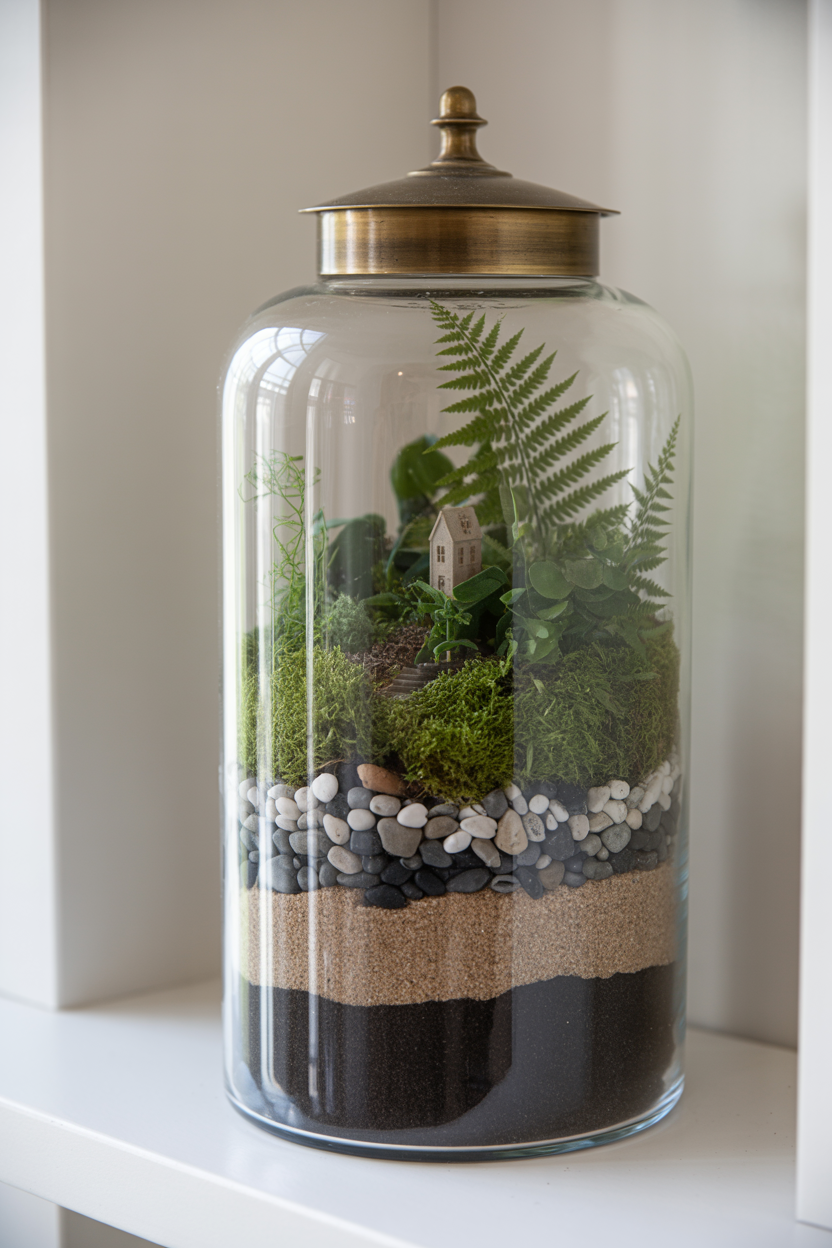
A large apothecary jar with a brass lid creates a stunning vertical display where the layers themselves become part of the beauty. Build from the bottom up: small pebbles, activated charcoal, decorative sand, potting soil, and finally small ferns or fittonia topped with cushion moss. The lid keeps humidity in, so watering is minimal once everything settles.
Position miniatures at different heights inside the jar — a tiny house at soil level and a small butterfly decoration pressed against the glass higher up. The layers visible through the glass make this one genuinely eye-catching.
Styling Tip: Mix plants with different leaf textures — smooth next to frilly, plain green next to burgundy or silver. The variety makes the interior look lush and intentional.
13. Window Box Fairy Garden for Bright Spaces
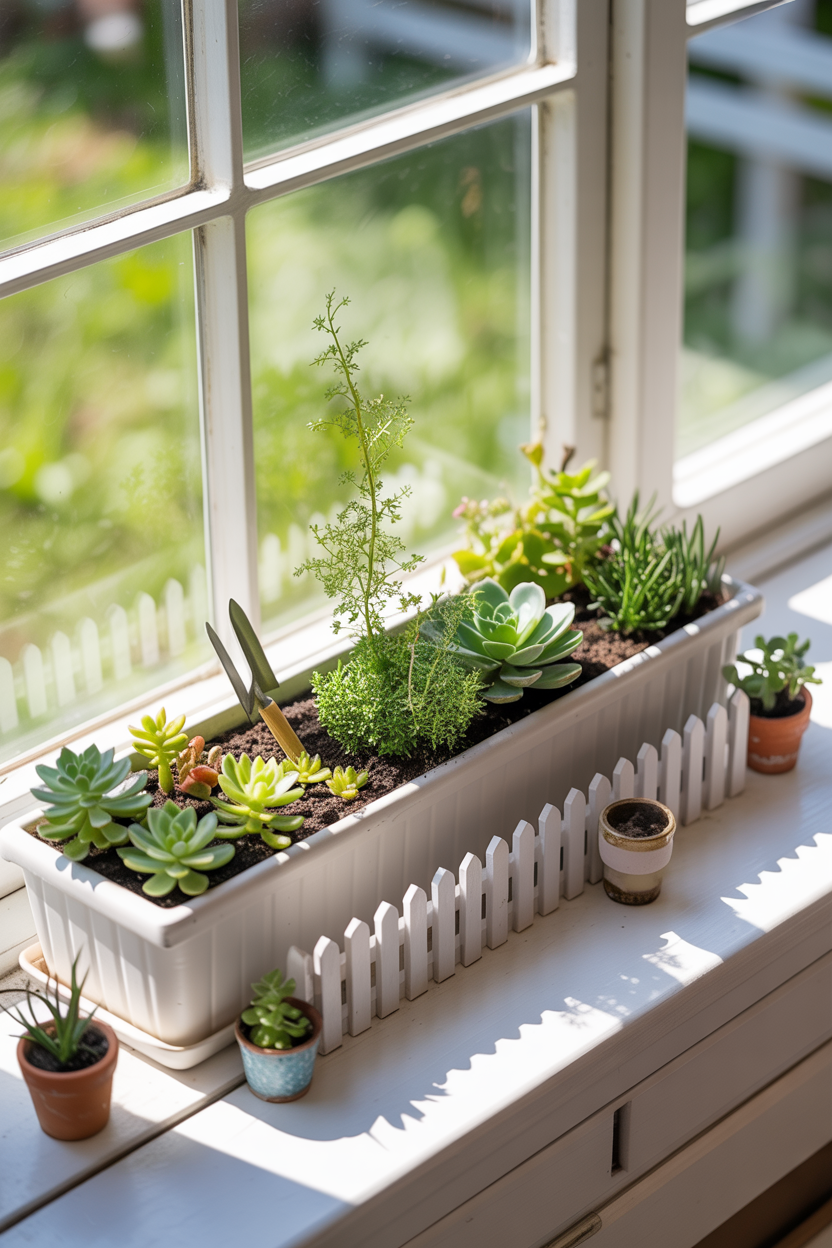
A long rectangular window planter maximizes sunny windowsill space and lets you tell a story across the length. Plant sun-loving succulents or herbs, then divide the space into zones — a cottage scene on one end, an open garden in the middle, a small sitting area on the other end. The horizontal layout naturally creates a narrative.
Add tiny planted markers, miniature watering cans, and small garden tools to make it look like a fairy is actively tending the space. Space elements evenly so the long planter feels balanced, not crowded on one side.
Styling Tip: Use repetition to create rhythm. If you have three similar miniatures, space them at even intervals across the planter. It brings order to the horizontal space and makes it look curated.
14. Fairy Garden in Vintage Drawer
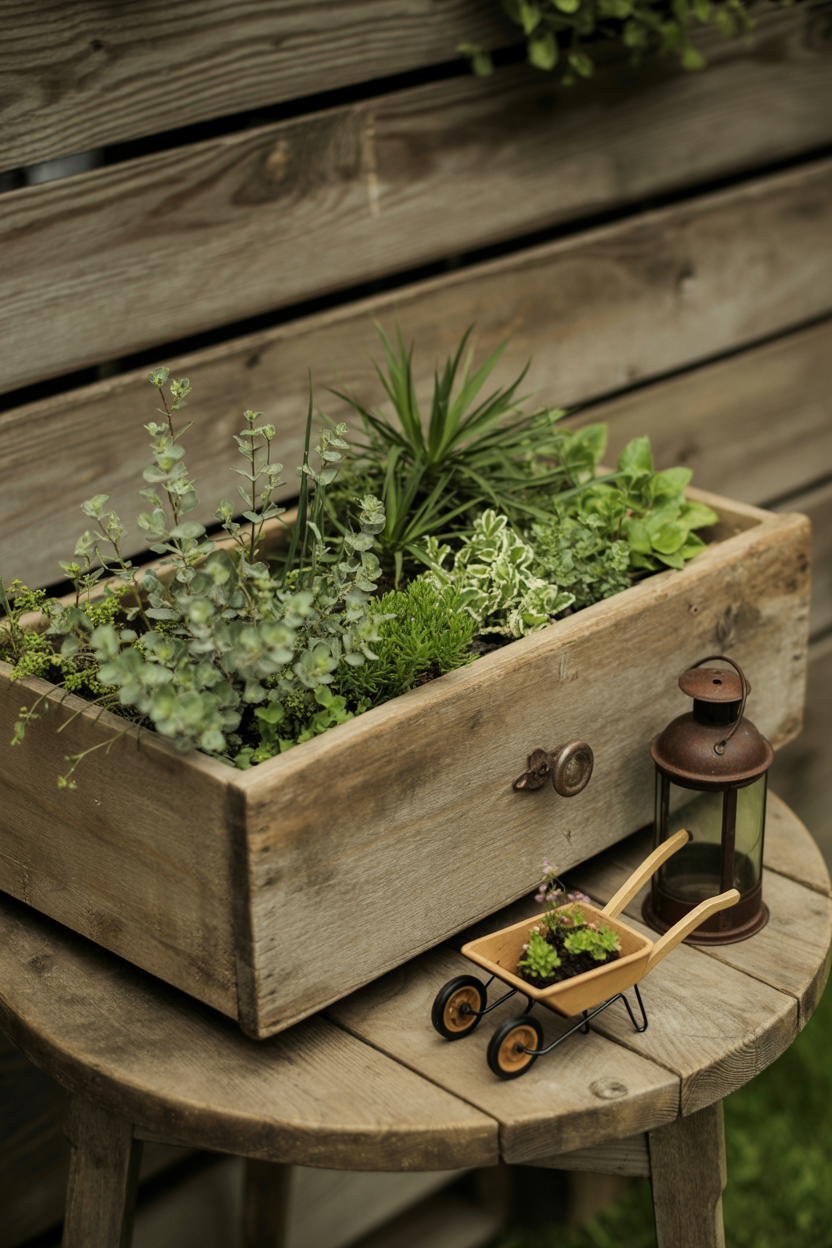
An old dresser drawer pulled from a yard sale becomes something genuinely unique with the right plants and accessories. Drill a few drainage holes, line the interior with plastic, and plant a mix of heights and textures — taller plants in the back, low ground cover in front. The weathered wood adds instant character that no new planter can replicate.
Pair it with vintage-style miniatures: a small metal lantern, a tiny wheelbarrow, a rusty garden gate leaning against one side. The aged aesthetic makes it feel like a hidden garden that has been there for years.
Styling Tip: Keep the accessories vintage all the way through. Mixing weathered wood with bright plastic miniatures breaks the illusion completely. Look for metal or natural wood accents that match the drawer’s patina.
15. Seasonal Fairy Garden with Interchangeable Decor
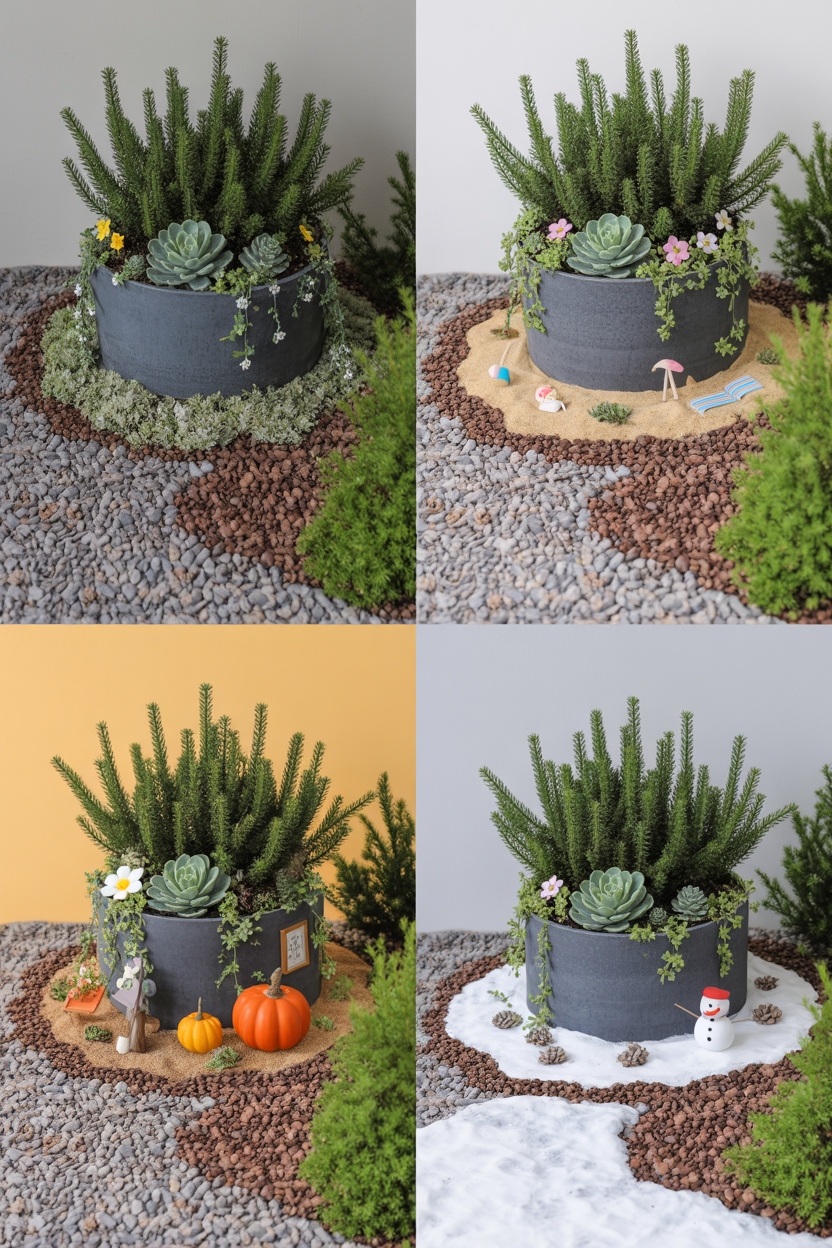
Set up a base garden with evergreen plants like succulents or hardy ferns, a permanent pathway, and a few rocks — then leave open spaces for seasonal decorations you can swap throughout the year. Spring gets tiny flowers and butterflies, summer gets beach chairs and a watering can, fall gets miniature pumpkins and autumn leaves, and winter gets a small snowman and white-painted pinecones.
The plants stay put, but the story changes every few months. It keeps the garden feeling fresh without starting from scratch.
Styling Tip: Store seasonal accessories in separate, labeled small containers so swapping takes minutes, not an hour of searching through tiny pieces. Take a photo of each seasonal setup so you can recreate it next year.
16. Hobbit Hole Fairy Garden with Hidden Door
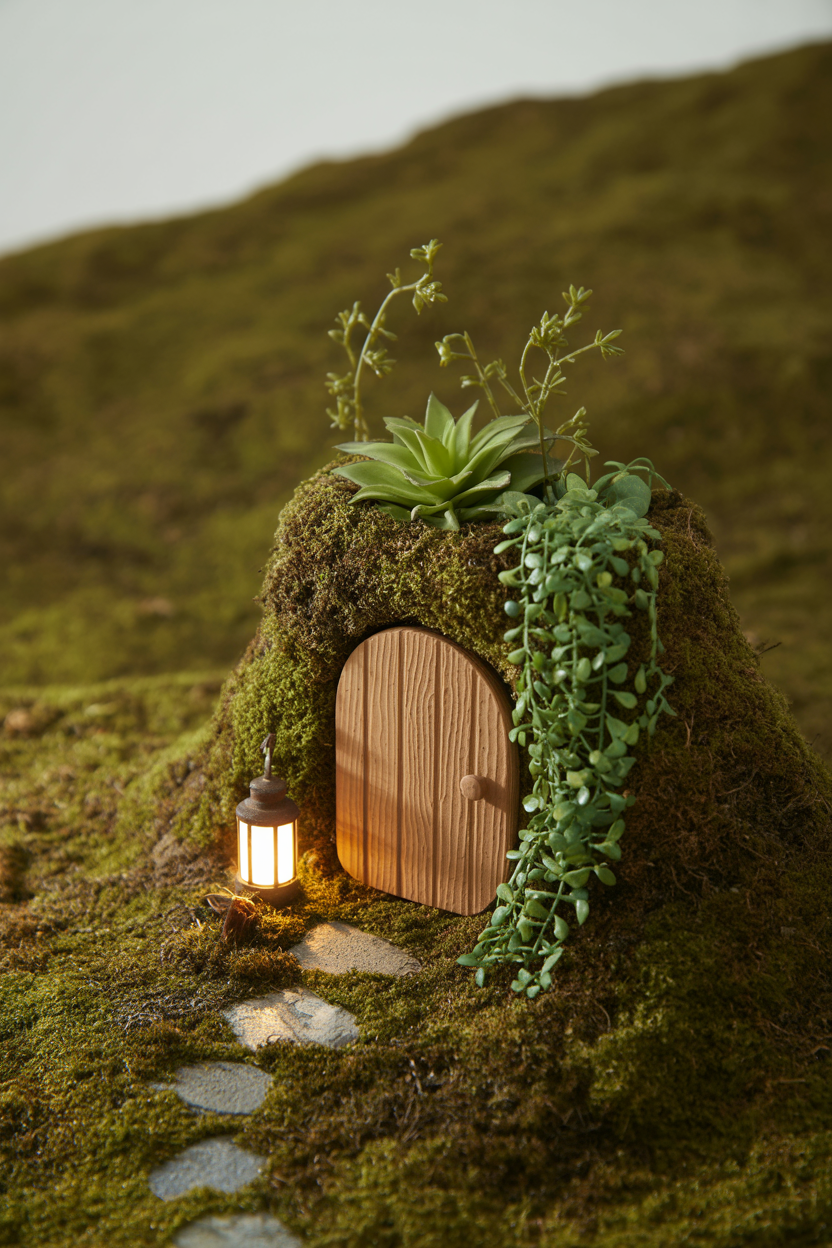
Mound and pack your soil to create a hill on one side of the container, then cover it with moss to hold the shape. Press a round miniature door (found online or shaped from polymer clay) into the hillside so it looks like it genuinely opens into the earth. Add small plants that cascade over the hill’s edge to soften and naturalize it.
The details are what make this one extraordinary — a tiny mailbox by the path, a miniature lantern beside the door, a small bench just outside. Make it feel lived-in.
Styling Tip: Add a thin wisp of pulled grey felt or stretched cotton at the chimney top to suggest smoke. A tiny welcome mat or miniature boots by the door make the scene feel genuinely inhabited.
17. Floating Island Fairy Garden in Wide Bowl
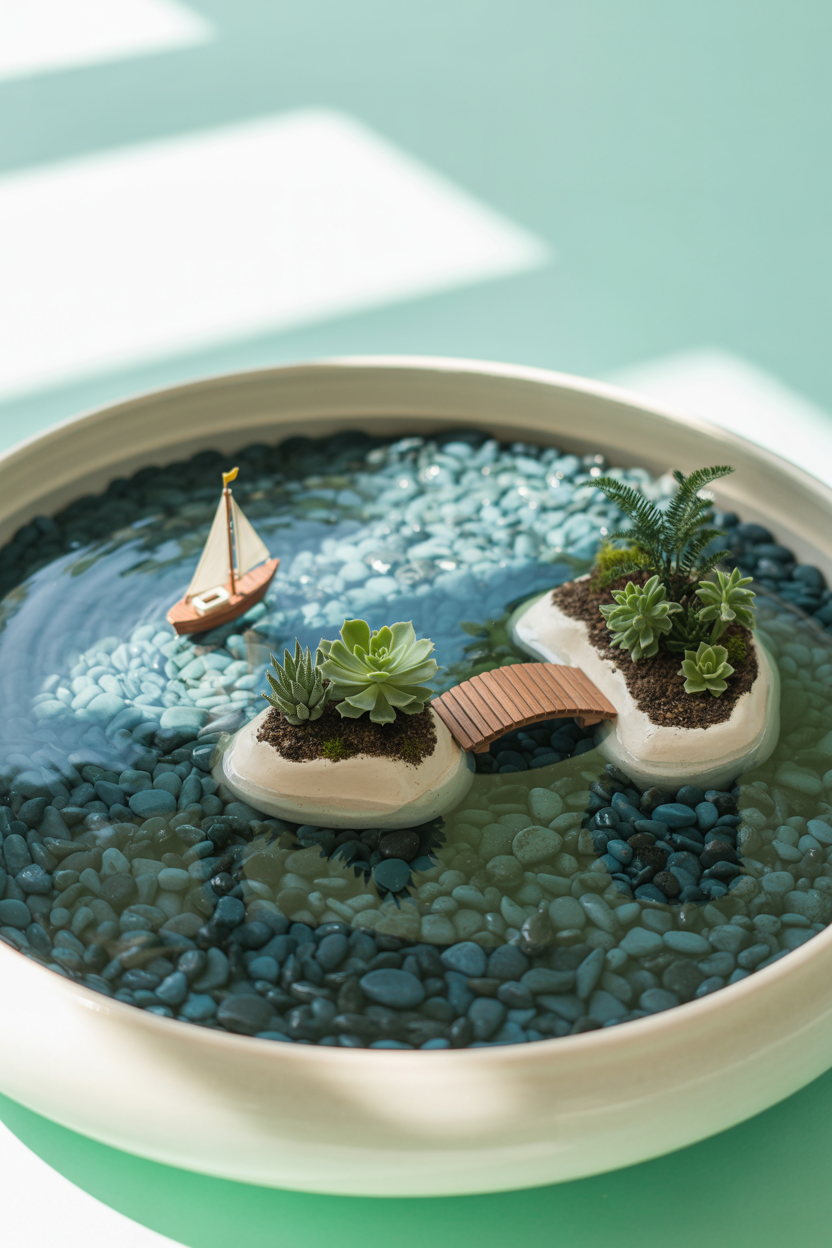
Fill a wide shallow ceramic bowl with blue glass pebbles or aquarium gravel to represent water, then create small “islands” near the edges using soil-filled containers cut down and hidden beneath the surface. Plant small succulents or sedums on each island and connect them with tiny bridges or stepping stones.
Add a miniature boat in the “water” and a small lighthouse on the largest island. The contrast between the blue base and green plants creates a visual effect that genuinely surprises people.
Styling Tip: Use two shades of blue glass — darker in the center, lighter toward the edges. This simple trick creates the illusion of depth and makes the water look far more realistic.
Maintenance Tips for Long-Lasting Fairy Gardens
Watering less is almost always the right call. Containers without drainage need far less water than you think — succulents indoors may only need water every two weeks. Always feel the soil before watering. A closed terrarium can go a month or more between waterings once the ecosystem balances.
Rotate your garden a quarter turn every week so all sides get equal light and plants grow evenly. Every few months, remove dead leaves immediately, wipe foliage gently with a damp cloth to check for pests, and add fresh moss to brighten the whole display.
Common Mistakes to Avoid
The biggest error is overwatering a closed container. If condensation constantly covers the glass, open the lid for a few hours to let it breathe. The second most common mistake is mixing plants with incompatible needs — succulents and ferns cannot share a container because one will always suffer.
Always match the size of your decorations to the size of your plants. A large miniature house next to a tiny plant looks immediately off. And leave open space — a few well-chosen pieces always look better than a crowded scene where nothing stands out.