
If you’ve ever caught yourself avoiding the back corner of your yard when you’re showing someone around your garden, you already know exactly why you’re here. That plain shed sitting there, doing its job but looking a little sad, is one of the most common backyard problems nobody talks about.
Here’s what I’ve learned after landscaping my own shed (and honestly, redoing it once when my first attempt looked more cluttered than cozy): you don’t need a big budget or a professional crew to fix this. A few smart garden shed landscaping ideas, placed in the right spots, can turn that overlooked box into the part of your yard people actually want to see.
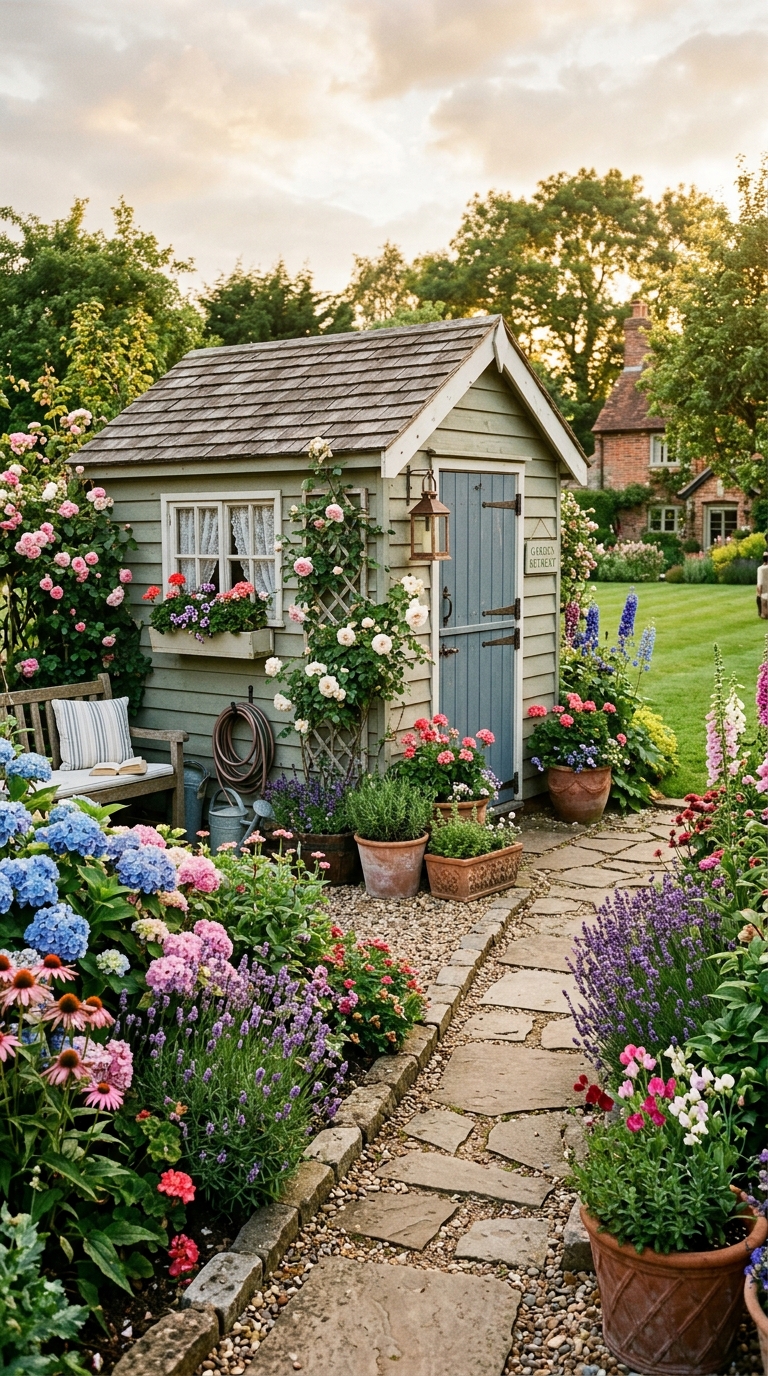
Below, you’ll find 17 real ideas, from $30 weekend fixes to full cottage-style makeovers, plus the styling details, colors, and photo tips that make each one Pinterest-worthy.
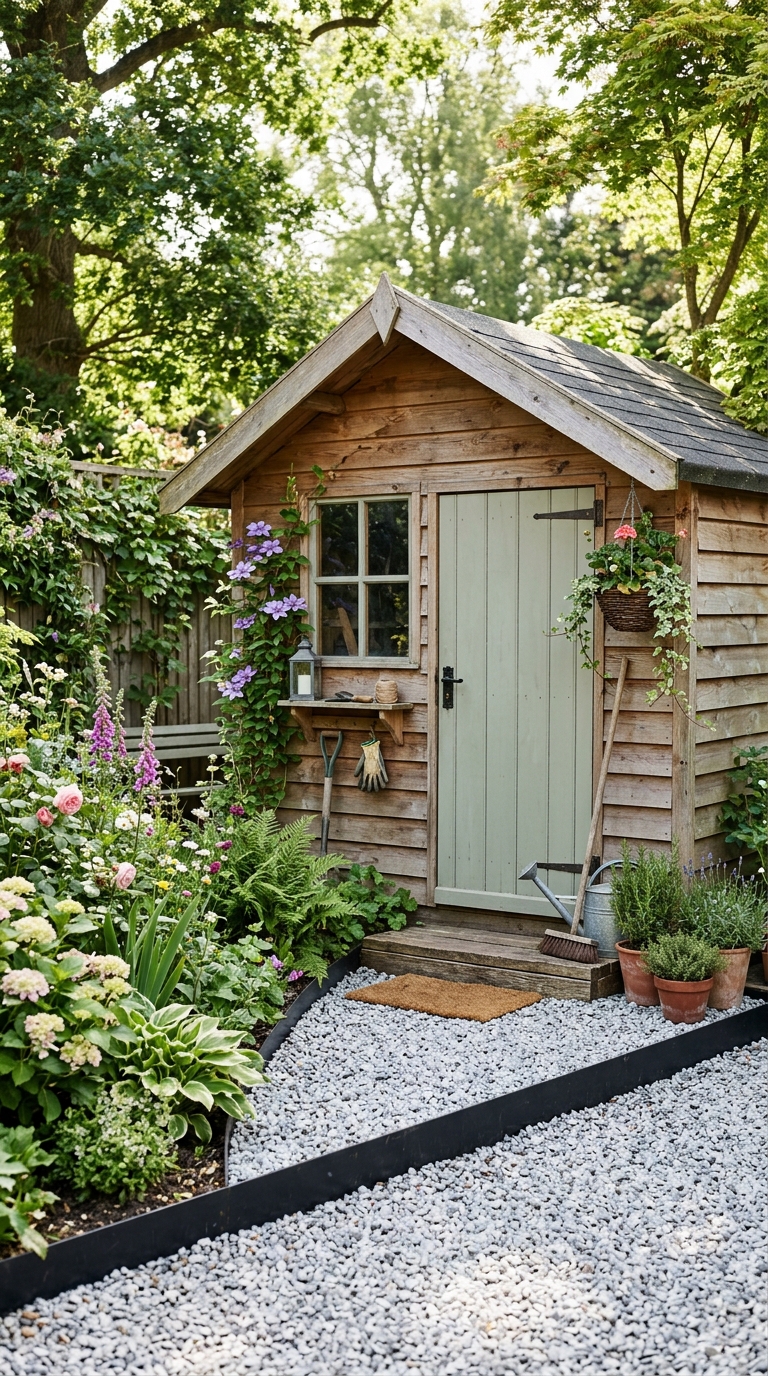
1. Add a Gravel Border With Edging
There’s something about a clean gravel border that instantly makes a shed look like it belongs where it’s sitting instead of like an afterthought someone plopped in the corner. It’s honestly one of the easiest projects on this whole list, and it’s the one I recommend to anyone who’s overwhelmed and doesn’t know where to start.
What I love about this idea is how forgiving it is. You don’t need a green thumb, you don’t need to worry about watering schedules, and it works whether your shed is wood, metal, or vinyl. Lay the edging in a simple curve or a clean rectangle, fill it with pea gravel, and just like that, the base of your shed looks intentional instead of neglected.
Styling Tip: Shoot the border from a low angle right after watering nearby plants — wet gravel photographs more richly and darkly, giving the whole scene more depth.
Best Color Palette: Warm Gray Gravel + Weathered Wood + Sage Green
Why You’ll Love It:
- Costs almost nothing compared to other landscaping projects
- Takes a single afternoon from start to finish
- Works with literally any shed style or color
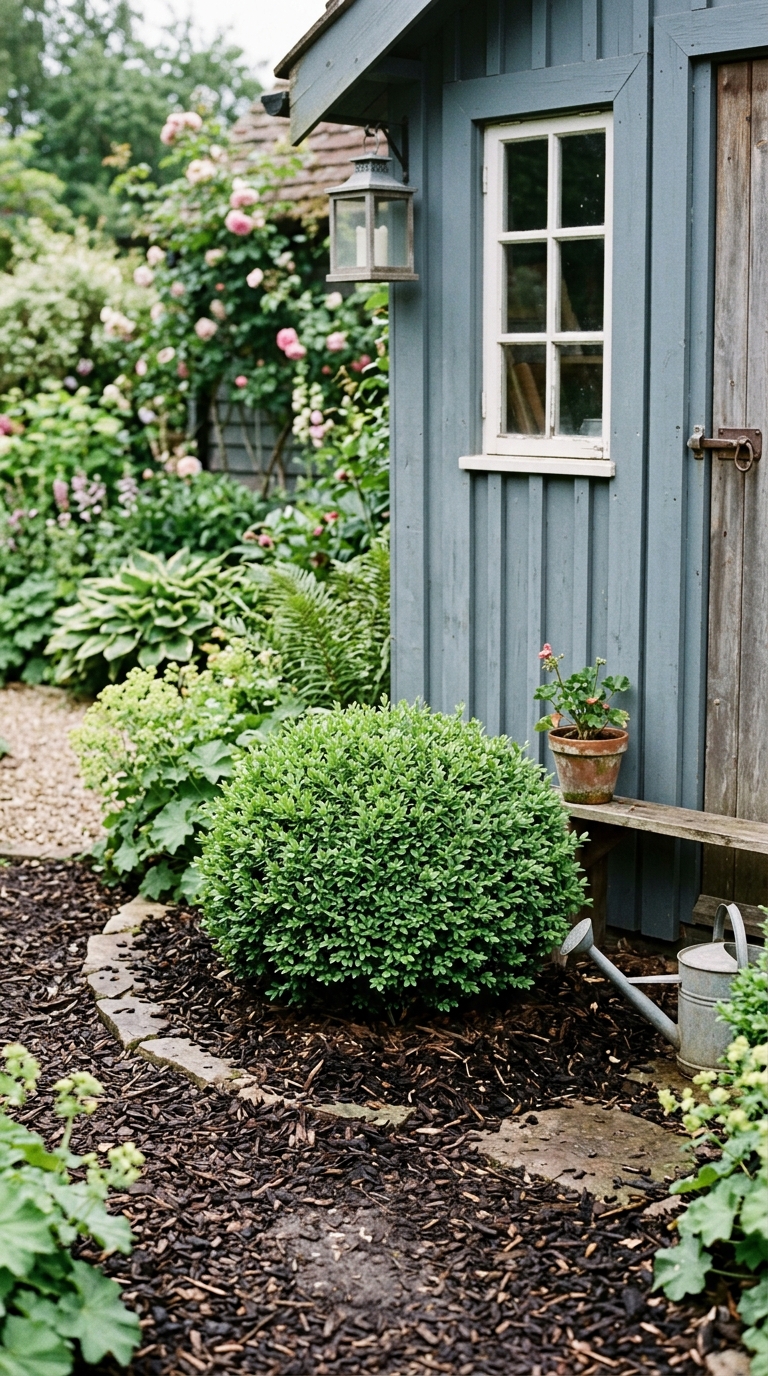
2. Add Mulch and One Shrub
Sometimes the simplest ideas are the ones that end up looking the most designed, and this is a perfect example. One well-chosen shrub, tucked into fresh dark mulch, gives your shed a finished, cared-for look without asking much of you.
I’ll be honest, when I first tried this, I almost skipped the shrub entirely and just did mulch on its own. It looked fine, but adding that one dwarf boxwood is what made the corner actually feel styled instead of just cleaned up. Sometimes one good plant does more work than ten scattered ones.
Styling Tip: Frame the shot so the shrub sits slightly off-center, with the shed corner in the background — it reads more like a designed vignette than a straight-on snapshot.
Best Color Palette: Deep Espresso Mulch + Boxwood Green + Charcoal Siding
Why You’ll Love It:
- Very low upkeep once it’s planted
- Adds year-round greenery, even in winter
- Easy to scale up later with more shrubs if you want
3. Paint Just the Trim, Not the Whole Shed
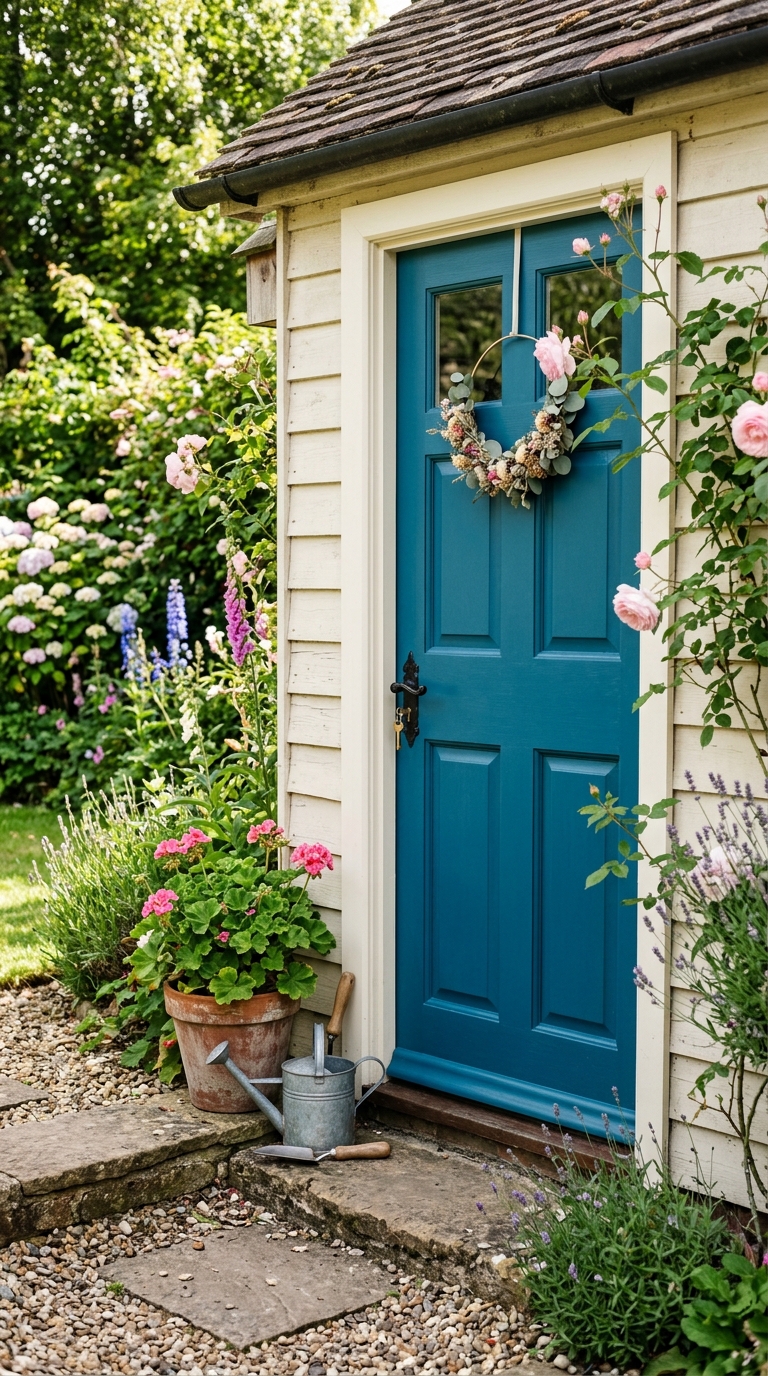
If your shed’s siding is holding up fine but the whole thing feels tired, this is the fix nobody tells you about. You don’t need a full repaint. You need a can of paint and one afternoon focused only on the door and trim.
What makes this idea so satisfying is the payoff-to-effort ratio. A soft sage door on gray siding, or a deep navy trim against white paneling, completely changes how the shed reads from across the yard, even though you barely touched it. It’s the landscaping equivalent of a bold lipstick — small detail, big impact.
Styling Tip: Style a small potted plant or a woven basket right next to the freshly painted door before photographing — it gives the color something to play off of.
Best Color Palette: Soft Sage Door + Warm Gray Siding + Natural Wood Accents
Why You’ll Love It:
- One of the cheapest, highest-impact updates on this list
- No plant knowledge or ongoing care required
- Easy to match to your home’s existing color scheme
4. Add a Piece of Secondhand Garden Art
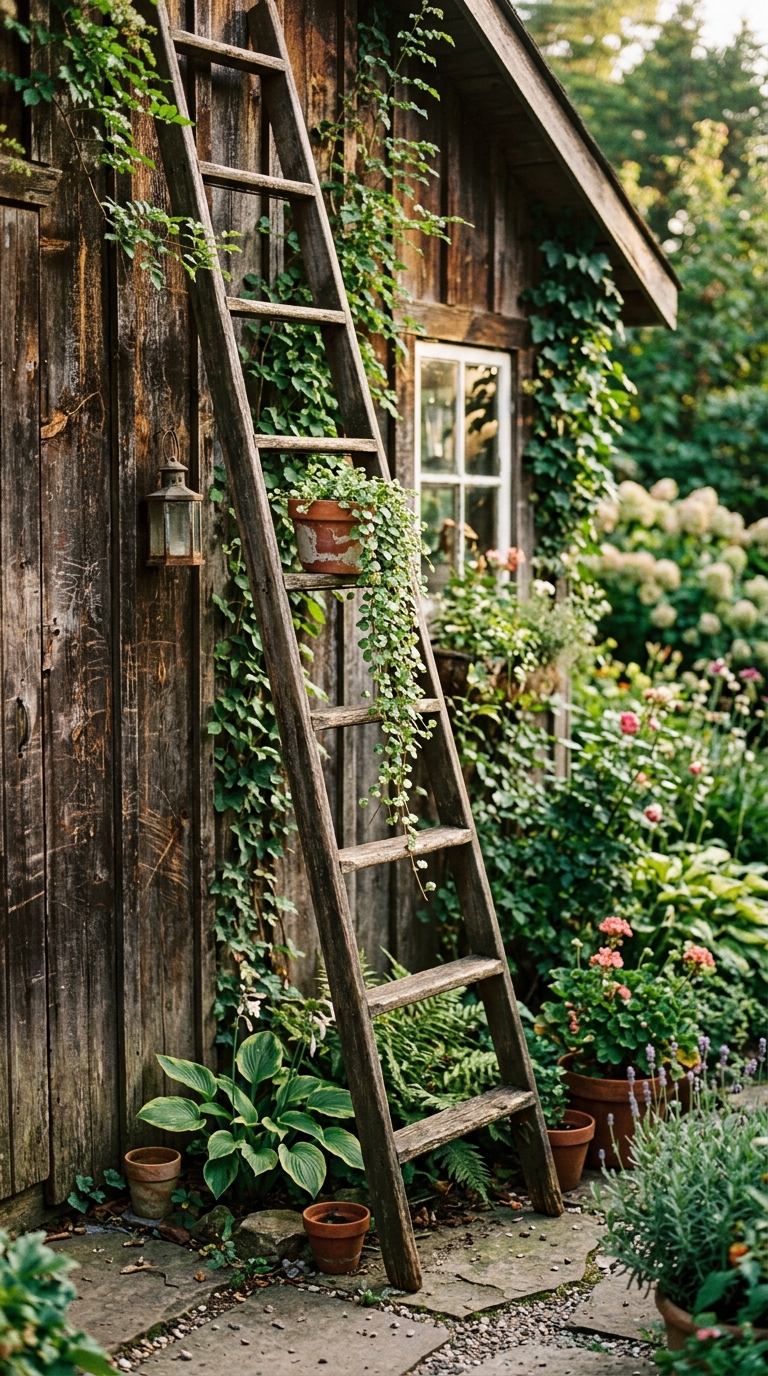
This one’s for anyone who isn’t ready to commit to plants yet but still wants their shed to feel finished. An old ladder, a weathered sign, or a repurposed window leaned casually against the wall does more for personality than you’d expect.
I found my ladder at a garage sale for five dollars, and it’s still one of my favorite backyard details three years later. There’s something about a slightly worn, secondhand piece that makes a space feel lived-in and collected, rather than store-bought and staged.
Styling Tip: Add one small trailing plant hanging from the top rung or corner of the piece — it softens the edges and gives the eye somewhere to land.
Best Color Palette: Weathered Wood + Rust Patina + Soft Green
Why You’ll Love It:
- Costs little to nothing if you shop secondhand
- Adds instant character and personality
- No watering, pruning, or ongoing care needed
5. Plant Ornamental Grasses Along the Base
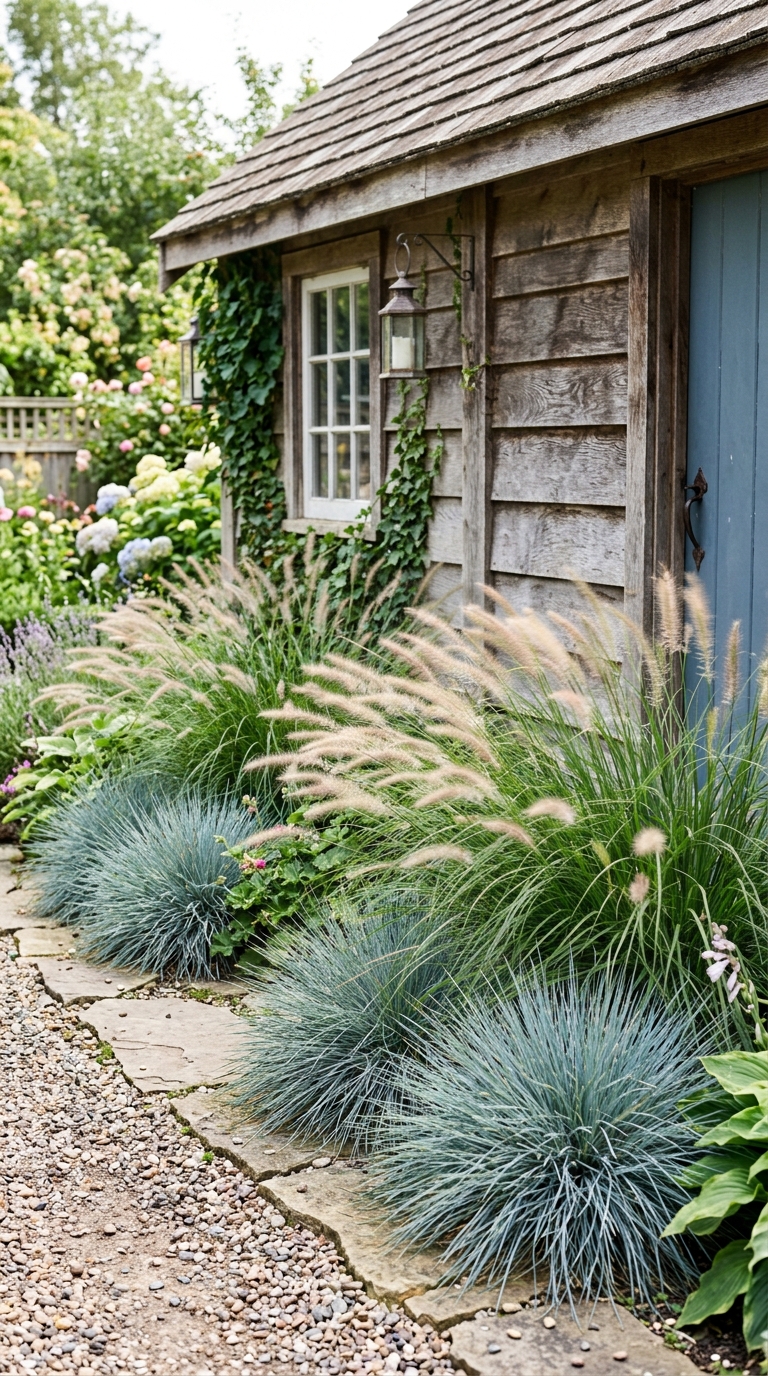
If you want a shed that looks good with almost zero effort after planting day, ornamental grasses are your best friend. Blue fescue and dwarf fountain grass barely need watering once they’re settled in, and they bring a kind of movement to the space that flowers just can’t match.
What I like most is how they change through the seasons without you doing anything. They’re soft and full in summer, golden and textured in fall, and they still add interest in winter when most flower beds have gone quiet. It’s landscaping that keeps working even when you’re not.
Styling Tip: Photograph on a slightly breezy day — the movement in the grass blades adds life and energy that still photos usually miss.
Best Color Palette: Silvery Blue Fescue + Warm Wood Tones + Soft Sand
Why You’ll Love It:
- Extremely low water and maintenance needs
- Adds texture and movement that other plants can’t
- Looks good in every season, not just summer
Quick Designer Tip
When you’re layering textures like gravel, mulch, and grasses near a small structure like a shed, keep your color palette to three tones max. It’s an easy way to make budget materials look like they were chosen on purpose, not just whatever was on sale that week.
6. Replace Struggling Grass With a Gravel Path
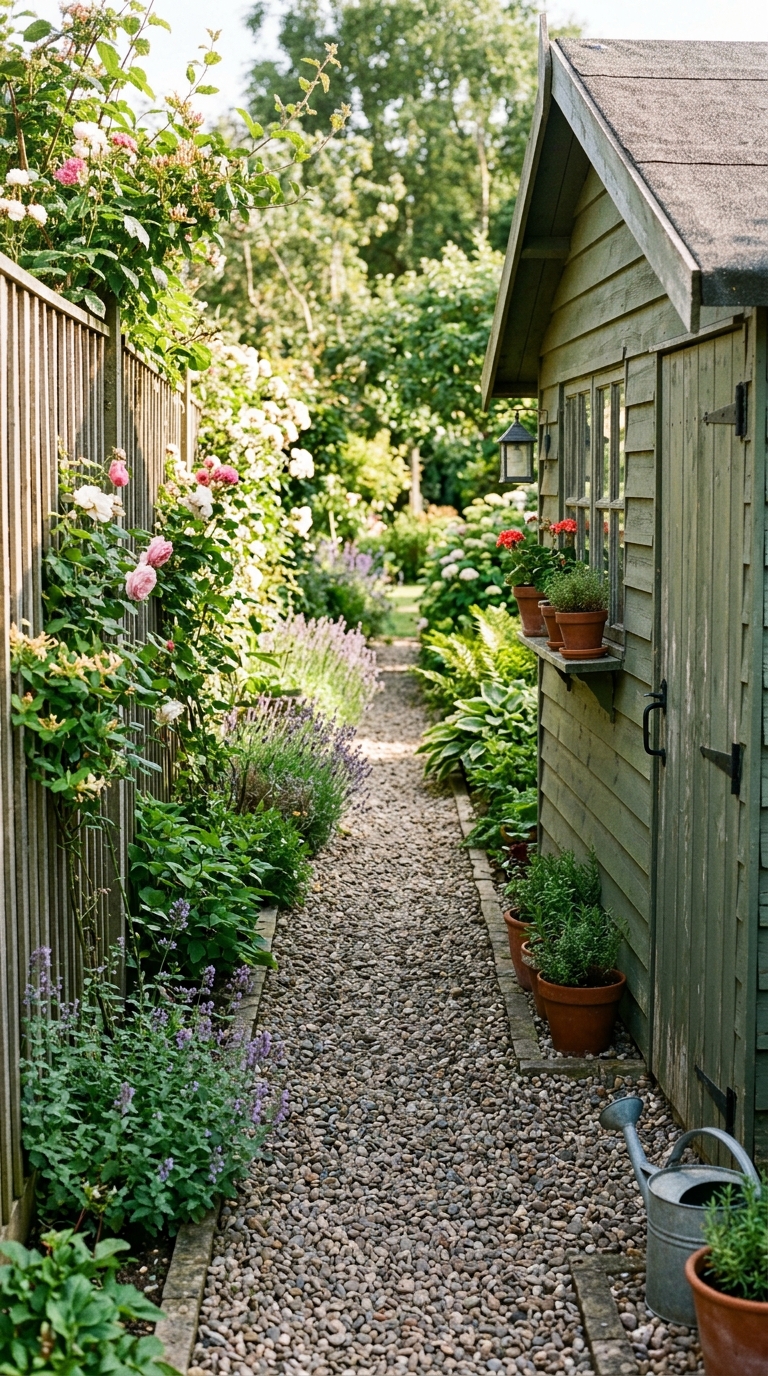
That narrow, sad strip of grass between your shed and the fence isn’t your fault. It’s just not getting enough sun or airflow to survive, no matter how much you water it. Swapping it for a gravel or stepping-stone path solves the problem permanently.
Once you make this switch, that awkward side yard stops being a spot you avoid and actually becomes part of your walking path to the shed. It’s a small change, but it changes how you use the whole space, not just how it looks.
Styling Tip: Photograph the path from the shed door looking outward — it creates a natural leading line that Pinterest users love to save and repin.
Best Color Palette: Natural Stone Gray + Moss Green + Weathered Fence Brown
Why You’ll Love It:
- Ends the endless cycle of trying to grow grass where it won’t
- Zero mowing, ever
- Adds function, not just looks
7. Use Succulents in a Raised Planter
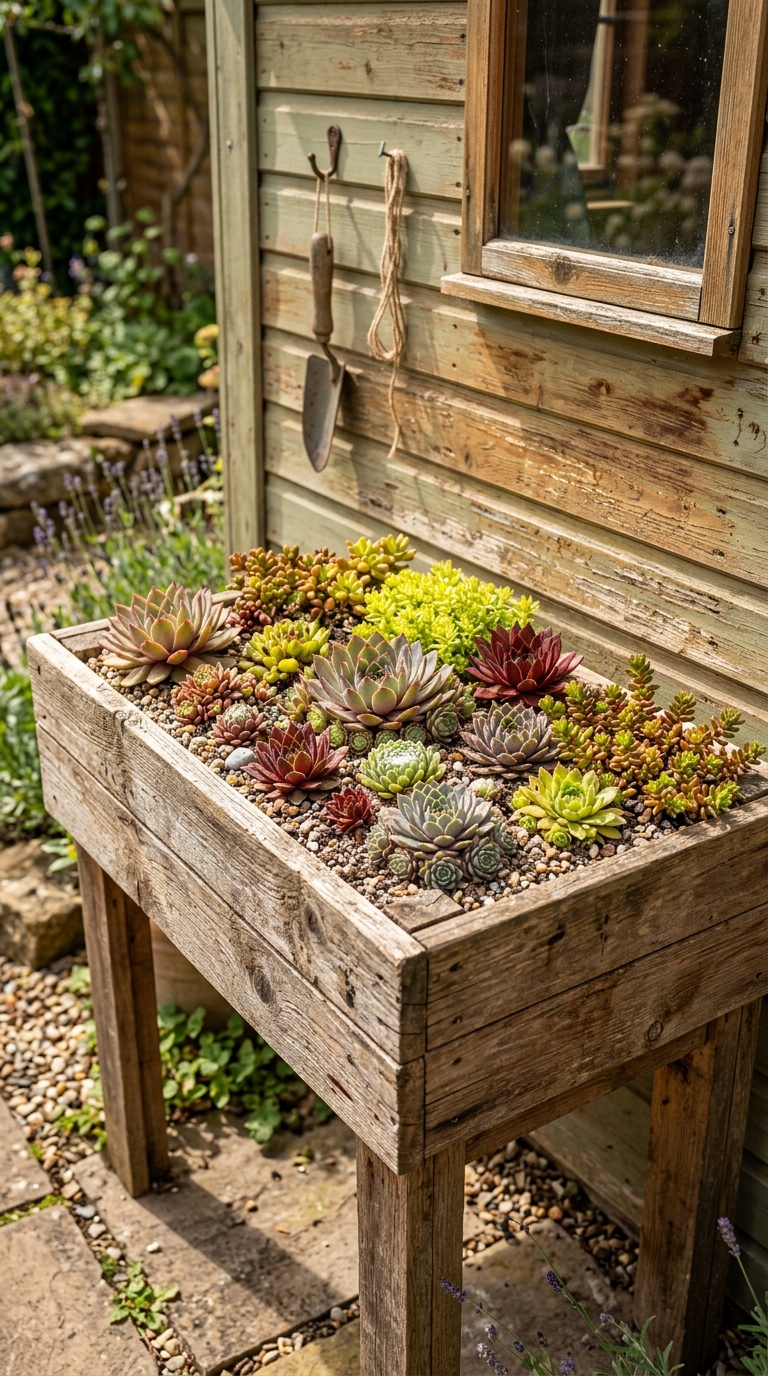
Hot, sunny sheds are notoriously hard to landscape because most flowers just wilt by early afternoon. Succulents solve that problem beautifully. A raised planter filled with sedum or hens-and-chicks barely needs watering, even in the peak of summer.
They also have this sculptural, almost architectural quality that regular flowers don’t. If your shed sits in a spot that gets brutal afternoon sun, this is genuinely one of the least stressful ideas on the whole list, for both you and the plants.
Styling Tip: Style the planter with succulents at slightly varying heights instead of all the same size — the uneven texture photographs far more interestingly.
Best Color Palette: Sage Succulent Green + Weathered Wood Planter + Terracotta
Why You’ll Love It:
- Needs watering only a few times a month
- Thrives in the hottest, sunniest spots
- Adds a modern, sculptural look
8. Swap Mulch for Ground Cover
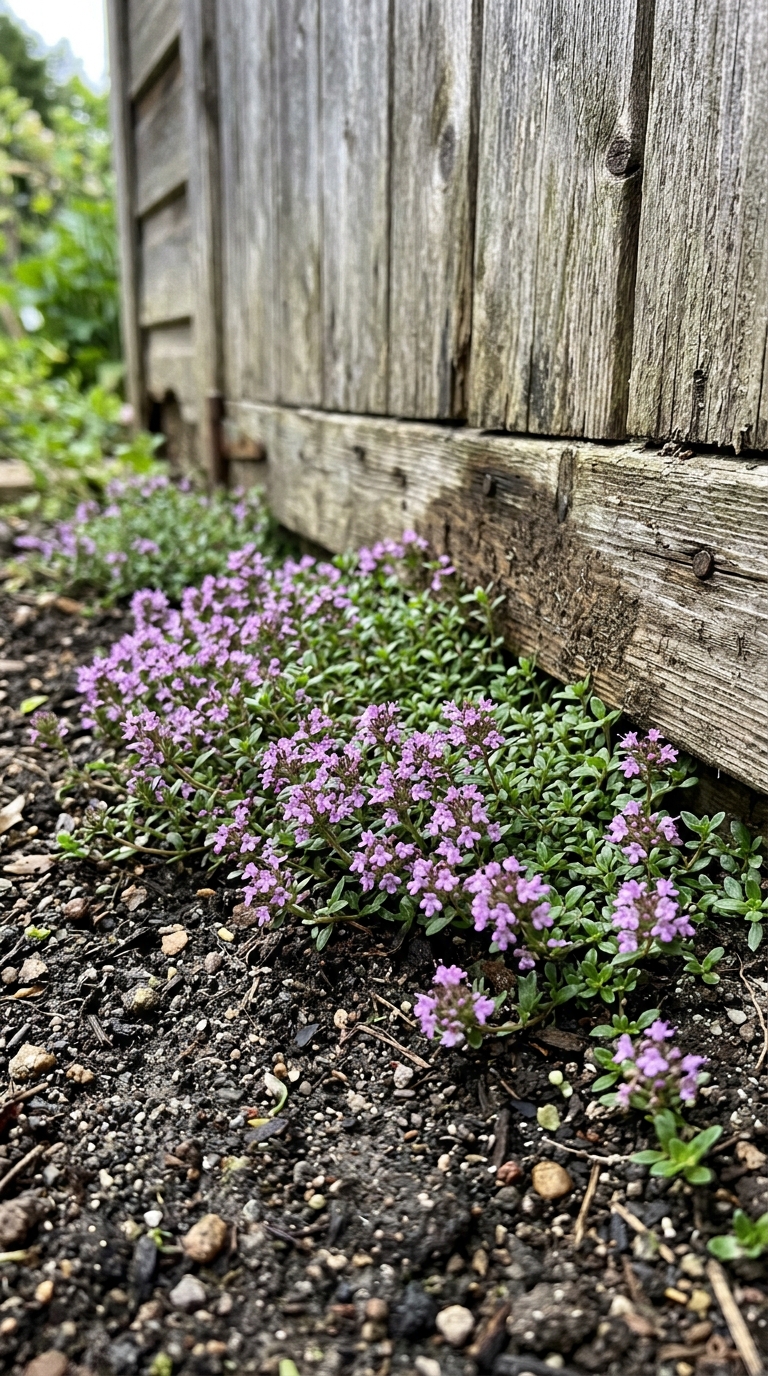
Here’s a small switch that saves you a real chore every single year: instead of buying fresh mulch each spring, plant a spreading ground cover like creeping thyme or sedum once, and let it take over the job permanently.
It takes a season or two to fill in, so this one takes a little patience. But once it’s established, it chokes out weeds on its own and just keeps expanding, which means less work for you every year that follows.
Styling Tip: Get down low for the photo, almost at ground level, to capture the small blooms and texture that ground cover offers up close.
Best Color Palette: Soft Purple Thyme Blooms + Green Foliage + Natural Stone
Why You’ll Love It:
- Eliminates yearly mulch shopping and spreading
- Naturally suppresses weeds over time
- Gets thicker and prettier every year
9. Build a Cottage Garden Border
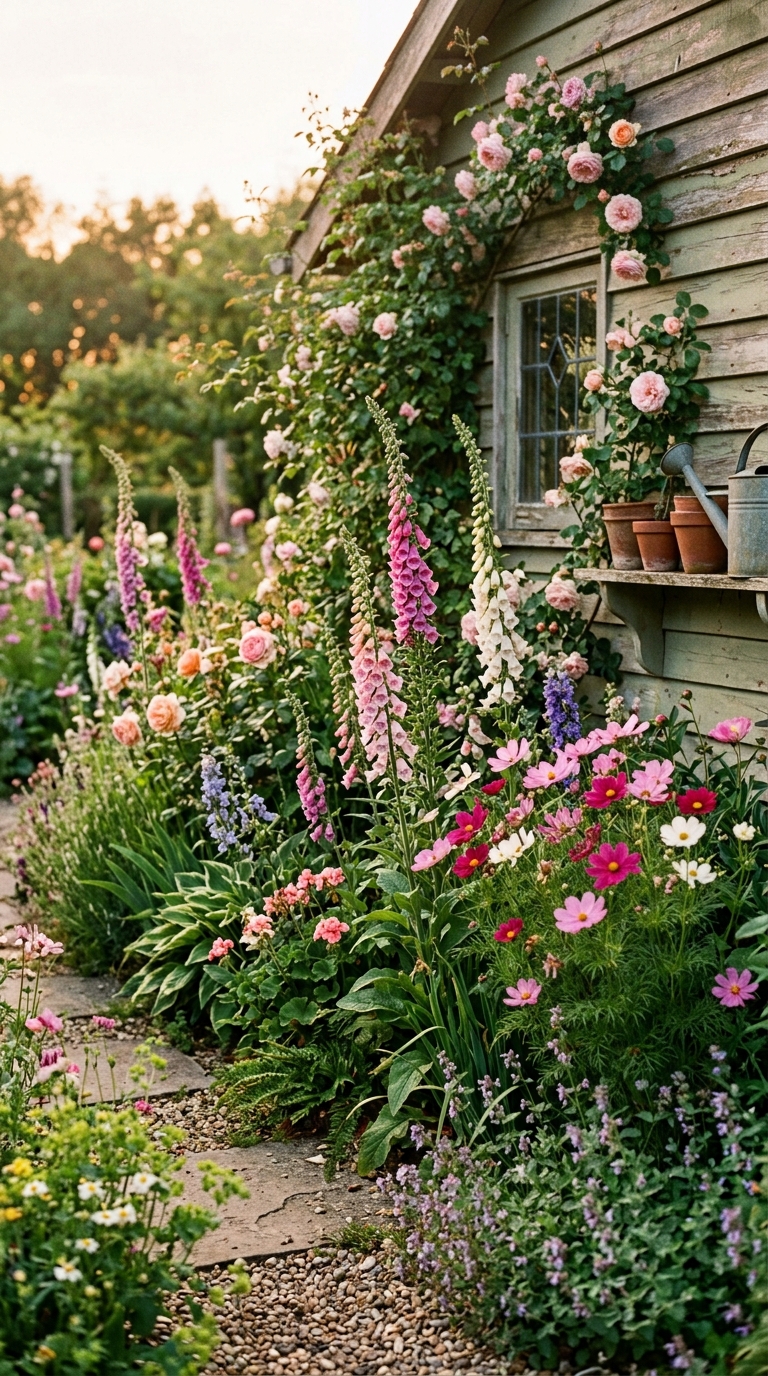
If you want your shed to feel like it’s been part of the garden for decades, even if you just built it last spring, this is the idea to try. Layering classic cottage flowers, like foxglove, hollyhock, cosmos, and daisies, creates that soft, romantic, slightly wild look people search Pinterest for constantly.
The trick is height order. Keep the tall stuff toward the back so it’s not blocking your shed door, and let the shorter varieties spill forward. Give it a season or two, and these flowers will actually self-seed and fill in even more, so the look genuinely gets better with time instead of fading.
Styling Tip: Photograph in late afternoon golden light — cottage flowers photograph warmer and dreamier right before sunset than at midday.
Best Color Palette: Blush Pink + Buttercream Yellow + Soft Sage Green
Why You’ll Love It:
- Gets fuller and prettier every year
- Adds serious color and charm
- Perfect for creating a “cottagecore” aesthetic
10. Train a Climbing Vine on a Trellis
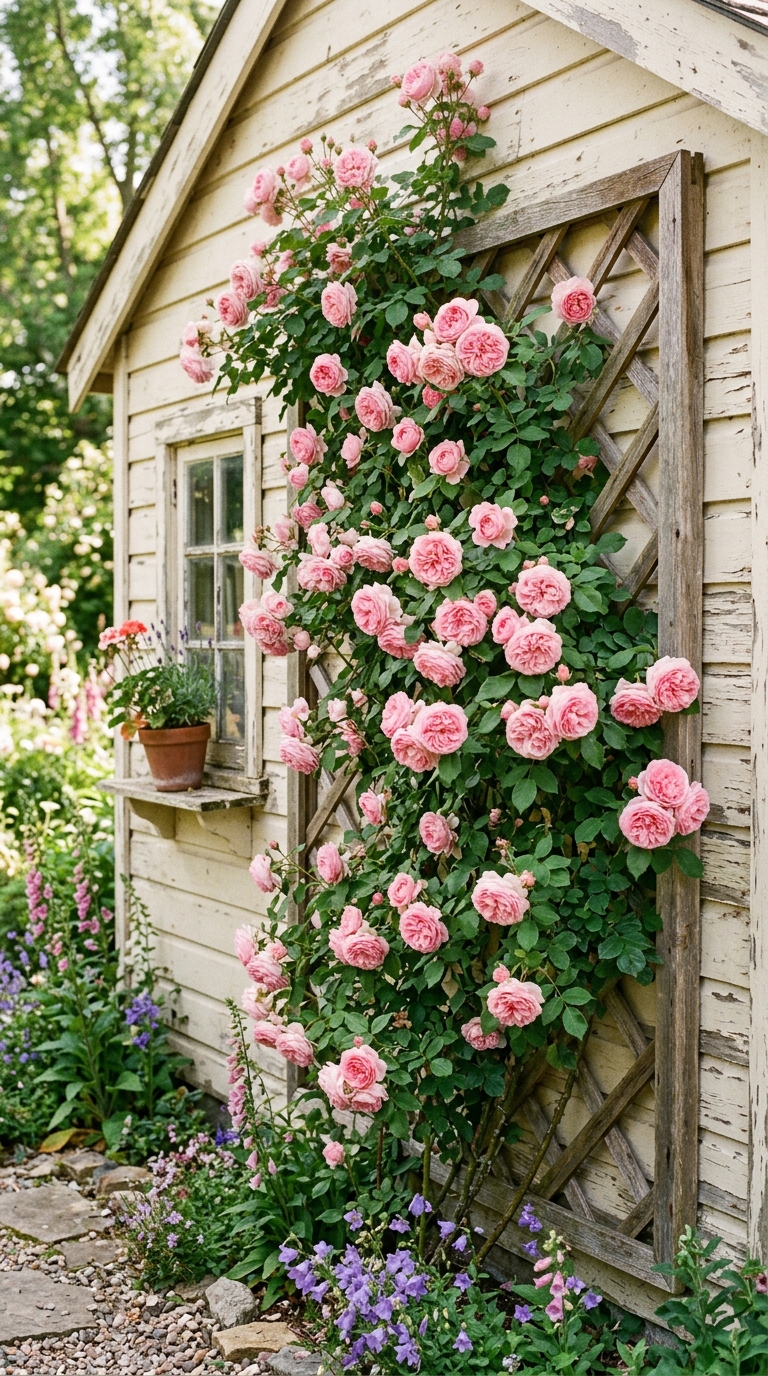
Out of every idea on this list, this might be the one that gets the most “wait, you did that yourself?” reactions. A simple trellis attached to the shed wall, paired with a climbing rose or clematis, softens the whole structure and draws the eye upward, all from a tiny footprint of ground space.
It does take patience. Vines usually need a full season or two to really fill in and start putting on a show. But once they do, it’s honestly one of the most photogenic ideas on this entire list, and it works even in narrow side yards where there’s no room for a flower bed at all.
Styling Tip: Shoot slightly upward from below the trellis to emphasize the height and make the vine feel even more lush and full.
Best Color Palette: Climbing Rose Pink + Weathered Trellis Wood + Deep Green Foliage
Why You’ll Love It:
- Huge visual impact from a tiny footprint
- Softens even the plainest shed wall
- Gets more beautiful with every passing season
Quick Designer Tip
Anything vertical, like a trellis or lattice panel, should sit a few inches off the shed wall rather than flush against it. It’s a tiny detail, but it keeps moisture from getting trapped, which means your climbing vine idea will actually last instead of causing problems down the road.
11. Add Window Boxes to the Shed Itself
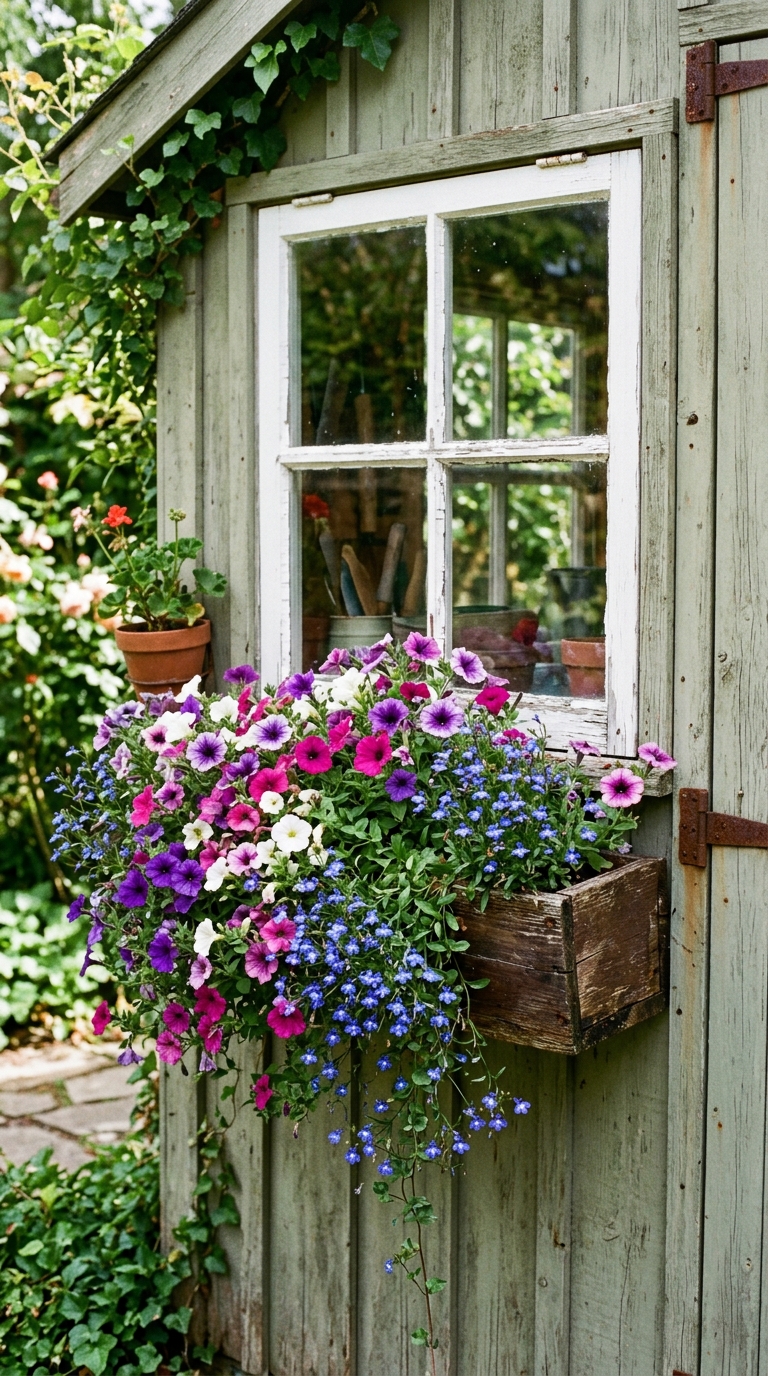
If your shed has windows, or you’re willing to add faux ones just for the look, window boxes are a shortcut to instant charm. Trailing flowers like petunias or lobelia spilling over the edge put color right at eye level, exactly where people notice it first.
This idea is especially handy if your shed sits on pavement or gravel where there’s no ground space to plant at all. Since the box sits above ground, you also skip most of the drainage worries that come with in-ground beds near the foundation.
Styling Tip: Let the trailing flowers spill generously over the edge before photographing — a slightly overgrown, lush look reads far more charming than a tidy, trimmed one.
Best Color Palette: Trailing Petunia Purple + Weathered Wood Box + Soft White
Why You’ll Love It:
- Adds color exactly at eye level
- Works even without any ground space
- Skips most drainage and foundation concerns
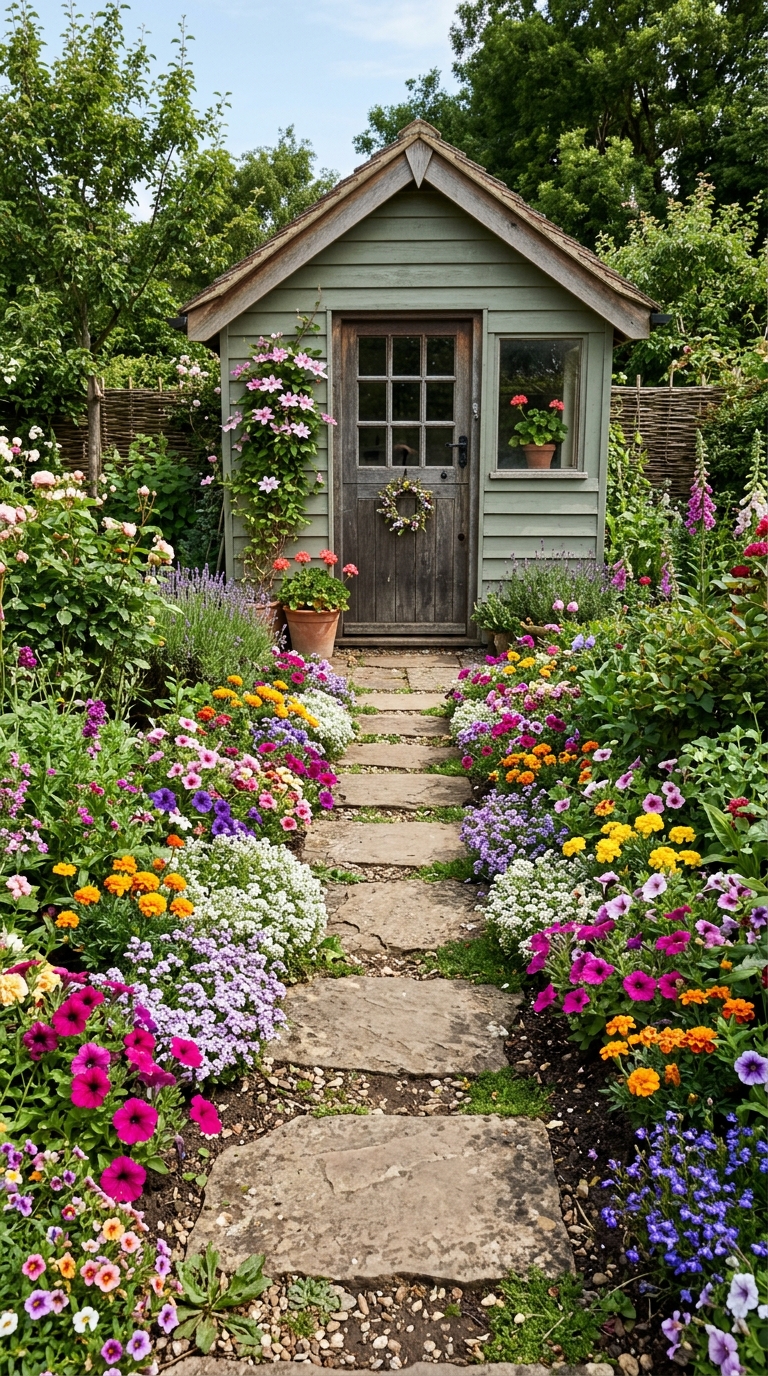
12. Line a Stepping-Stone Path With Flanking Flowers
A short stone path leading to your shed door does something subtle but powerful: it turns the shed from an afterthought into a destination. Bordering it with low, colorful annuals on both sides makes the whole walk feel intentional and inviting.
Spacing matters more than people expect here. Set your stones roughly one comfortable step apart, and actually walk it yourself before you commit to the layout. A path that feels awkward to walk will always look awkward in photos, too.
Styling Tip: Photograph the path from an angle, not straight on, so the stones create a natural diagonal line leading the eye toward the shed door.
Best Color Palette: Natural Stone Gray + Bright Annual Color Mix + Green Border
Why You’ll Love It:
- Turns a plain walk into a styled feature
- Adds color on both sides without a full bed
- Makes the shed feel like a destination
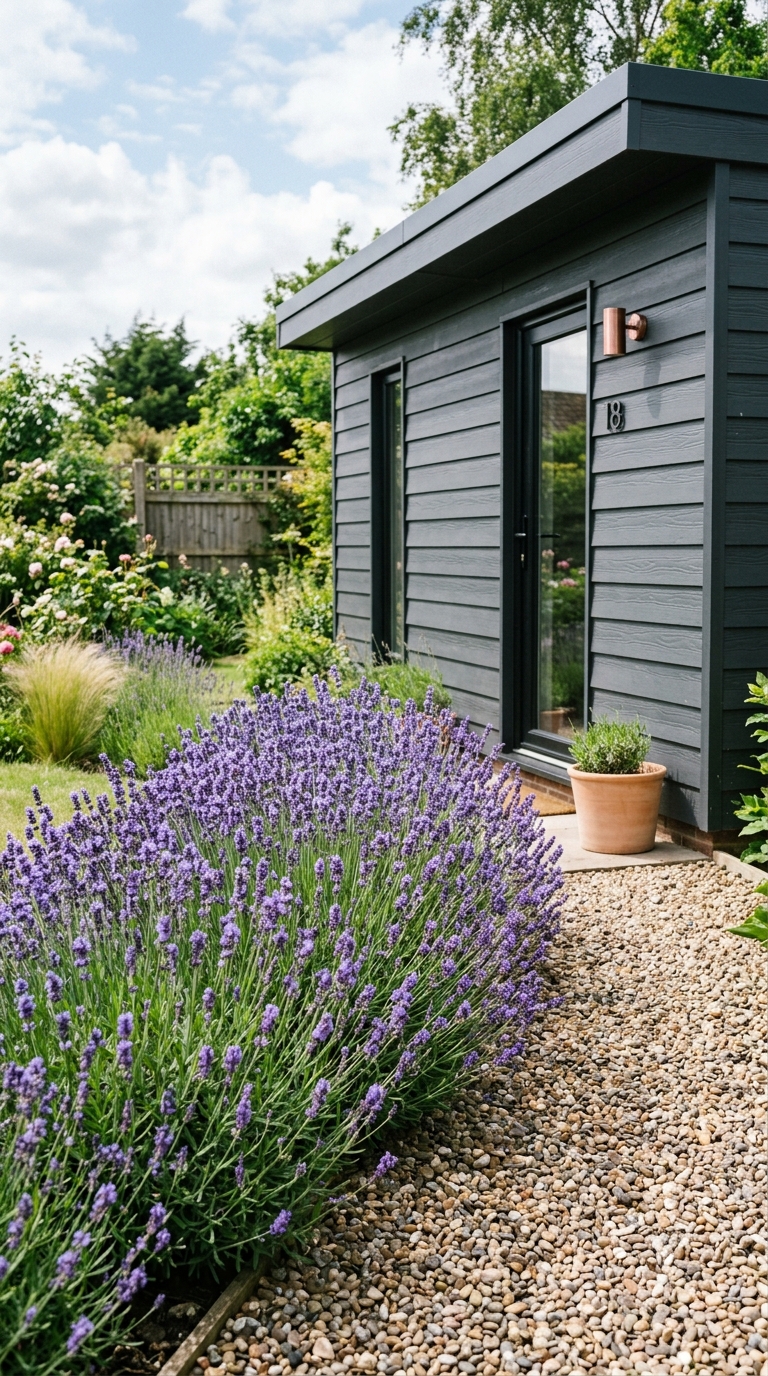
13. Plant a Single Species in a Clean Row
For anyone who prefers a more modern, low-clutter look, planting one species in a straight row, like lavender or boxwood, gives the shed an architectural, almost designed feel instead of looking like leftover garden space.
Even spacing is everything with this idea. Measure and mark before you dig, because uneven gaps are the one thing that can make this look sloppy instead of intentional. Beyond looks, a single species is also easier to care for, since every plant shares the same water and sun needs.
Styling Tip: Photograph straight-on to emphasize the clean symmetry — this is one of the rare ideas where a perfectly centered shot actually works best.
Best Color Palette: Lavender Purple + Silvery Green Foliage + Charcoal Siding
Why You’ll Love It:
- Clean, modern, low-clutter look
- Easier to maintain since every plant matches
- Reads as designed, not accidental
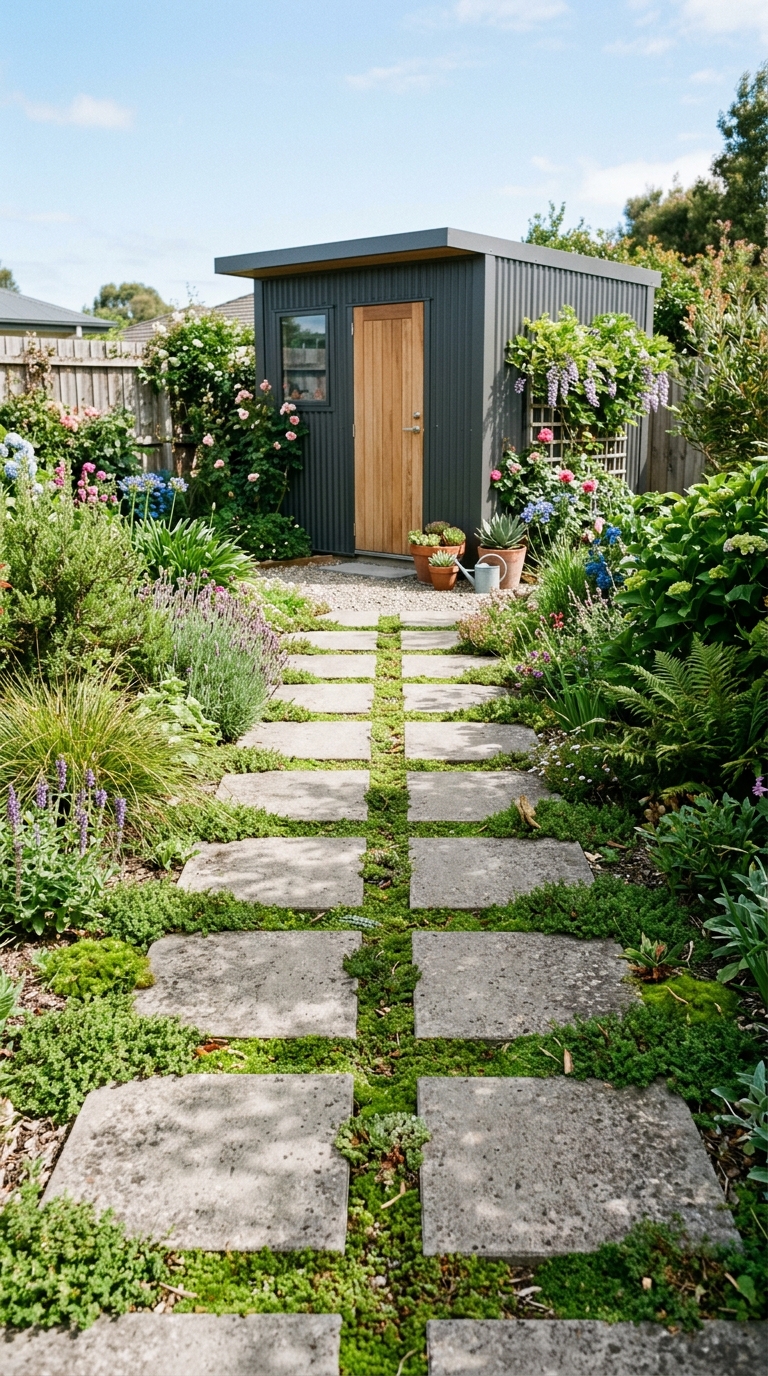
14. Use Concrete Pavers With Sparse Planting
Large square pavers, set with gravel or low ground cover between them, pair especially well with modern metal or vinyl sheds. It’s a combination that looks crisp and finished while also giving you a stable surface to actually walk on.
The one step people skip, and regret, is leveling a gravel base underneath the pavers before setting them. Skip that step, and you’ll likely be dealing with uneven, shifting pavers within a year. Take the extra hour now, and this idea barely needs any upkeep after that.
Pinterest Styling Tip: Style one small potted plant at the edge of the pavers for scale and warmth — an all-hardscape shot can feel a little cold without it.
Best Color Palette: Cool Gray Concrete + Soft Green Ground Cover + Matte Black Accents
Why You’ll Love It:
- Crisp, modern, finished look
- Doubles as a functional walking surface
- Very little ongoing maintenance
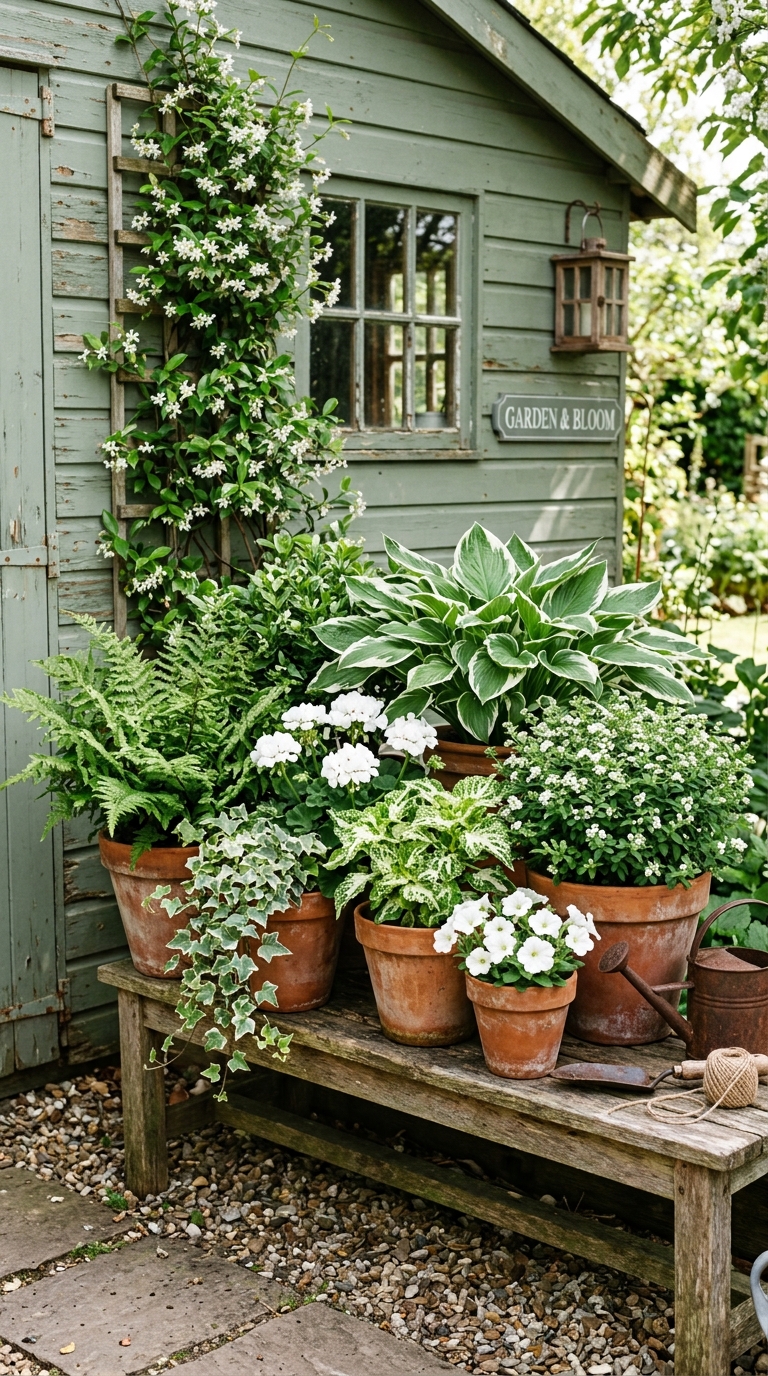
15. Stick to a Monochrome Color Scheme
Here’s a trick that makes even a small budget look expensive: pick one or two colors, like white and green, and stick to them for every plant and pot around the shed. It’s proof that a polished look has more to do with restraint than with how much you spend.
The hardest part is staying disciplined once you’re actually shopping. It’s easy to fall for a pretty flower outside your palette at the garden center. My honest tip: snap a photo of your chosen colors on your phone before you go, so you have something to check against in the moment.
Styling Tip: Group plants in matching pots for the photo, even if they’re different species — the color consistency does more visual work than variety ever could.
Best Color Palette: Crisp White Blooms + Soft Sage Green + Natural Terracotta Pots
Why You’ll Love It:
- Looks polished even on a small budget
- Keeps future additions cohesive
- Easy to shop for once you know your palette
Quick Designer Tip
If you’re combining hardscape materials like pavers or gravel with a monochrome plant palette, keep pot colors neutral too. Matching terracotta or concrete-toned planters, rather than bright glazed ones, keeps the whole space feeling curated instead of busy.
16. Soften Hard Corners of a Metal or Vinyl Shed
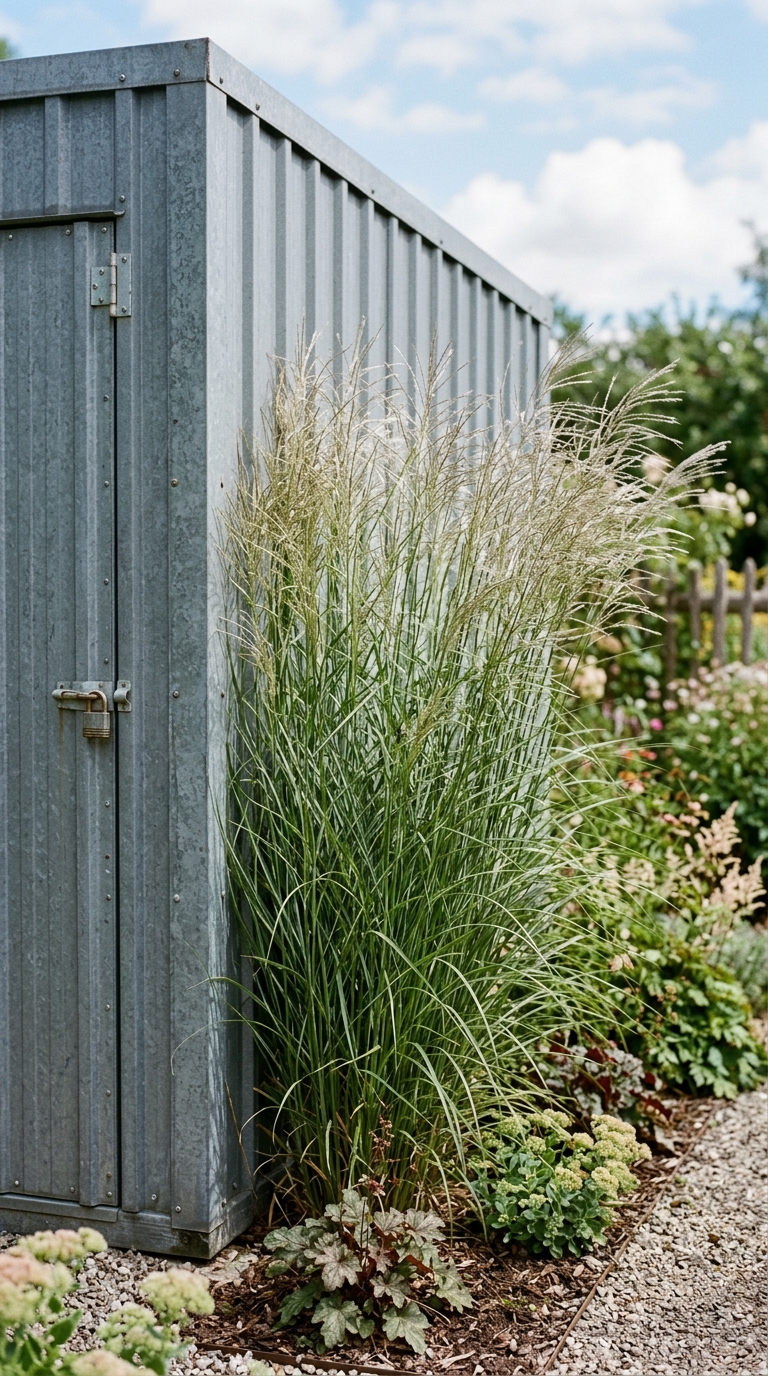
Most shed landscaping ideas you’ll find online only show wood cottage sheds, which isn’t much help if yours is metal or vinyl. Here’s one built specifically for that boxy, sharp-cornered shape: plant one taller shrub or ornamental grass at each corner to break up the rigid outline.
Corners are naturally where our eyes register a shed’s shape first, so softening just those two or four points changes how the whole structure reads, even if you don’t touch anything else. It’s a targeted fix rather than a full landscaping project, which makes it easy to knock out in a single weekend.
Styling Tip: Photograph one softened corner up close before pulling back for a wider shot — the before-and-after contrast within the same shed tells a compelling story.
Best Color Palette: Charcoal Metal + Deep Green Grass + Warm Terracotta
Why You’ll Love It:
- Targeted fix instead of a full landscaping project
- Solves the “boxy” look specific to metal and vinyl sheds
- Doable in a single weekend
17. Add a Small Wood or Lattice Accent Panel
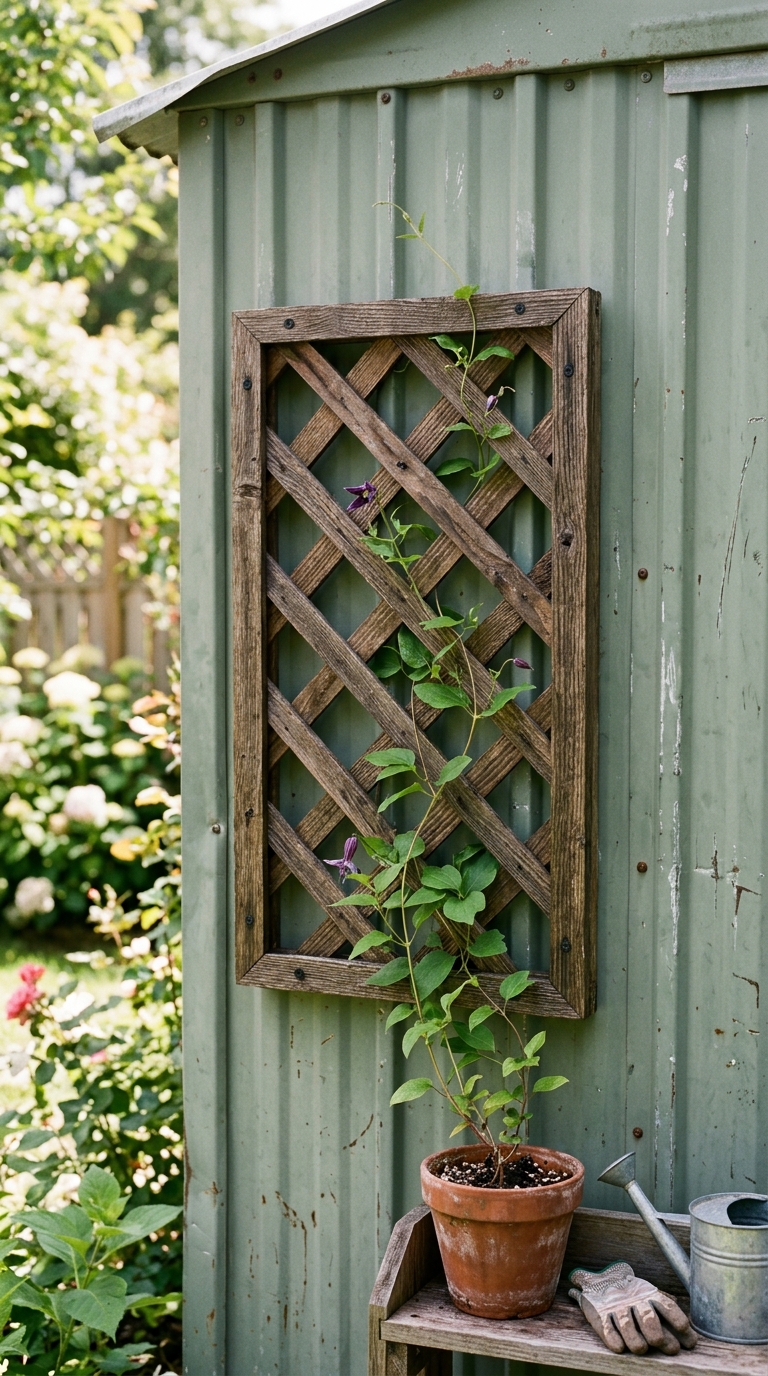
This is the idea I’d recommend to anyone with a metal or vinyl shed who wants that cozy, cottage feeling without repainting or re-siding anything. Attach a lattice panel or a short section of wood trim to one wall, then let a vine start climbing it, and the whole tone of the shed shifts almost instantly.
Use exterior-rated screws and a weather-treated panel, since anything not built for the outdoors can rust or warp within a season. It’s a small material choice, but it’s the difference between an accent that lasts as long as your shed and one you’re redoing next year.
Styling Tip: Photograph the panel once the vine has had a season to fill in — a bare lattice panel doesn’t photograph nearly as well as one with some green already climbing it.
Best Color Palette: Natural Wood Lattice + Deep Green Vine + Soft Gray Siding
Why You’ll Love It:
- Warms up metal or vinyl without a full makeover
- Small, targeted, weekend-sized project
- Gets better looking as the vine fills in
Conclusion
There you have it, 17 real garden shed landscaping ideas, from five-dollar garage sale finds to full cottage garden makeovers. What I hope you take away from this list isn’t that you need to do all 17. It’s that even one small change, chosen thoughtfully, can turn that overlooked corner of your yard into somewhere you actually want to be.
If you’re not sure where to start, go back to whichever idea made you pause the longest while reading. That’s usually the one worth trying first. Pick your favorite, set your budget, and give your shed the weekend it’s been waiting for.
Which idea is your favorite? Save this post on Pinterest so you can come back to it later when you’re ready to start your makeover.