
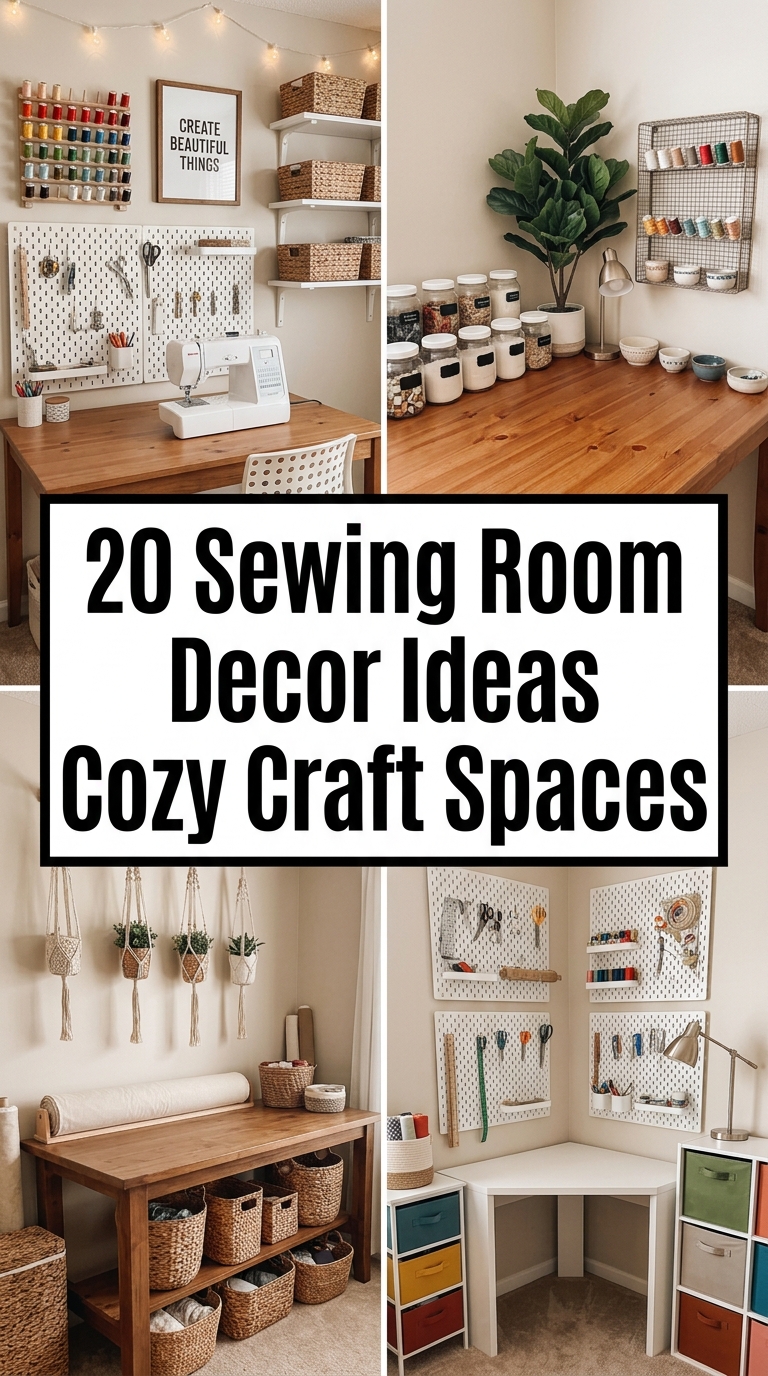
Most sewing rooms start with good intentions and end up looking like a storage closet nobody wants to walk into. Fabric spills off shelves, thread spools roll into random drawers, and the space that’s supposed to spark creativity ends up draining it instead. The good news is that a functional sewing room and a beautiful one aren’t two different goals — they can be the same room.
Whether you’re working with a whole spare bedroom or squeezing a sewing corner into a closet, these 20 ideas will help you build a craft space that actually makes you want to sit down and start your next project.
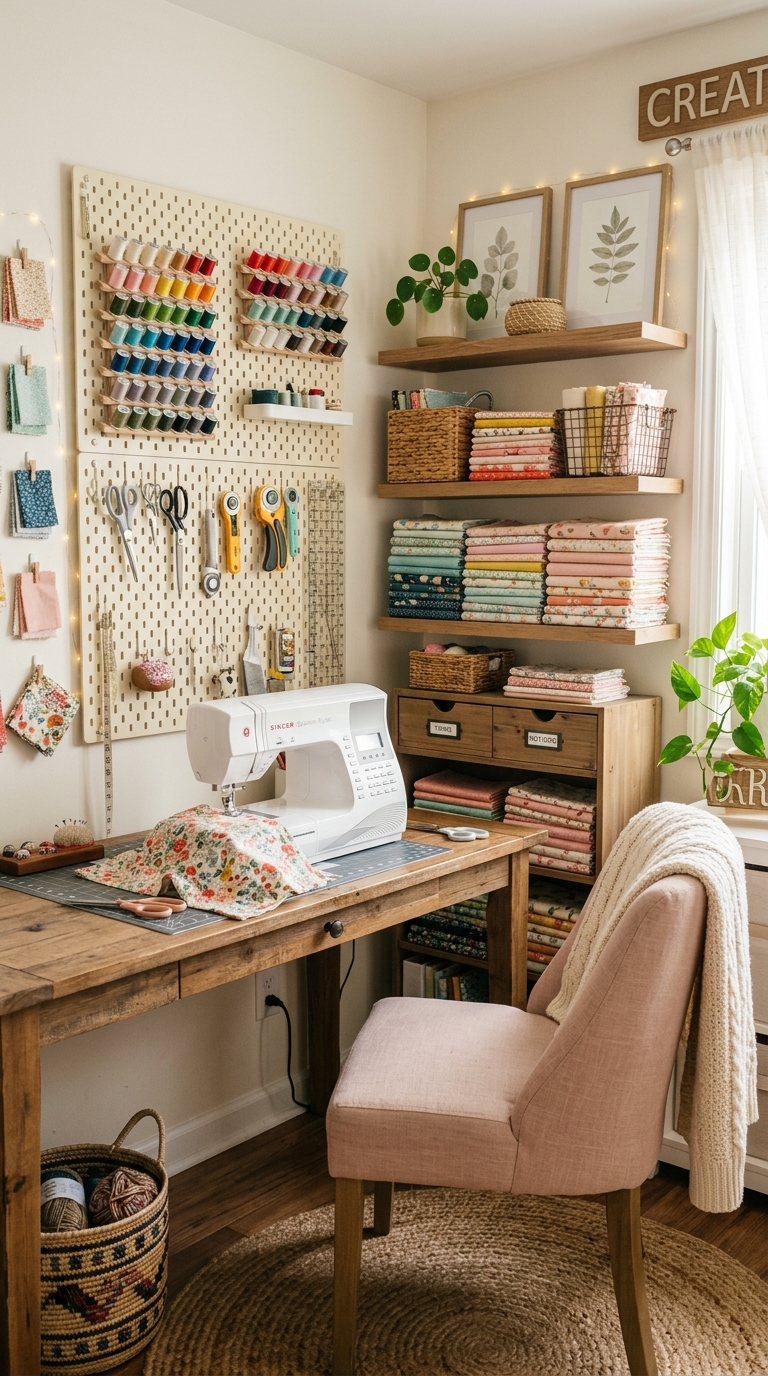
1: Soft Pastel Color Palette for a Calming Workspace
The color on your walls does more work than most people realize in a sewing room. Bright whites can feel clinical and cold, while dark, saturated shades tend to make small craft spaces feel boxed in and heavy.
Soft pastels like blush pink, sage green, or pale lavender strike a balance — they keep the room feeling open and airy without turning it sterile. These lighter tones also bounce natural light around the room, which matters a lot when you’re trying to match thread colors or check fabric patterns under different lighting conditions throughout the day.
Pair your wall color with matching furniture pieces to avoid a mismatched look, and stick to two or three coordinating shades so the palette doesn’t feel scattered. If you rent your space or don’t want to commit to painting, a large fabric backdrop or removable wallpaper panel can give you the same calming effect without the long-term commitment.
For maintenance, choose a matte or eggshell finish over glossy paint, since it hides small marks from fabric dust and thread fuzz far better over time.
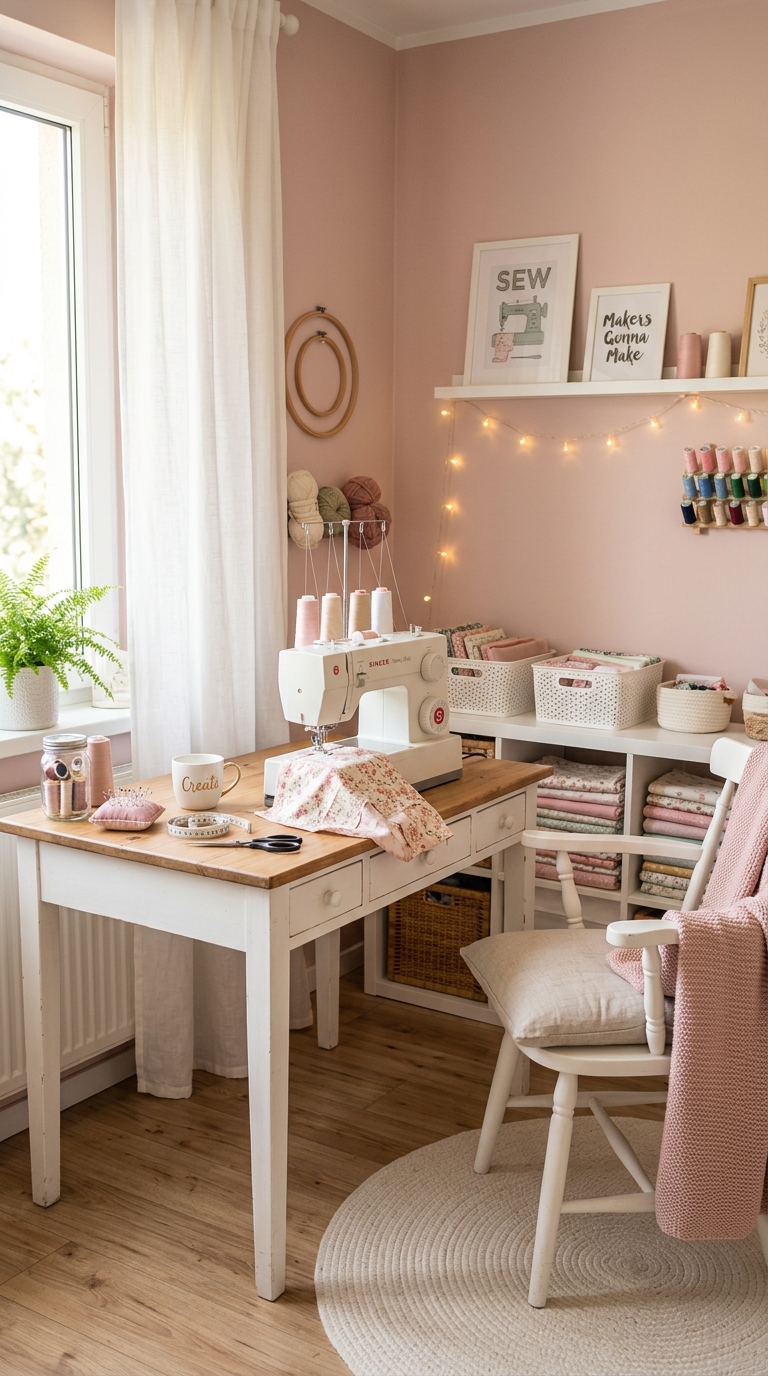
2: Kallax-Style Cube Storage for Fabric and Bins
Cube storage units solve one of the biggest headaches in any sewing room: where does all the fabric actually go? A Kallax-style shelf gives you open cubbies for decorative baskets alongside closed sections for stashing patterns, notions, and half-finished projects out of sight.
This mix of open and closed storage keeps the room looking curated instead of cluttered, since you get to choose exactly what’s on display and what stays hidden.
Because the shelving is modular, you can arrange it against any wall shape, stack it vertically in a small room, or lay it horizontally under a window.
Fill the open cubbies with color-coordinated fabric bolts or labeled fabric bins so the storage itself becomes part of your decor rather than an eyesore you have to work around. Rotate your most-used fabrics to eye level and keep seasonal or rarely-used materials in the closed sections up top.
For upkeep, dust the open shelves weekly since fabric fibers and thread lint collect quickly in open cubby storage, especially near a sewing machine that’s in regular use.
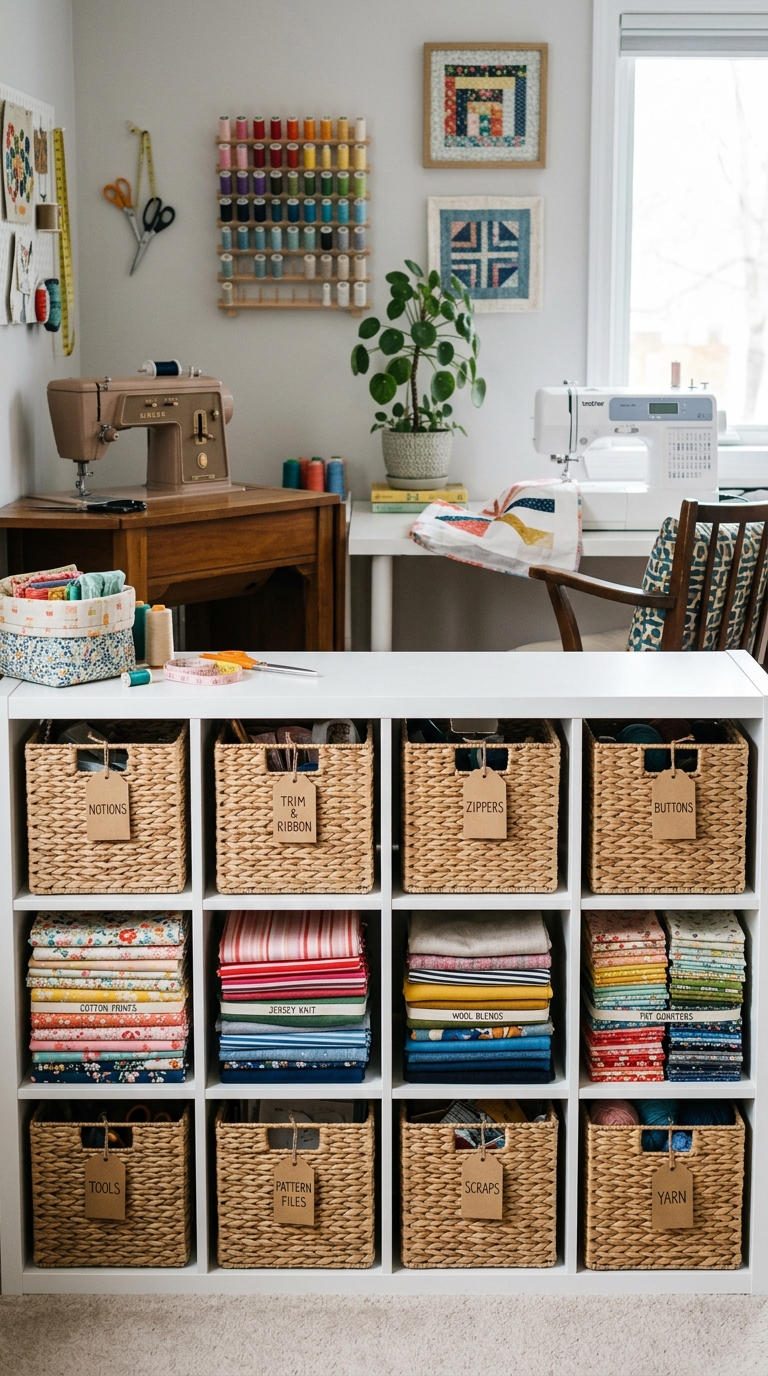
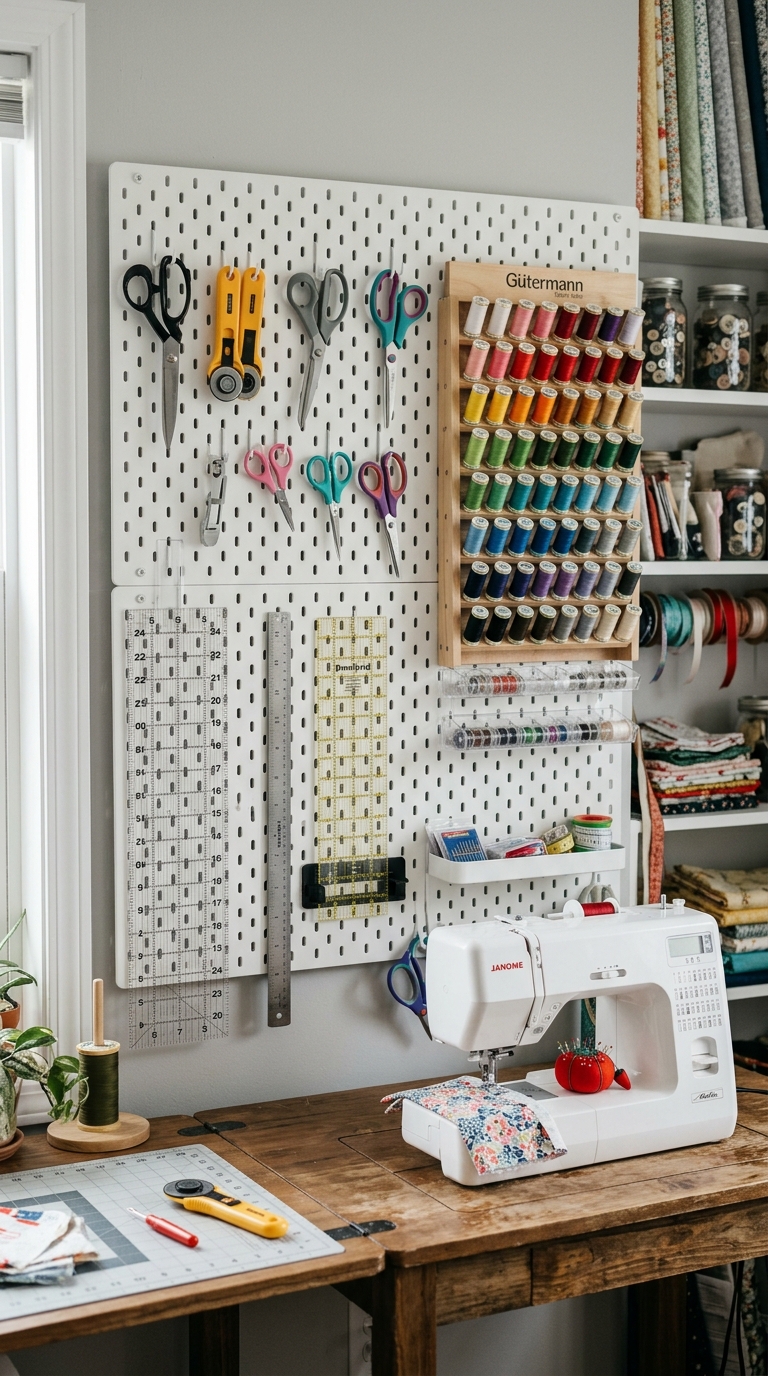
3: Pegboard Wall for Scissors, Rulers, and Notions
A pegboard mounted above or beside your sewing table turns your most-used tools into part of the room’s decor instead of clutter buried in a drawer. Hanging scissors, rulers, tape measures, and thread snips at eye level means you’re not digging through a junk drawer mid-project trying to find the right pair of shears.
Pegboards are also endlessly customizable, since you can rearrange hooks, small shelves, and baskets as your tool collection grows or your workflow changes over time.
Paint the pegboard a color that matches your room’s palette so it blends into the design rather than looking like a garage addition, and group tools by category — cutting tools on one side, measuring tools on another — so muscle memory takes over after a few sewing sessions.
Keep the board reachable but out of your direct workspace so you’re not knocking hooks loose while working. As a quick maintenance habit, wipe down the pegboard surface monthly, since dust settles on horizontal hooks and shelves faster than you’d expect.
4: Vintage Console Table as a Cutting Station
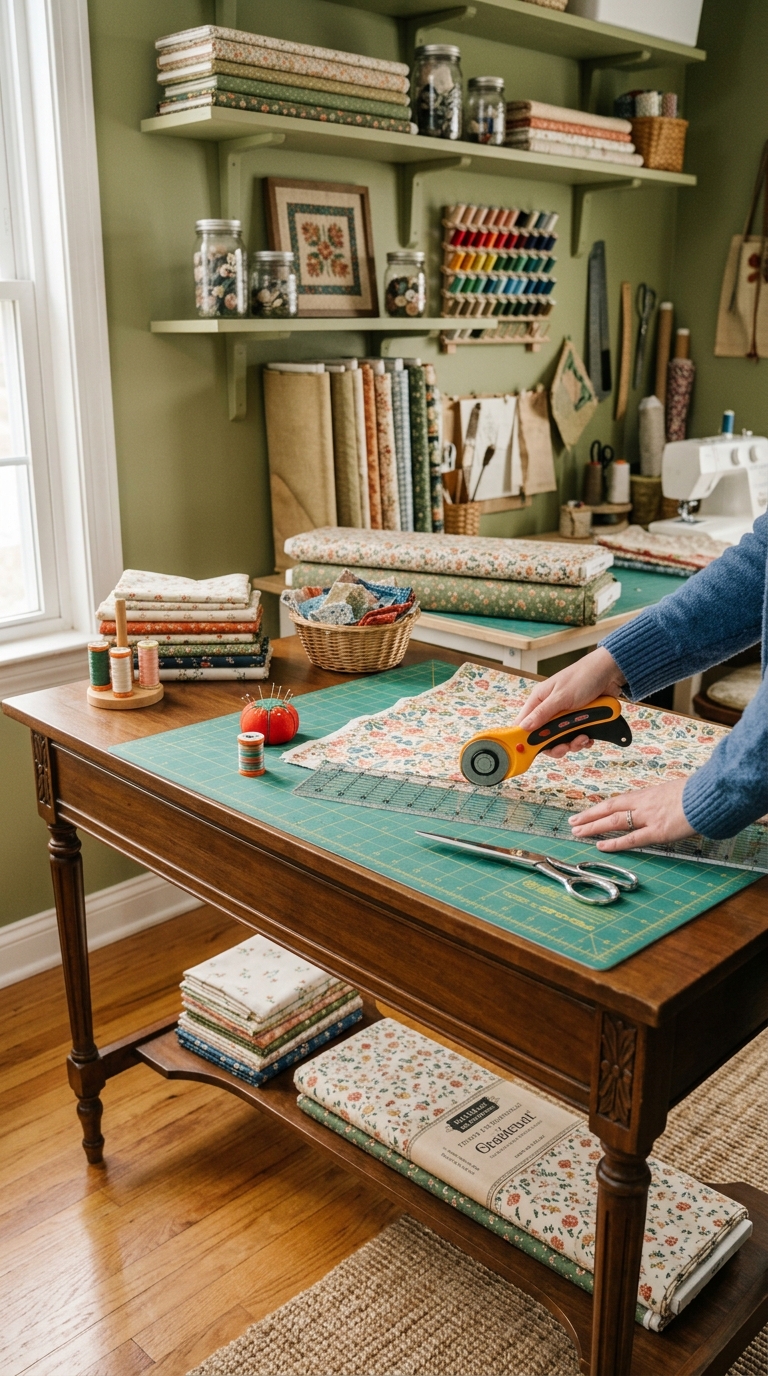
A vintage or vintage-style console table brings warmth and character into a sewing room in a way that flat-pack furniture rarely can. The narrow profile of most console tables makes them a smart fit for tight spaces, since they can hug a wall without eating up floor space you need for a chair or rolling cart.
Look for pieces with a drawer or two, which give you a spot for pins, bobbins, and small notions right where you’re cutting fabric.
Top the table with a self-healing cutting mat sized to fit the surface, which protects the wood finish and gives you a permanent cutting zone you don’t have to set up and break down every session.
If the original tabletop feels too delicate for daily cutting work, add a thin protective board underneath the mat for extra durability. To maintain the piece long-term, use furniture polish sparingly and wipe up fabric dye or fraying threads right away, since pigment can settle into wood grain if left too long.
5: Clear Bins for Instantly Visible Fabric Stash
Fabric stash management gets messy fast when everything is folded into opaque bins or stacked in a closet you have to dig through. Clear plastic or acrylic bins solve this instantly by letting you see your entire fabric collection at a glance, which means you’ll actually use what you have instead of forgetting about prints buried at the bottom of a pile.
This visibility also helps when you’re planning a new project, since you can quickly scan colors and patterns without unstacking a single bin.
Sort fabric into bins by color family, fabric type, or project category, whichever system matches how your brain naturally organizes things. Label each bin clearly on the front so the system stays intact even after a busy sewing week when things get put away in a hurry.
For upkeep, fold fabric loosely rather than tightly to prevent permanent creasing, and store bins away from direct sunlight, since UV exposure fades fabric color over time even through clear plastic.
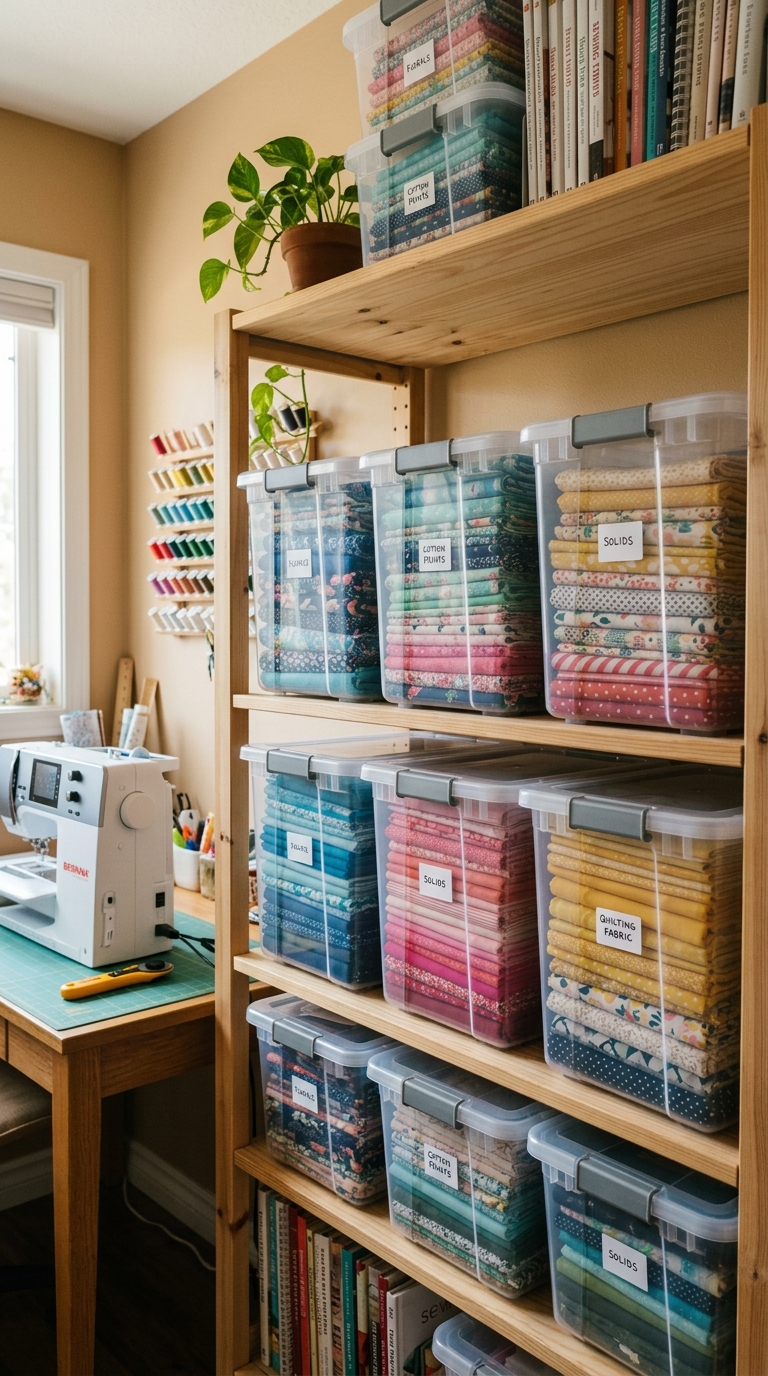
Quick Designer Tip: Label every bin and basket by fabric type or active project, not just color. It saves you real time mid-project when you’re hunting for that one specific print you know you bought last spring.
6: Thread Spool Display Rack as Wall Art
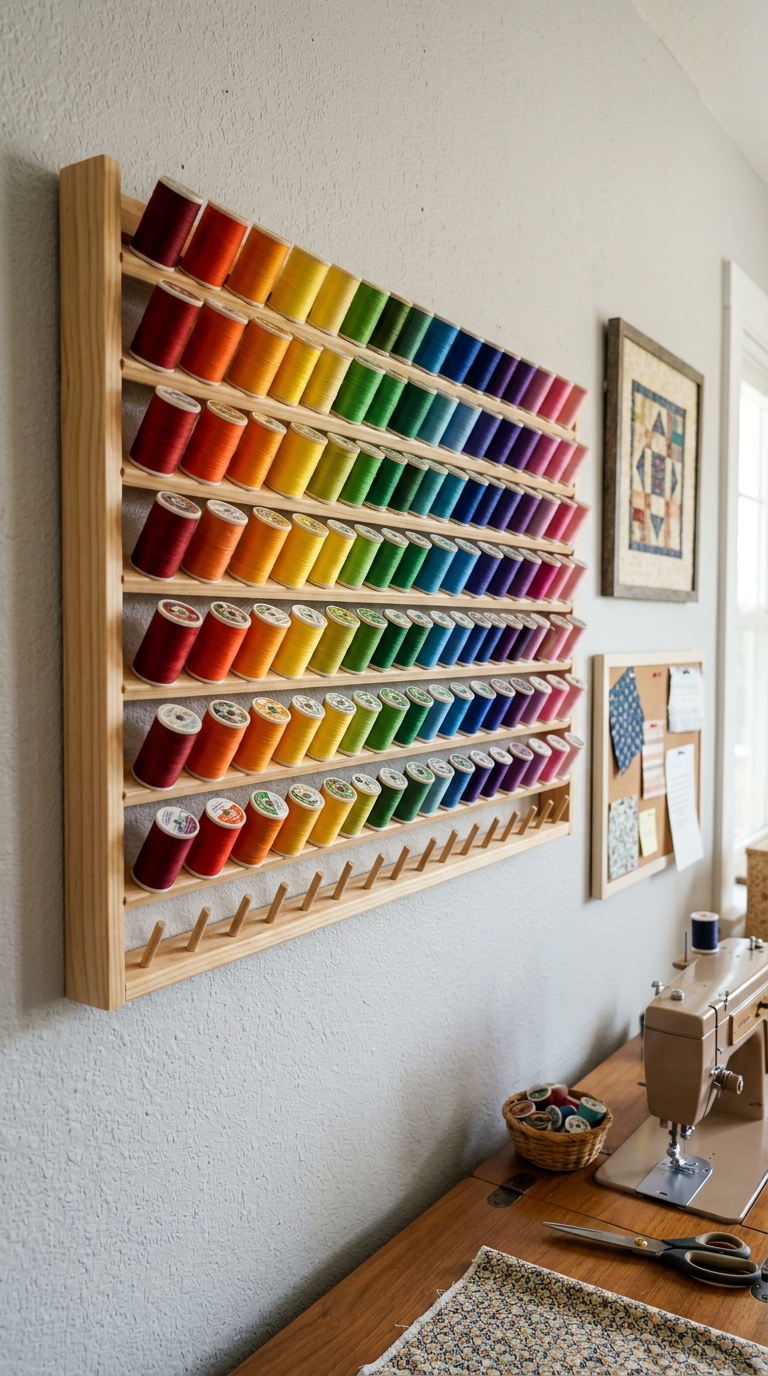
Thread storage is usually treated as a problem to hide, but a wall-mounted spool rack turns that completely on its head and makes your thread collection genuine decor. Arranged by color, a full rack of thread spools reads like a rainbow gradient art piece, adding instant visual interest to a blank wall without spending a cent on separate artwork.
Wall-mounted racks also keep spools untangled and dust-free compared to loose storage in a drawer or bowl.
Choose a rack style that matches your room’s overall aesthetic, whether that’s a simple wooden dowel rack for a farmhouse feel or a sleek acrylic option for something more modern. Arrange spools in rainbow order for the strongest visual impact, and leave a small gap for new colors as your collection grows.
Keep the rack out of direct sunlight if possible, since prolonged UV exposure can fade thread color over time, even indoors.
7: Mood Board Corner for Fabric Swatches and Inspiration
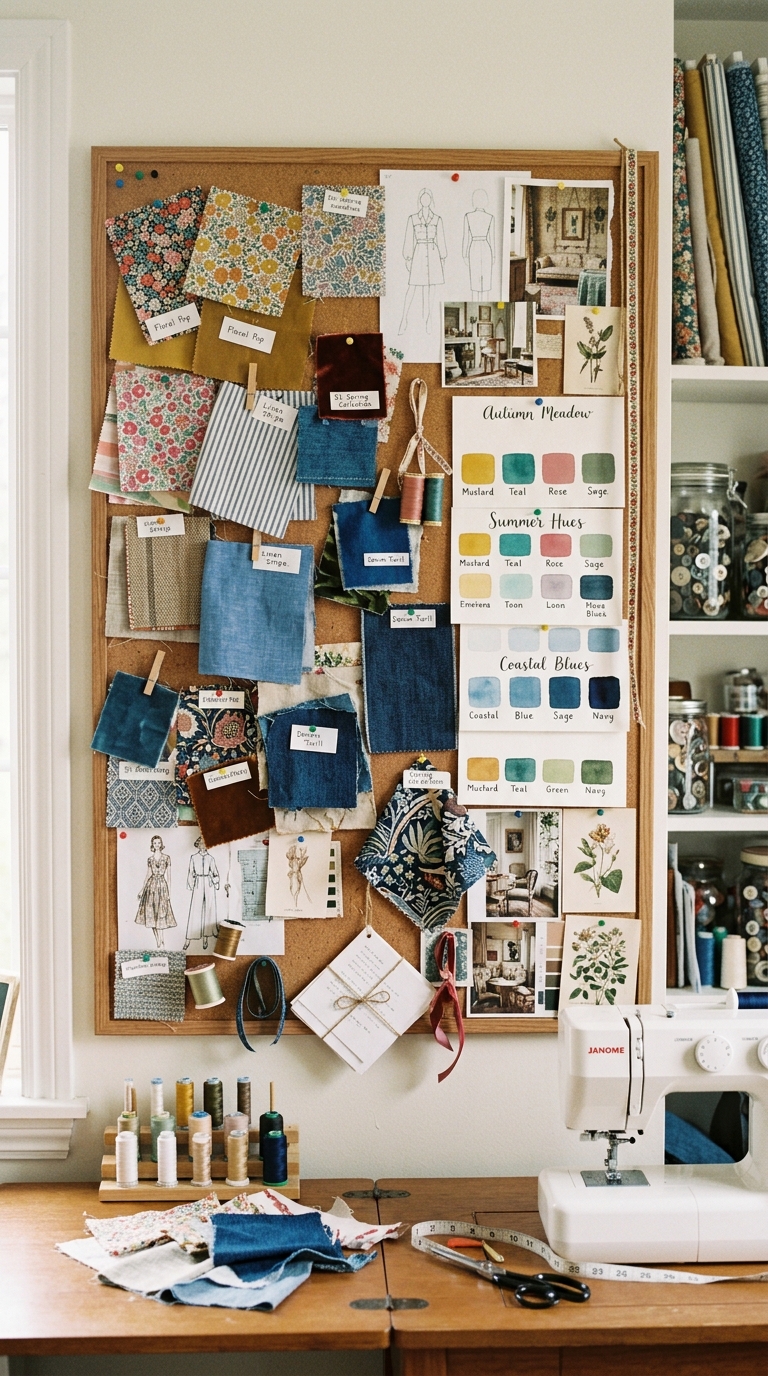
A dedicated mood board corner gives every stray idea in your head somewhere to land before it becomes an actual project. Pin up fabric swatches, color palettes, magazine clippings, and pattern sketches so you can see how everything works together before you commit fabric and time to a new piece.
This visual planning step catches color clashes and design mismatches early, saving you from unpicking seams later because two prints didn’t actually work side by side.
A simple corkboard or magnetic pinboard works fine for this corner, and it doesn’t need much wall space to be effective — even a small 2×3 foot section does the job. Refresh the board between projects so it stays a working tool instead of turning into a permanent clutter zone of old ideas you’ve already finished.
Wipe down corkboards occasionally to remove dust, and swap out pins for magnets if you’re working with a metal board to avoid small holes accumulating in fabric swatches over time.
8: Rolling Cart for Portable Tool Storage
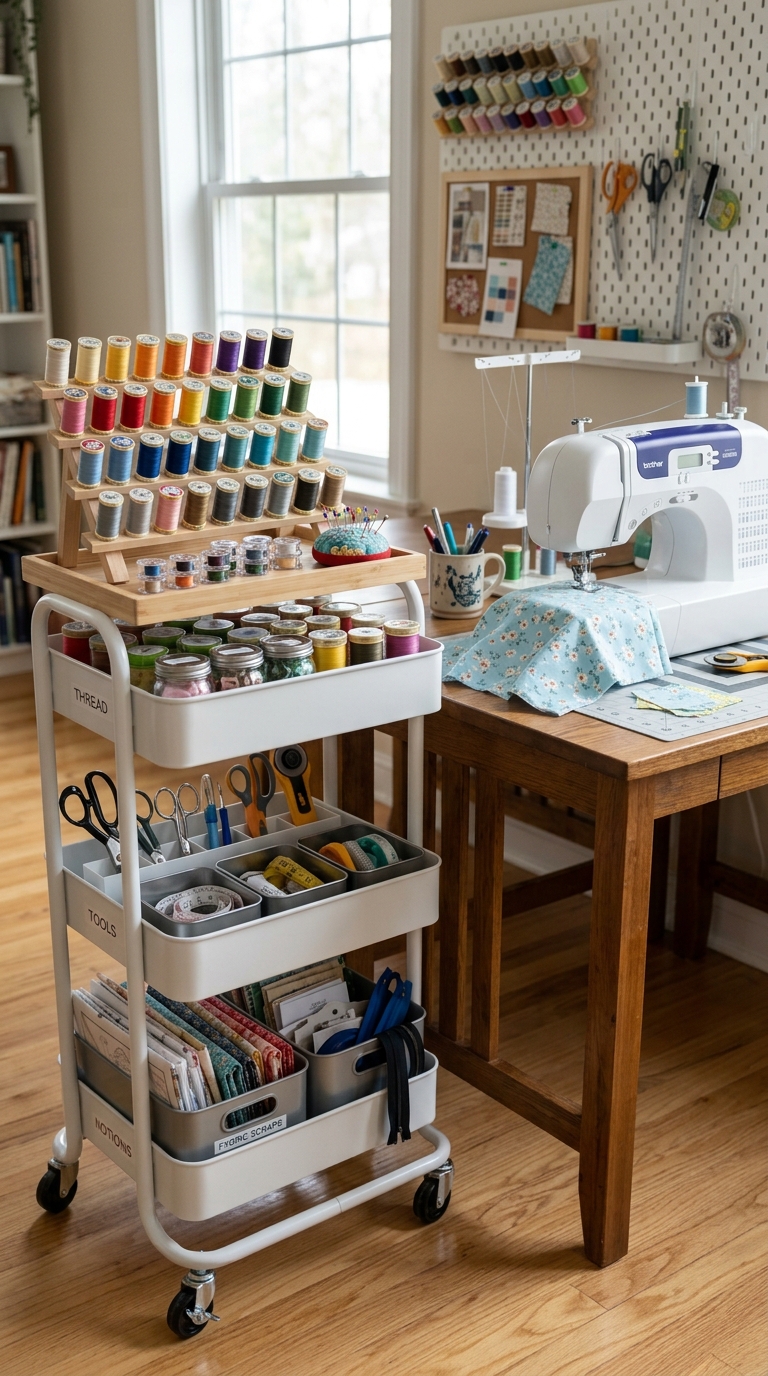
A tiered rolling cart is one of the most practical additions you can make to a small sewing room, since it gives you flexible storage that moves wherever your project needs it. Instead of walking back and forth to a fixed shelf, you can wheel your rulers, thread, pins, and rotary cutters right next to your machine or cutting table.
This mobility becomes especially valuable if you share your space with another activity and need to tuck your supplies out of the way when you’re done for the day.
Use each tier of the cart for a different category of supplies, keeping frequently used items on the top shelf and bulkier tools like a bigger cutting mat lower down for easy access without bending too far.
Choose a cart with locking wheels if you’re working on a hard floor, so it doesn’t drift while you’re mid-stitch. To keep it functional long-term, do a quick monthly reset where you remove anything that’s migrated onto the cart but doesn’t belong there, since rolling carts tend to become catch-alls if you’re not paying attention.
9: Farmhouse Barn Door Accent for a Cozy Theme
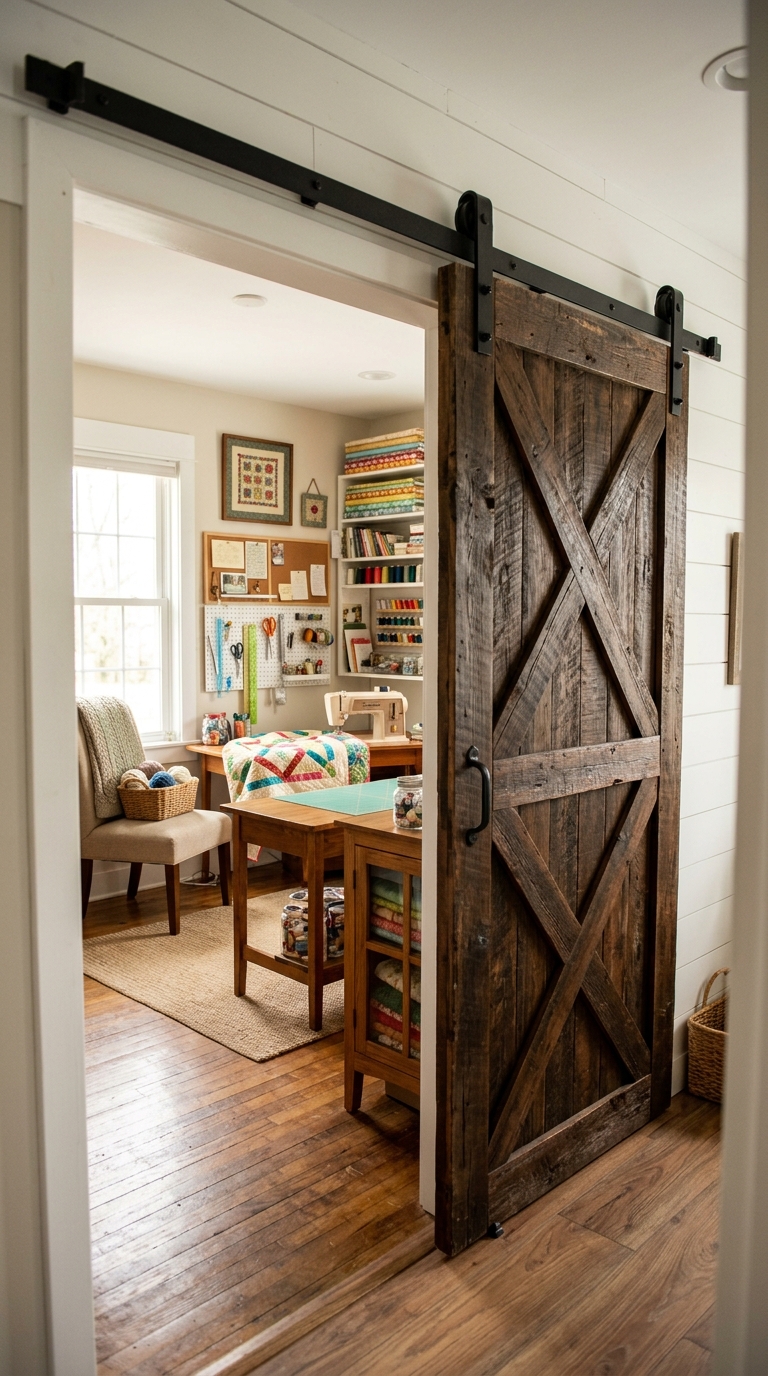
If you’re drawn to a warmer, more rustic aesthetic, a farmhouse barn door accent can completely transform the feel of a sewing room without requiring a full renovation.
Whether it’s an actual sliding barn door for a closet-turned-sewing-nook or a smaller decorative barn door panel mounted on the wall, this single design choice brings texture and character that generic flat doors simply don’t offer. It works especially well in sewing rooms converted from closets, since a sliding door saves the floor space a swinging door would otherwise require.
Pair the barn door with warm wood tones, jute rugs, and woven baskets to round out the farmhouse theme, and keep hardware finishes consistent across the room, whether that’s matte black or aged brass.
If you’re installing a functional sliding door, make sure the track is rated for the door’s weight so it glides smoothly instead of sticking over time. For upkeep, lubricate the track hardware every few months if you notice any resistance when sliding the door open or closed.
10: Natural Light Optimization Near the Sewing Table
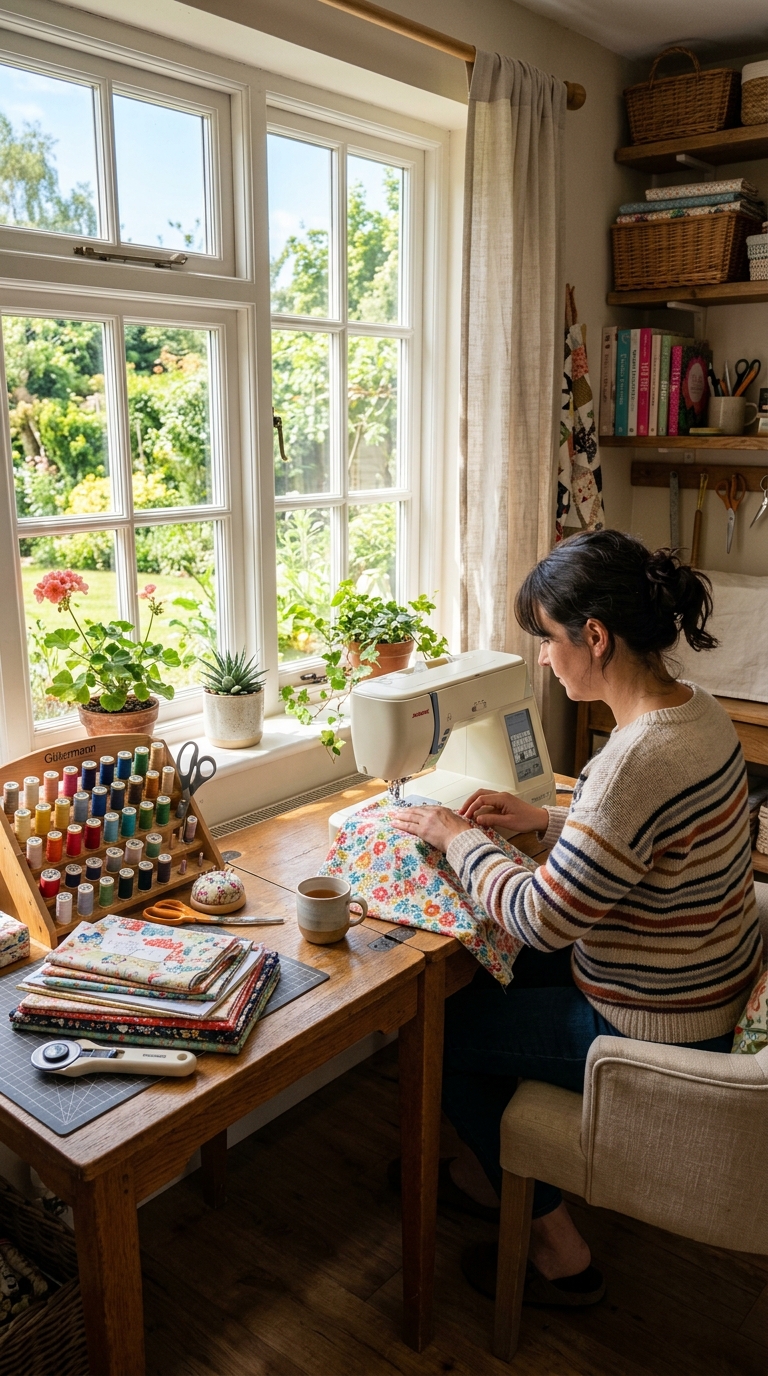
Good lighting changes everything about how accurately you can match thread, judge fabric colors, and avoid eye strain during long sewing sessions. Positioning your sewing table as close to a window as your layout allows gives you the most reliable, true-to-color light throughout the day, which artificial bulbs alone often struggle to replicate.
This is especially important for anyone working with subtle color variations, like matching thread to a print or blending fabric tones in a quilt.
If your room doesn’t have a window near a workable spot, angle a mirror to reflect existing natural light toward your table, or prioritize the brightest corner of the room for your machine setup instead of tucking it into a dim corner for the sake of symmetry.
Keep window treatments light and airy rather than heavy blackout curtains, since you want as much usable daylight as possible during work hours. Clean your windows regularly, too, since built-up dust and grime on the glass can noticeably dim the natural light reaching your workspace.
Quick Designer Tip: On darker days or in rooms without much natural light, add a daylight-temperature desk lamp near your machine. True color matching matters more than most people realize until they finish a project and notice the thread doesn’t quite match under different lighting.
11: Corkboard or Pegboard Hybrid for Pattern Storage
Sewing patterns pile up faster than almost anything else in a craft room, and loose paper patterns tucked into random envelopes make it nearly impossible to find the right size when you actually need it.
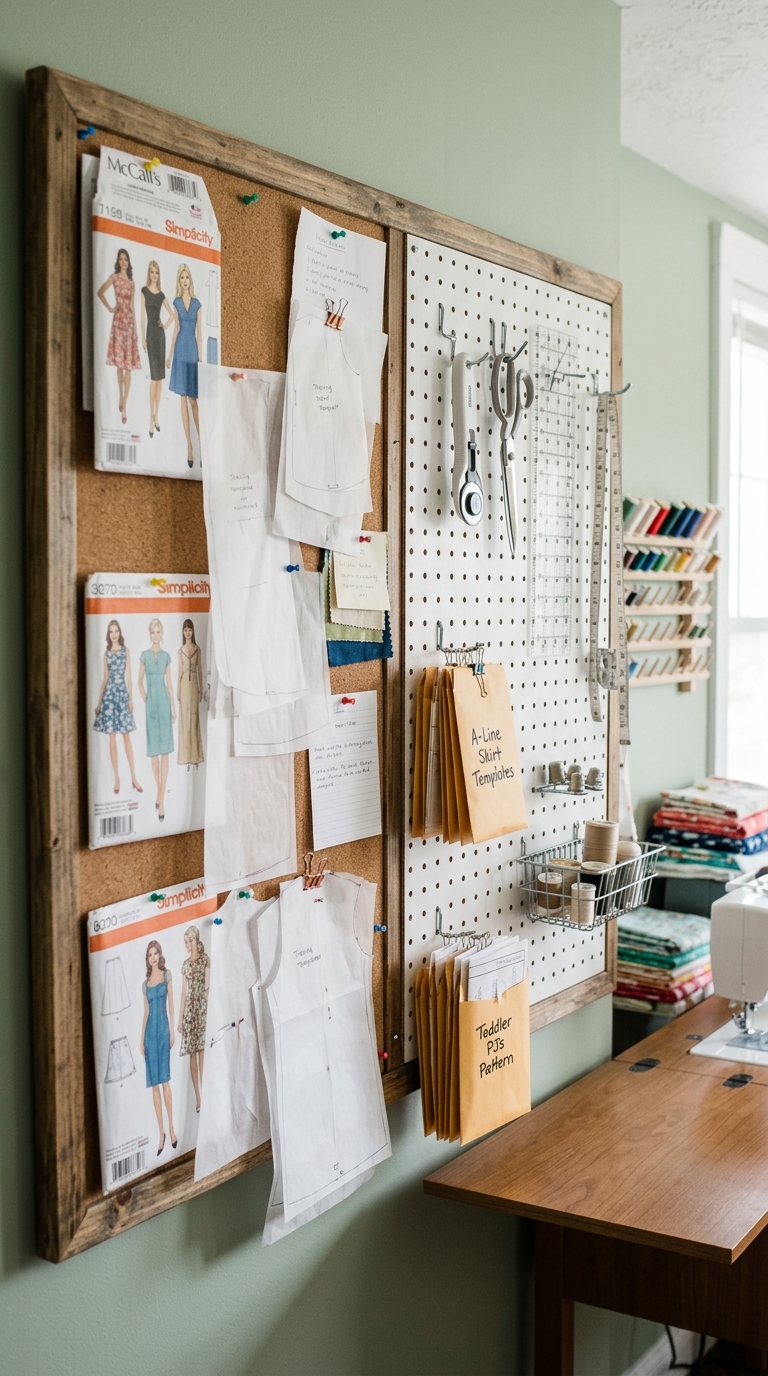
A hybrid corkboard and pegboard setup gives you pinned storage for current, in-progress patterns alongside small hanging pockets or clips for finished ones you want to keep organized by category. This system keeps your active project visible while still protecting your full pattern library from getting crushed or torn.
Sort patterns by garment type, size range, or designer, whichever grouping matches how you actually shop and sew, and use clear labels so the system holds up even months later when you’ve forgotten your original logic.
Keep frequently used patterns like basic blocks or go-to templates within easy reach, and file rarely used ones in flat storage boxes below the board instead of pinning everything at once. To maintain the board, replace bent pins occasionally, since dull or bent pins tear paper patterns instead of holding them securely.
12: Closet Conversion for Small-Space Sewing Nooks
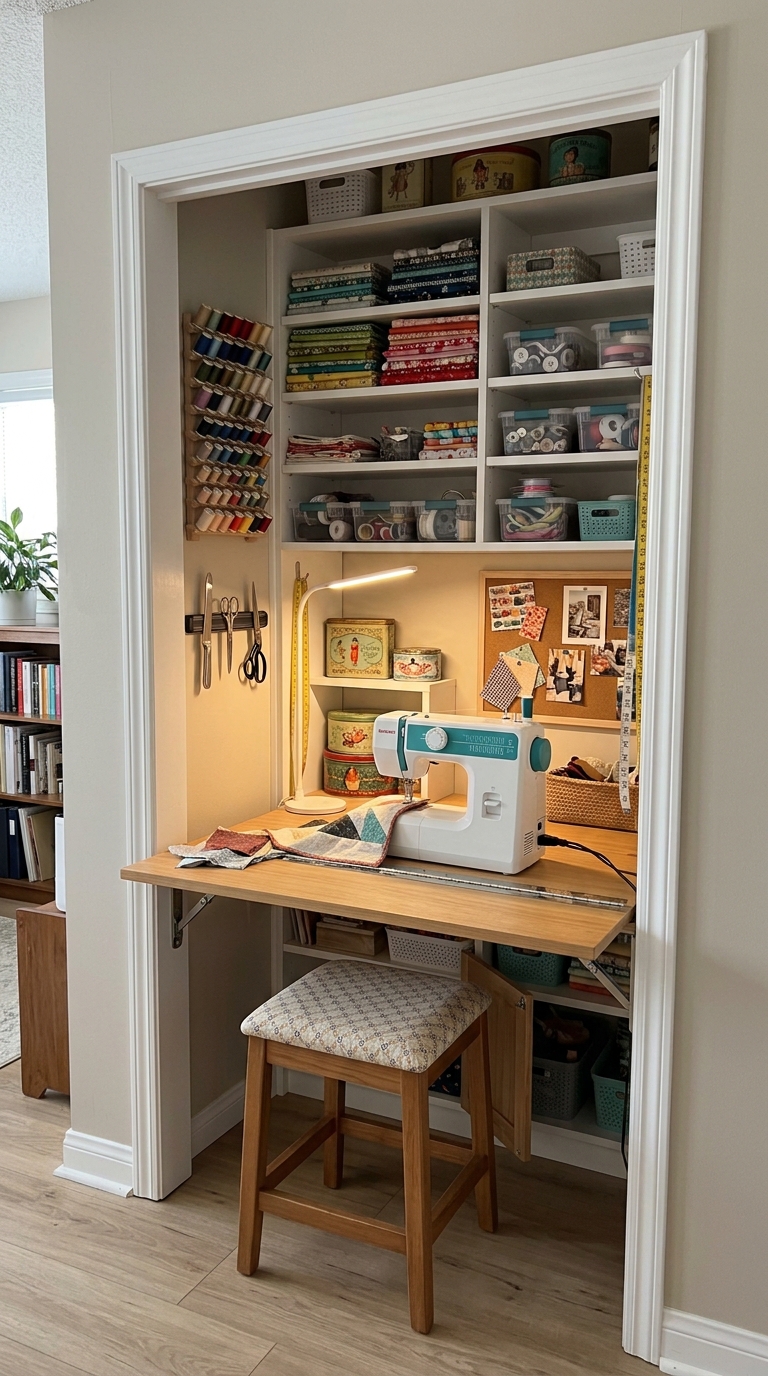
Not everyone has a spare bedroom to dedicate to sewing, and a closet conversion proves you don’t actually need one. Removing the closet doors and adding a fold-out or fixed shelf as a work surface turns an underused space into a fully functional sewing nook that closes off visually when you’re not using it.
This setup works especially well in apartments or shared homes where floor space is limited, but a closet sits mostly empty.
Install shelving above and below your work surface to maximize vertical storage, since closets are usually taller than they are wide, and add a small rod or hooks for hanging works-in-progress so garments don’t wrinkle while you’re between sewing sessions. Battery-powered LED strip lighting solves the lighting problem most closets have, since built-in fixtures are rare in these spaces. For upkeep, keep a small fan or vent nearby if the closet doesn’t get much airflow, since enclosed spaces trap fabric dust and heat faster than open rooms.
13: Embroidery Hoop Wall Art Display
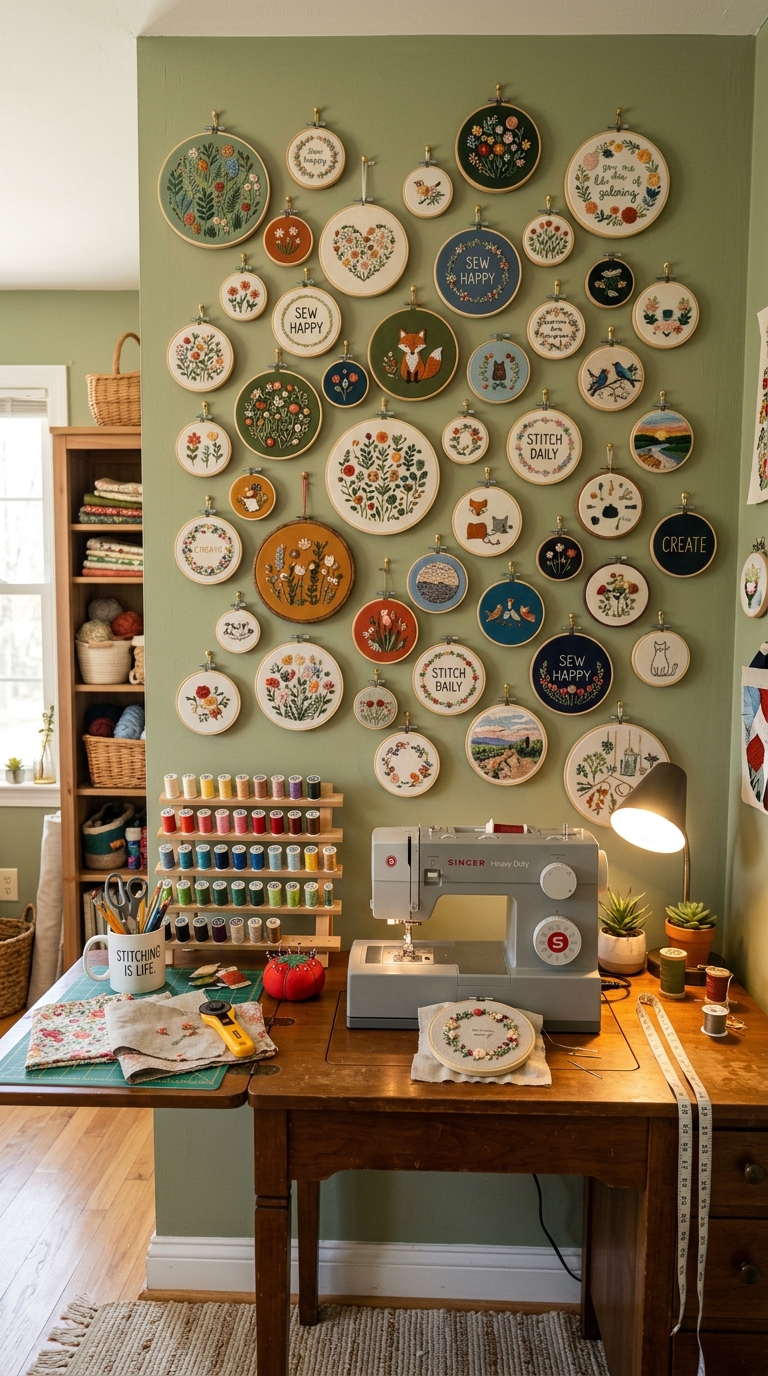
Finished embroidery hoops often get tucked into a drawer once a project is done, but displaying them on the wall turns your finished work into a rotating gallery that tells the story of what you’ve made.
Group hoops of different sizes together for visual interest, or line them up in a single row for a cleaner, more structured look depending on your room’s overall style. This display method costs nothing extra since you’re simply repurposing pieces you’ve already completed.
Choose a focal wall that gets some natural light so the embroidery details actually show up well, and rotate pieces seasonally to keep the display feeling fresh rather than static year-round.
Mix hoop sizes and a couple of empty hoops with just fabric stretched inside for texture variation across the display. To protect the pieces long-term, keep them out of direct sunlight, since embroidery thread fades noticeably faster than most people expect under continuous UV exposure.
14: Personalized Craft Room Sign or Wall Quote
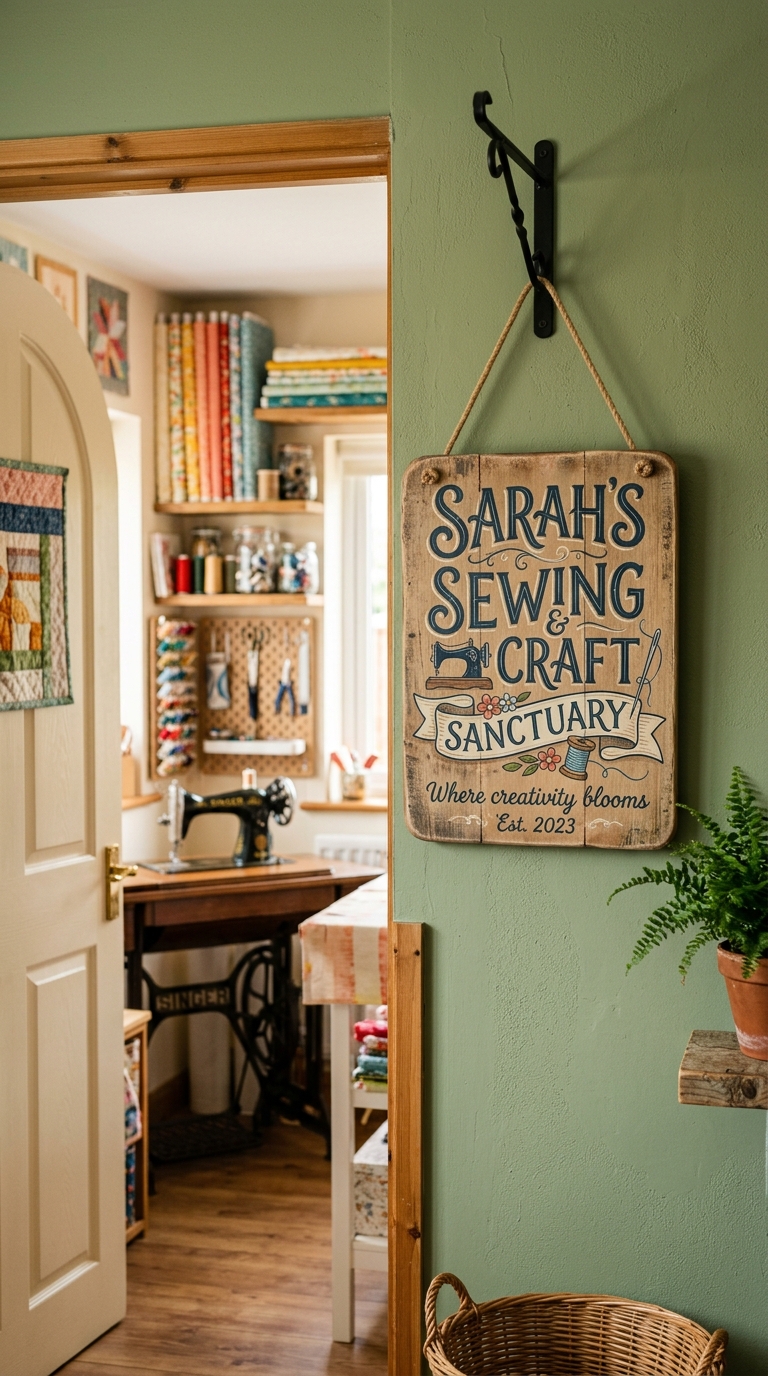
A single personalized sign at the entrance does more to define a room’s identity than almost any other decor piece. It marks the space as intentional, turning “the sewing corner” into something that feels like a real studio, even if it’s technically just a repurposed guest room or closet nook.
Simple wording works best here, whether that’s your name, a sewing-related pun, or a short quote that reflects why you sew in the first place.
Choose a font and material that match your room’s broader aesthetic, whether that’s a rustic wood-burned sign for a farmhouse look or a clean acrylic piece for something more modern and minimal.
Position it at eye level near the door so it’s the first thing you and visitors notice when entering the space. If you’re using a printed sign rather than wood or metal, frame it under glass to protect it from fabric dust and humidity buildup over time.
15: Dress Form as Functional Decor Piece
A dress form earns its place in a sewing room twice over, first as a genuinely useful fitting tool for garment work, and second as a striking decor piece that instantly reads as professional and intentional.
Even between projects, a dress form dressed in a half-finished garment or draped with a favorite fabric adds visual interest to an otherwise empty corner. It’s one of the few functional tools in a sewing room that doubles fully as a display piece.
Position the form near a window or your main light source so you can accurately judge drape and fit under natural light, and adjust it to your own measurements if you’re using it for garment fitting rather than just decor.
Keep it dressed with your current project or a finished piece you’re proud of, rather than leaving it bare, since a bare form can look more clinical than intentional. Dust the form’s fabric covering regularly, since it collects lint and fibers quickly in an active sewing space.
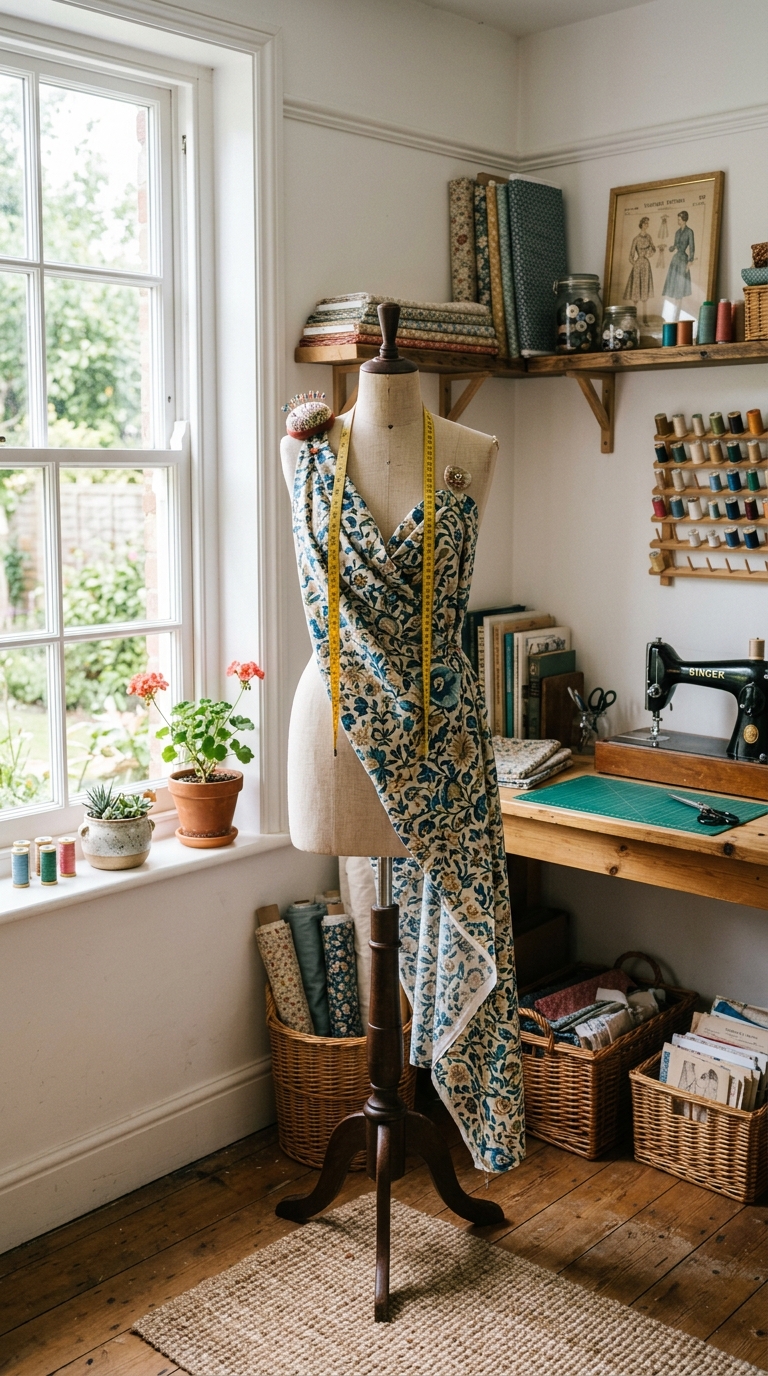
Quick Designer Tip: Position your dress form near your best natural light source. It works double duty as both a fitting tool and a display piece for whatever you’ve just finished sewing.
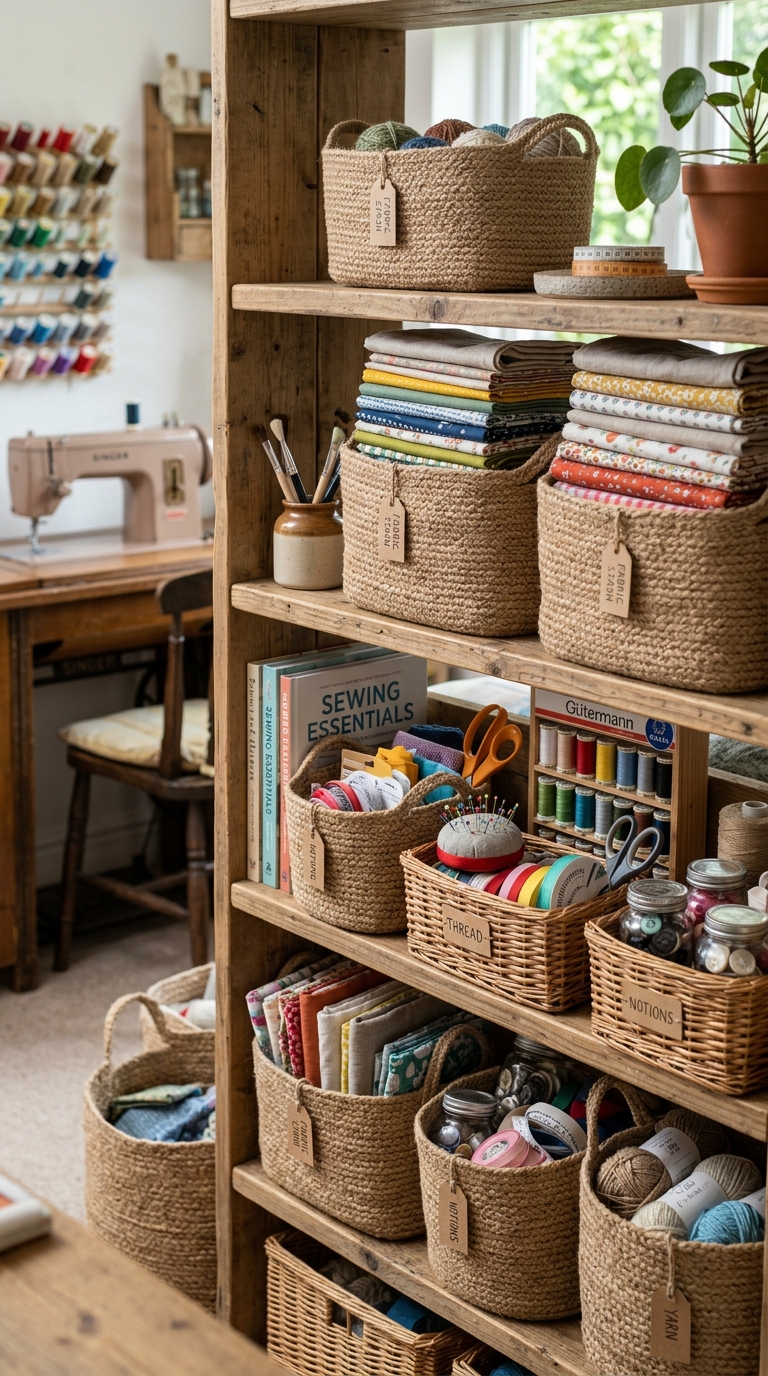
16: Jute or Rattan Baskets for Textured Storage
Swapping plastic storage bins for jute or rattan baskets is a small change that makes a noticeably bigger visual impact than most people expect.
Woven textures add warmth and softness to a room full of otherwise hard, flat surfaces like shelving and sewing machine cases, and they photograph beautifully whether you’re organizing yarn, notions, or folded fabric. This shift alone can make open shelving feel curated instead of purely functional.
Use varying basket sizes to store different categories, larger ones for fabric bolts and smaller ones for notions like buttons, zippers, and elastic. Line baskets with fabric scraps if you’re storing smaller items that might slip through the woven gaps, which also adds another layer of color and texture to the display.
For upkeep, keep woven baskets away from high-humidity areas of the room, since natural fibers like jute and rattan can warp or mildew in damp conditions over time.
17: Fold-Down or Wall-Mounted Cutting Table for Tiny Rooms
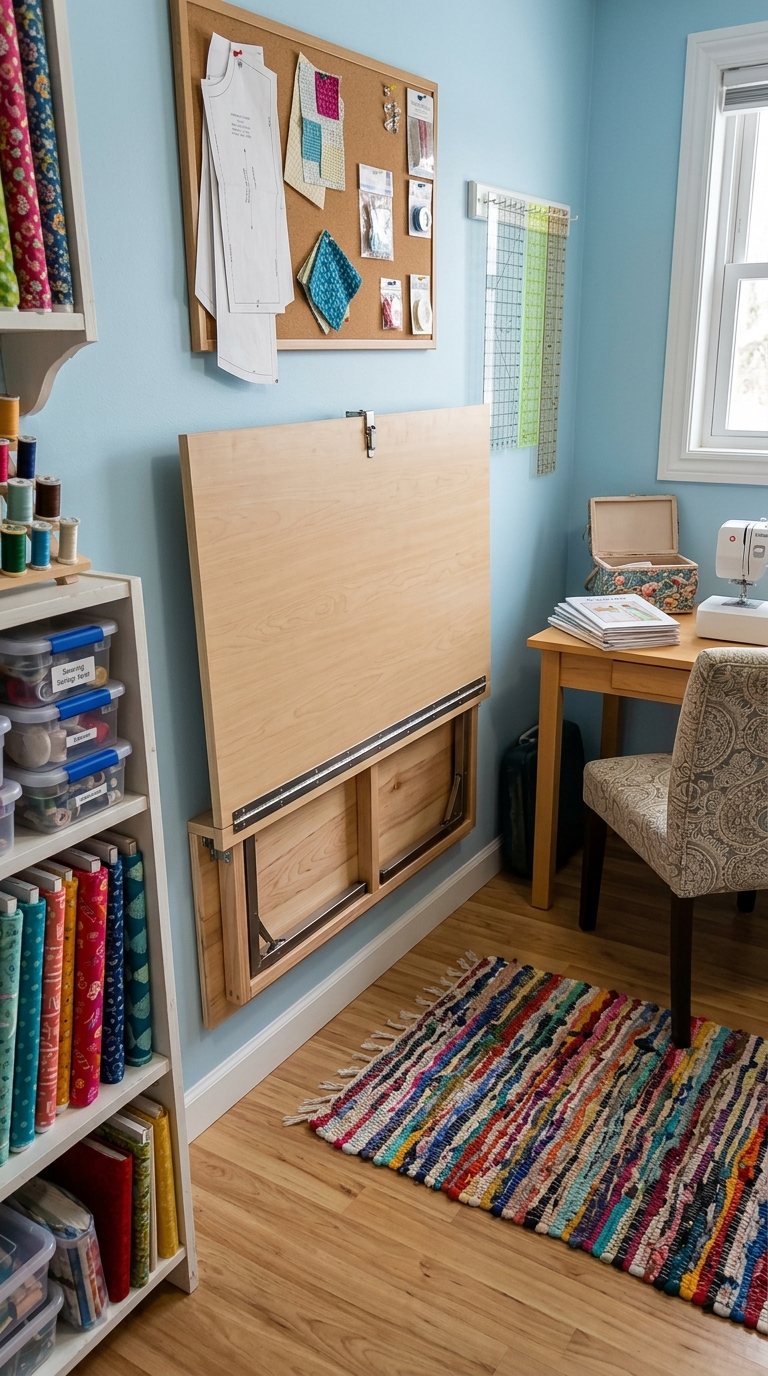
A fold-down cutting table solves the biggest challenge of sewing in a small room, which is finding enough surface area for cutting fabric without permanently sacrificing floor space. Wall-mounted folding tables tuck flat against the wall when you’re done working, instantly giving the room back its usable floor space for other activities.
This makes them ideal for multi-purpose rooms where sewing shares space with a guest bed or home office setup.
Choose a table with sturdy folding brackets rated for the weight of a cutting mat and fabric, since flimsy hardware will sag or wobble under regular use. Mount it at a height that works for standing cutting work, which is typically a bit taller than a standard desk height, to reduce back strain during long cutting sessions.
Check the folding hinges every few months and tighten any loose screws, since repeated folding and unfolding naturally loosen hardware over time.
18: Gallery Wall of Fabric Swatches in Frames
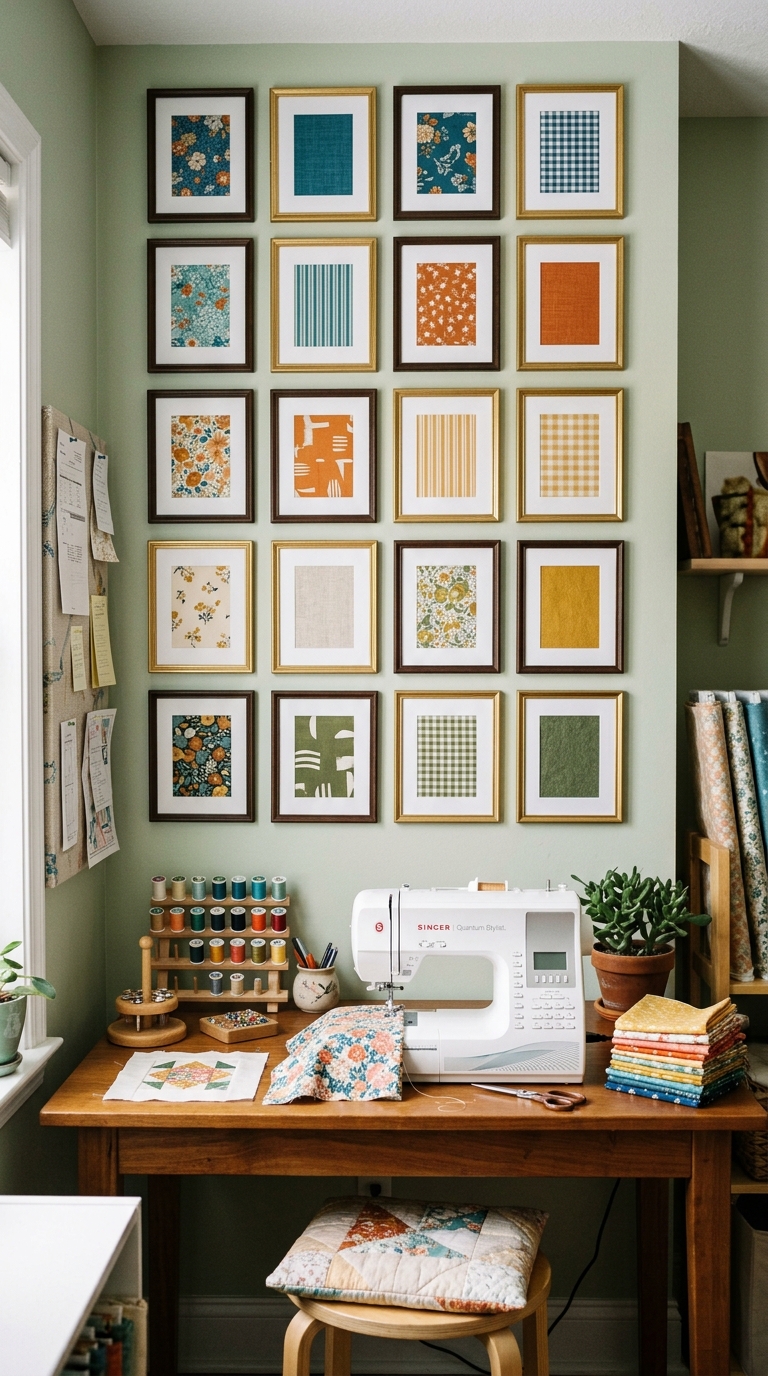
Instead of storing your favorite fabric prints in a drawer where you’ll forget about them, frame a few standout swatches and turn them into a gallery wall. This works especially well for special prints you love too much to cut into but don’t have an immediate project for, giving them a permanent, visible home instead of sitting unused in storage.
A gallery wall of framed fabric also adds color and pattern to a room without competing with your actual working fabric stash.
Choose simple, uniform frames so the fabric patterns themselves stay the visual focus rather than the framing, and arrange swatches by color story or print style for a cohesive look. Leave a small gap in the arrangement for new favorites as your collection grows, so the wall can evolve without needing a full rehang each time.
To protect the fabric long-term, use UV-protective glass if the gallery wall gets direct sunlight during part of the day.
19: Cozy Reading or Break Nook Inside the Craft Room
Even the most productive sewing sessions need a built-in pause point, and a small reading or break nook inside the craft room gives you exactly that without leaving your creative space entirely.
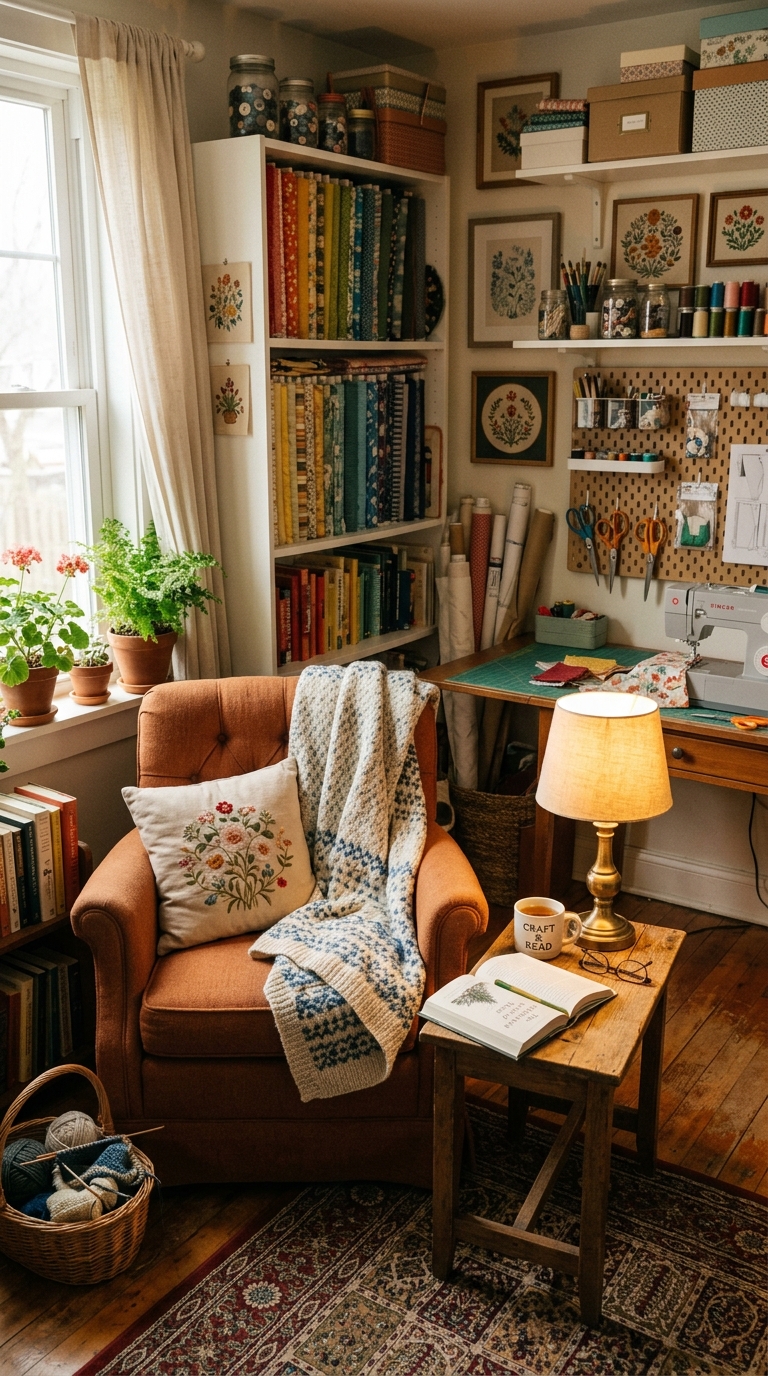
A single comfortable chair, a small side table, and soft lighting are enough to create a distinct zone that signals rest rather than work, even in a room that’s otherwise dedicated to sewing. This kind of intentional break space helps prevent the burnout that comes from treating a hobby room purely as a workstation.
Position the nook in the corner furthest from your cutting table and machine so it feels genuinely separate from your active work zone, even if it’s only a few feet away. Add a small basket for hand-sewing projects or mending near the chair, so the space stays productive in a low-effort way during breaks.
Keep a soft throw blanket and a reading lamp nearby, since good lighting in this corner matters as much for relaxing as it does for your main sewing area.
20: Seasonal Decor Swaps to Keep the Space Feeling Fresh
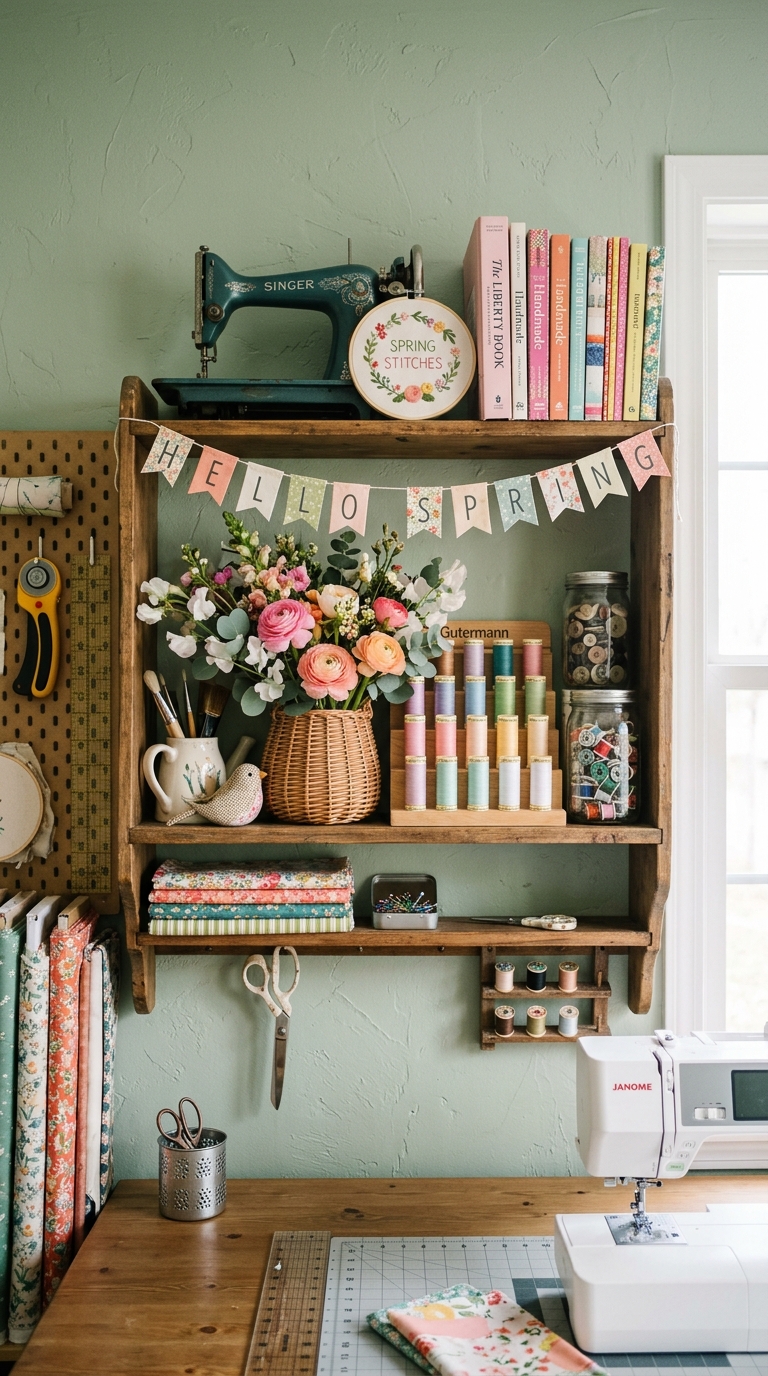
A sewing room that never changes can start to feel stale, even if it was beautifully designed in the first place. Small seasonal decor swaps, like changing a table runner, rotating a few framed fabric prints, or adding seasonal florals near your machine, keep the space feeling current without requiring a full redesign every few months.
This approach also gives you a low-pressure way to experiment with new colors or textures before committing to bigger changes.
Keep a small bin of seasonal decor accents stored separately from your main craft supplies, so swapping the room’s look takes minutes rather than becoming its own project. Focus seasonal changes on a few key spots, like your mood board corner, a shelf, or the table near your reading nook, rather than trying to overhaul the entire room each time.
This keeps the swaps manageable and sustainable throughout the year instead of turning into extra work you dread.
FAQ
Q: How do I organize a small sewing room?
Focus on vertical storage first, like wall-mounted pegboards, cube shelving, and fold-down tables, since floor space is usually the biggest constraint in a small room. Clear bins and labeled baskets also help you see everything at a glance without needing extra square footage.
Q: What decor items work best in a sewing room?
Functional pieces that double as decor work best, like thread spool racks, embroidery hoop wall art, and framed fabric swatches. These add color and personality without taking up extra storage space or budget.
Q: How can I make my sewing room feel cozy instead of cluttered?
Stick to a coordinated color palette, use closed storage for less attractive items like scraps and tools, and keep only your prettiest fabric and finished pieces on open display.
Q: What’s a good sewing room layout for a beginner?
Position your sewing table near natural light, keep a cutting surface within a few steps, and store frequently used tools within arm’s reach using a pegboard or small cart.
Conclusion
A sewing room doesn’t need a huge budget or a spare bedroom to feel like a real studio. Whether you start with a color change, a pegboard, or just a few framed fabric swatches, small intentional choices add up fast. Pick two or three ideas from this list that fit your space and your budget right now, and build from there as your craft room and your projects keep growing.